Vinyl Flooring Installation: A Step-by-Step Guide for Toronto Homeowners


Why Choose Vinyl Flooring?
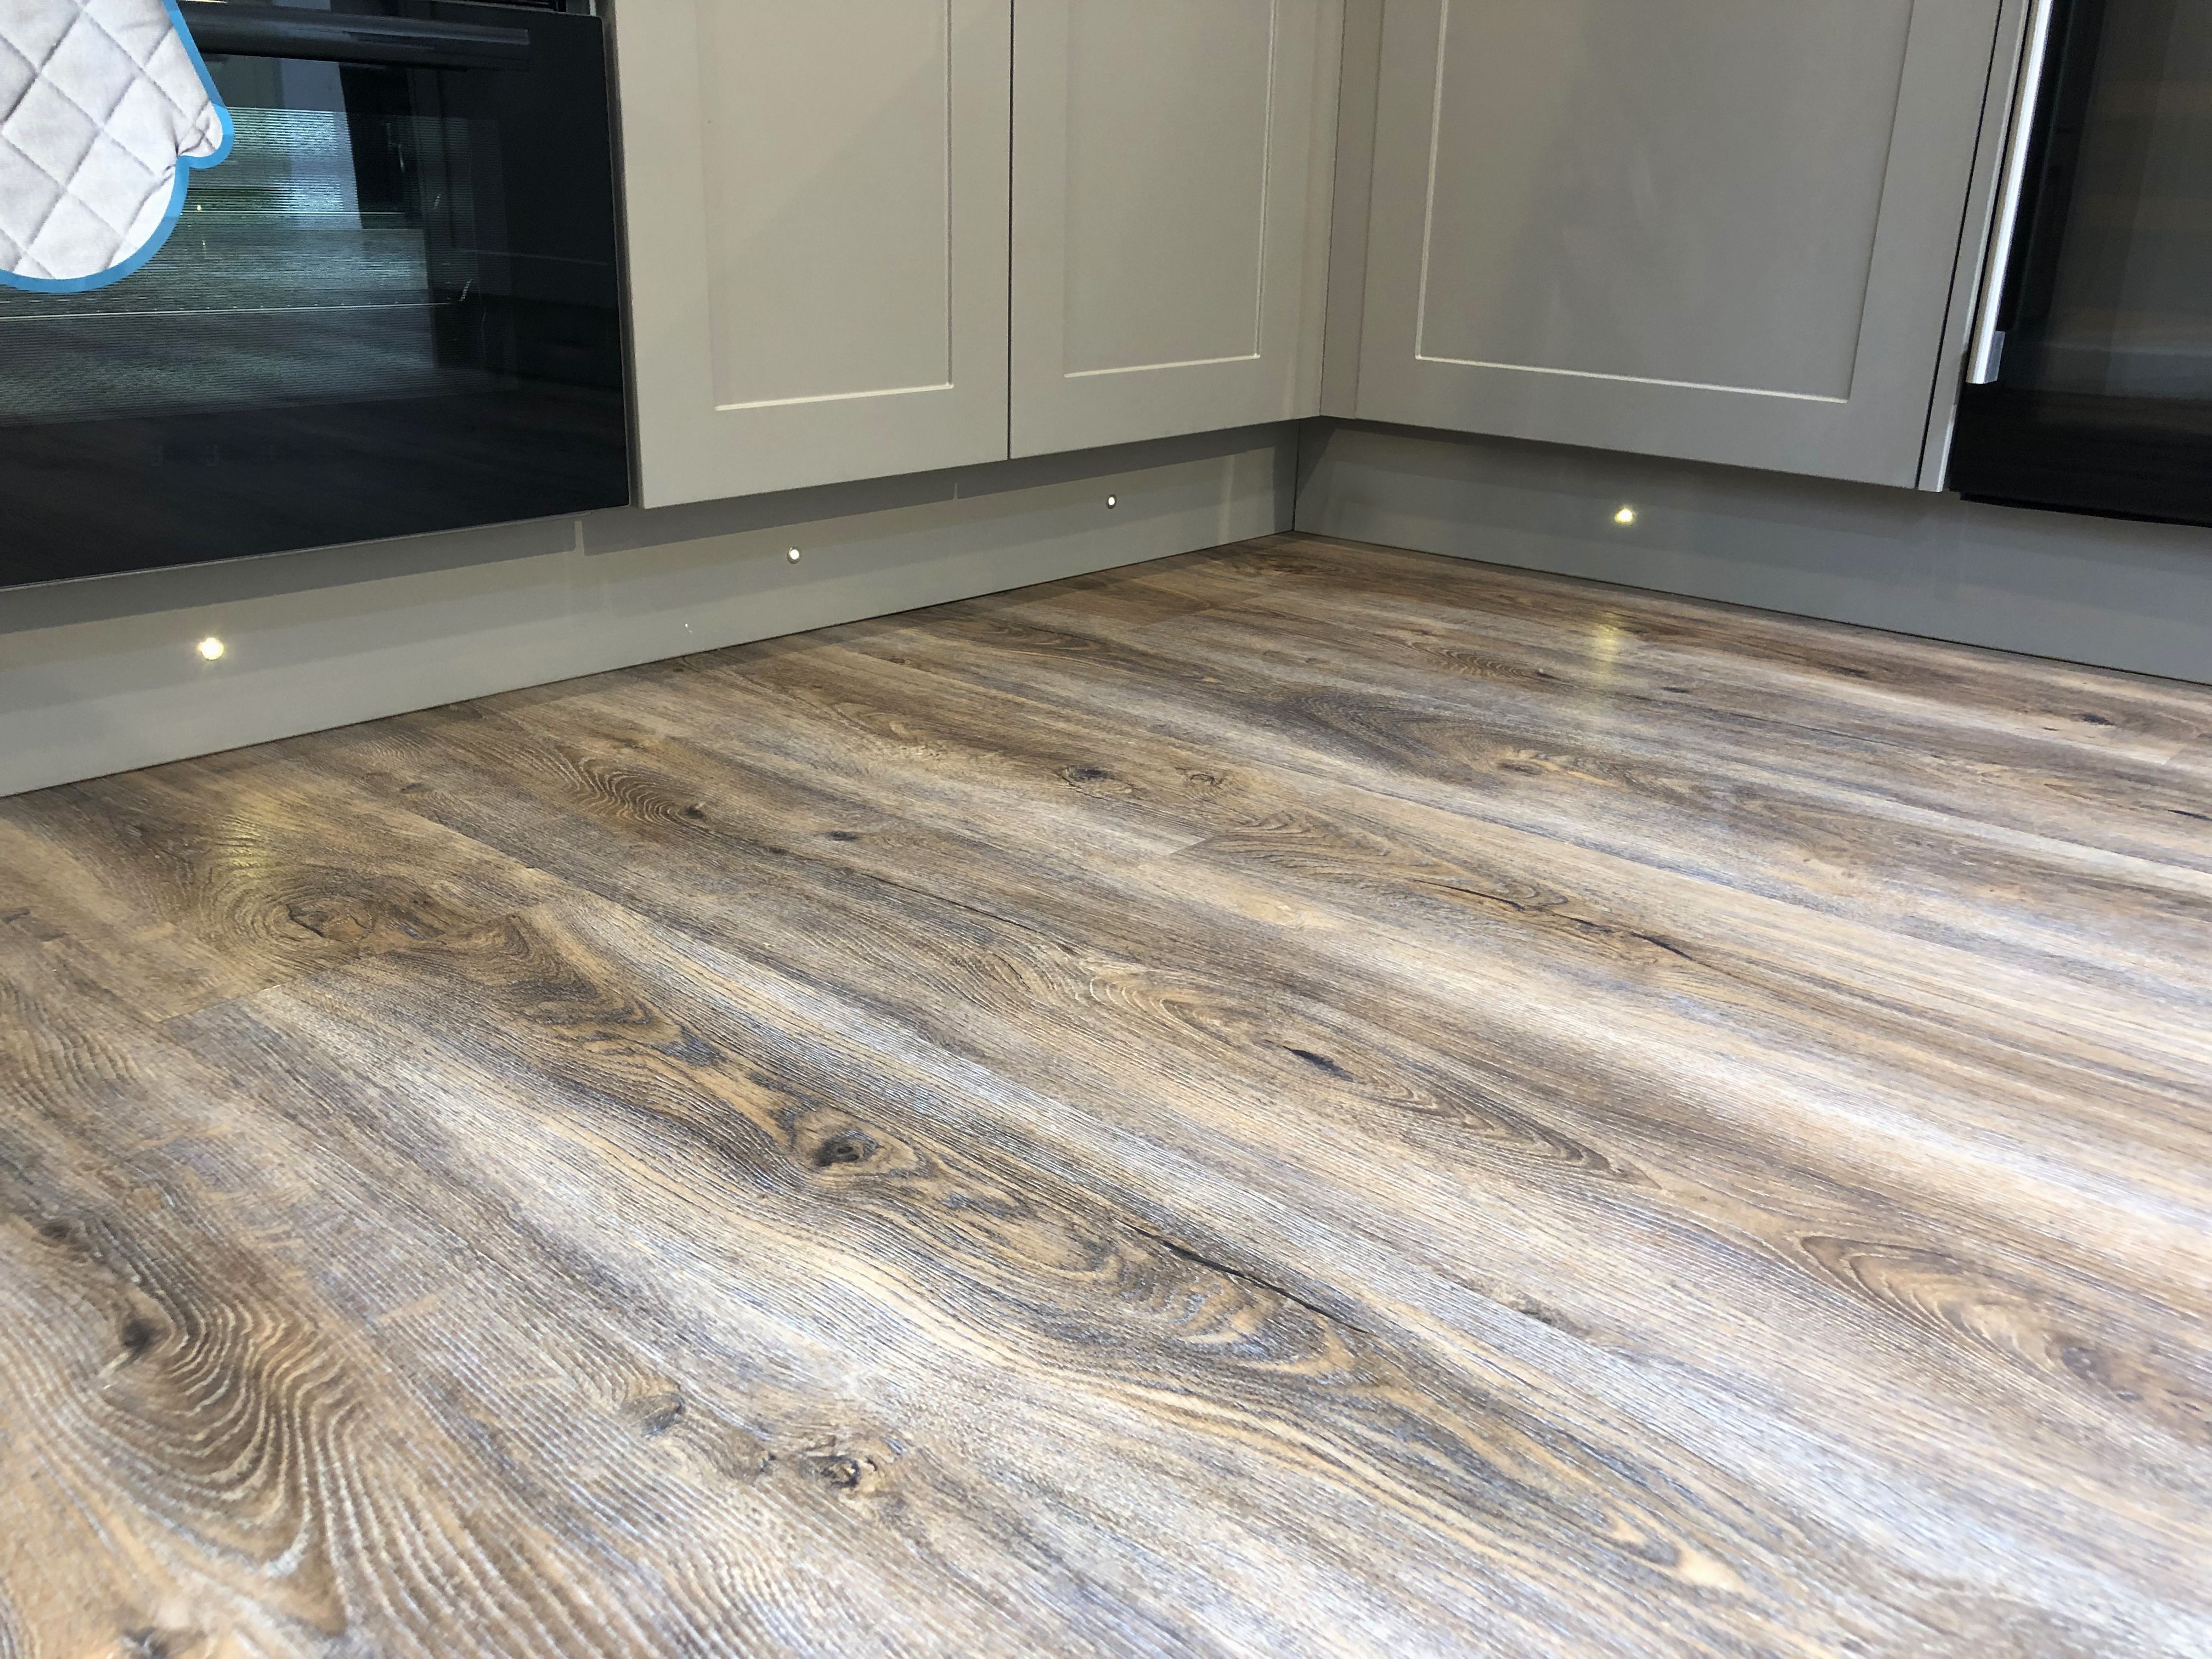
Vinyl flooring has become an increasingly popular choice among Toronto homeowners due to its durability, affordability, and wide range of designs. Whether you prefer the look of hardwood, stone, or tile, vinyl flooring can replicate these textures while providing a resilient surface that stands up to everyday wear and tear. It's also water-resistant, making it an excellent option for kitchens and bathrooms.
Beyond aesthetics and functionality, vinyl flooring is relatively easy to install, making it a great DIY project for those looking to upgrade their home on a budget. In this guide, we'll walk you through the step-by-step process of installing vinyl flooring in your Toronto home.
Preparing Your Space
Gathering Materials and Tools
Before you begin, ensure you have all the necessary materials and tools for the installation process. Here's what you'll need:
- Vinyl flooring planks or tiles
- Underlayment (if required)
- Tape measure
- Utility knife or vinyl cutter
- Chalk line
- Carpenter’s square
- Roller or hand roller
- Adhesive (if not using self-adhesive vinyl)
Preparing the Subfloor
One of the most critical steps in vinyl flooring installation is preparing the subfloor. Ensure it's clean, dry, and level. Remove any existing flooring and use a leveling compound to smooth out any uneven areas. This will help prevent any imperfections from showing through the vinyl and ensure a longer lifespan for your new floor.
Installing Your Vinyl Flooring
Measuring and Cutting
Start by measuring the area where you plan to install the flooring. Use a tape measure and chalk line to mark the layout on the subfloor. When cutting the vinyl planks or tiles, use a utility knife or vinyl cutter for clean edges. Remember to leave a small gap around the perimeter to allow for expansion.
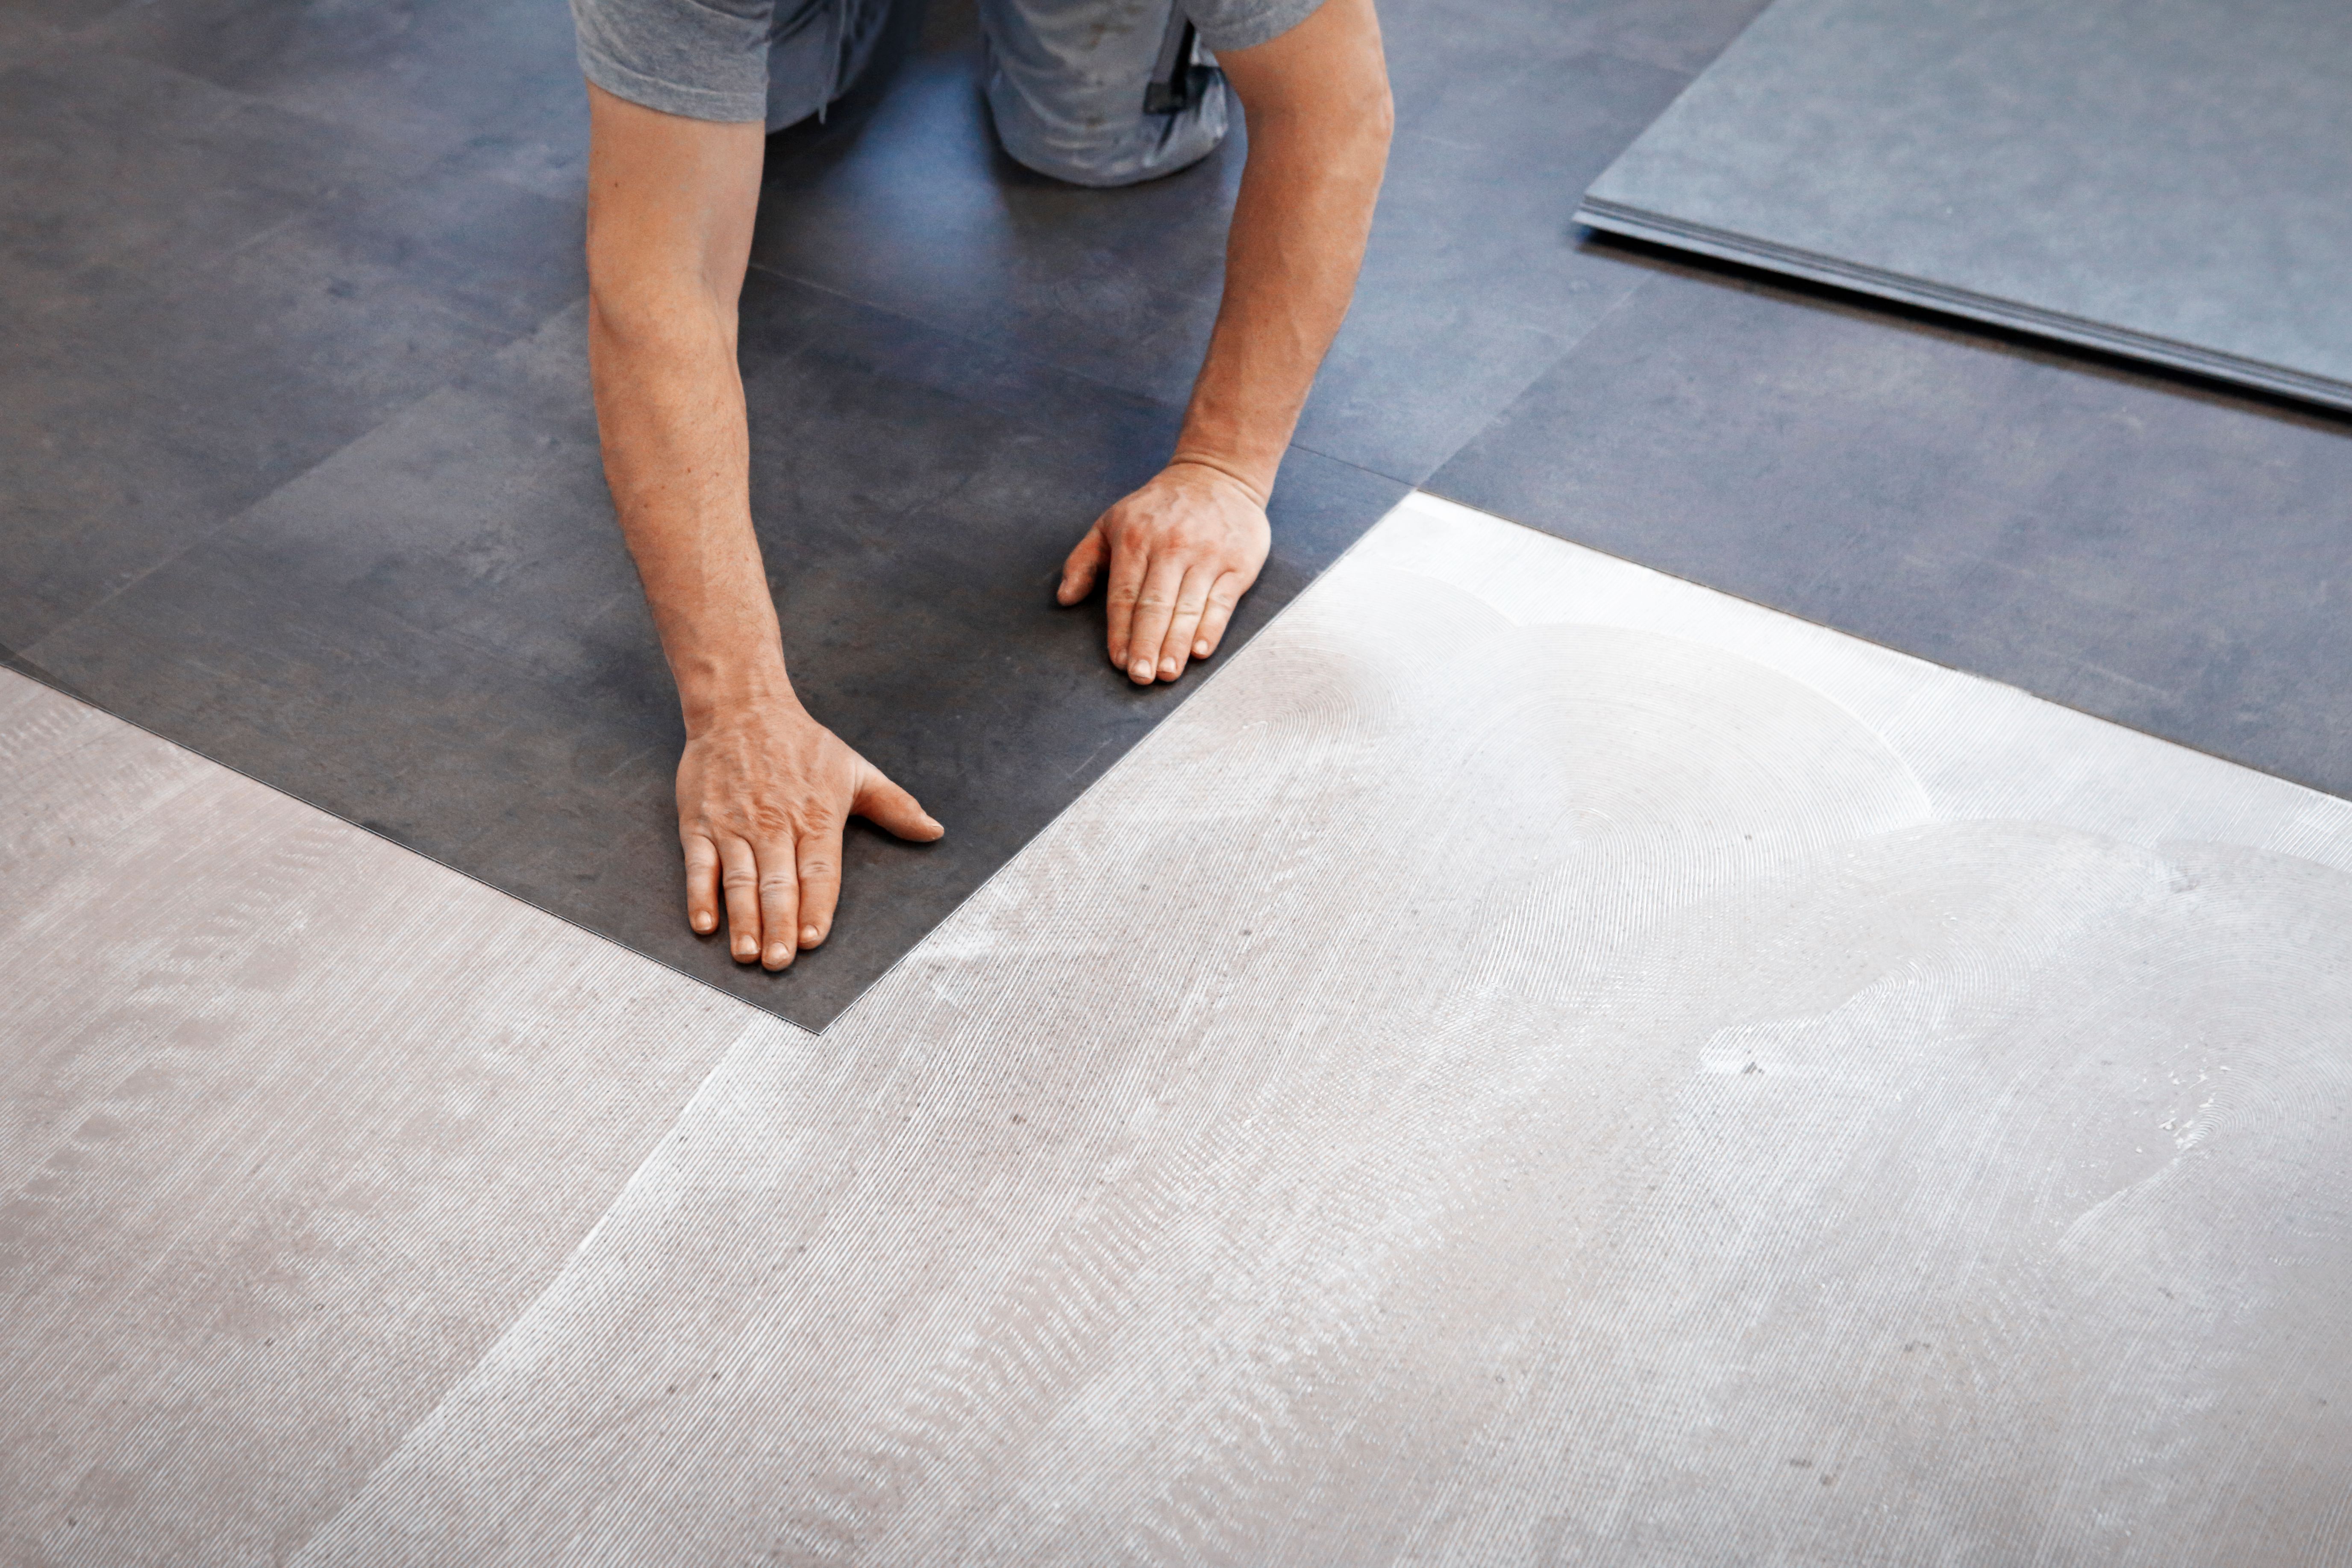
Laying Down the Vinyl
If you're using self-adhesive vinyl, remove the backing and press each piece firmly onto the subfloor. For other types, apply adhesive to the subfloor according to the manufacturer's instructions before laying down each piece. Use a carpenter's square to ensure each piece is aligned correctly.

Finishing Touches
Once all the pieces are in place, use a roller to press them firmly into the adhesive. This helps eliminate air bubbles and ensures a strong bond with the subfloor. Trim any excess material along walls or fixtures with your utility knife for a clean finish.
Allowing Time for Setting
After installation, it's important to give your new floor time to settle and adhere properly. Avoid heavy foot traffic and moving furniture onto the new floor for at least 24 hours to allow the adhesive to cure completely.
With these steps, you can successfully install vinyl flooring in your Toronto home, enhancing its aesthetic appeal and functionality. Whether you're updating one room or your entire home, vinyl flooring offers a practical and stylish solution.