Step-by-Step Guide to DIY Vinyl Flooring Installation in Bathrooms


Updating your bathroom with new flooring can dramatically transform the space, and vinyl flooring offers a durable and budget-friendly option. Installing vinyl flooring yourself can be a rewarding DIY project, and with the right guidance, you can achieve professional-looking results. This step-by-step guide will walk you through the process of installing vinyl flooring in your bathroom.
Gather Your Tools and Materials
Before diving into the installation process, make sure you have all the necessary tools and materials. You'll need:
- Vinyl flooring planks or tiles
- Utility knife
- Measuring tape
- Straightedge or ruler
- Adhesive (if required by your vinyl type)
- Floor roller or rolling pin
- Safety goggles and gloves
Having everything on hand will streamline the installation process and prevent unnecessary delays.
Prepare the Bathroom Floor
Proper preparation is key to a successful vinyl flooring installation. Start by removing any existing flooring and thoroughly cleaning the subfloor. Ensure the surface is smooth, dry, and free of debris. If there are any imperfections, use a leveling compound to create an even surface.
It's also important to acclimate your vinyl flooring to the bathroom's environment by laying the planks or tiles out in the room for at least 48 hours. This helps prevent expansion or contraction after installation.
Measure and Plan Your Layout
Measure the dimensions of your bathroom to calculate how much vinyl flooring you'll need. It's a good idea to purchase a little extra material to account for mistakes or future repairs. Next, plan your layout by determining the starting point. Typically, you should start from the center of the room or a straight wall to ensure a balanced appearance.

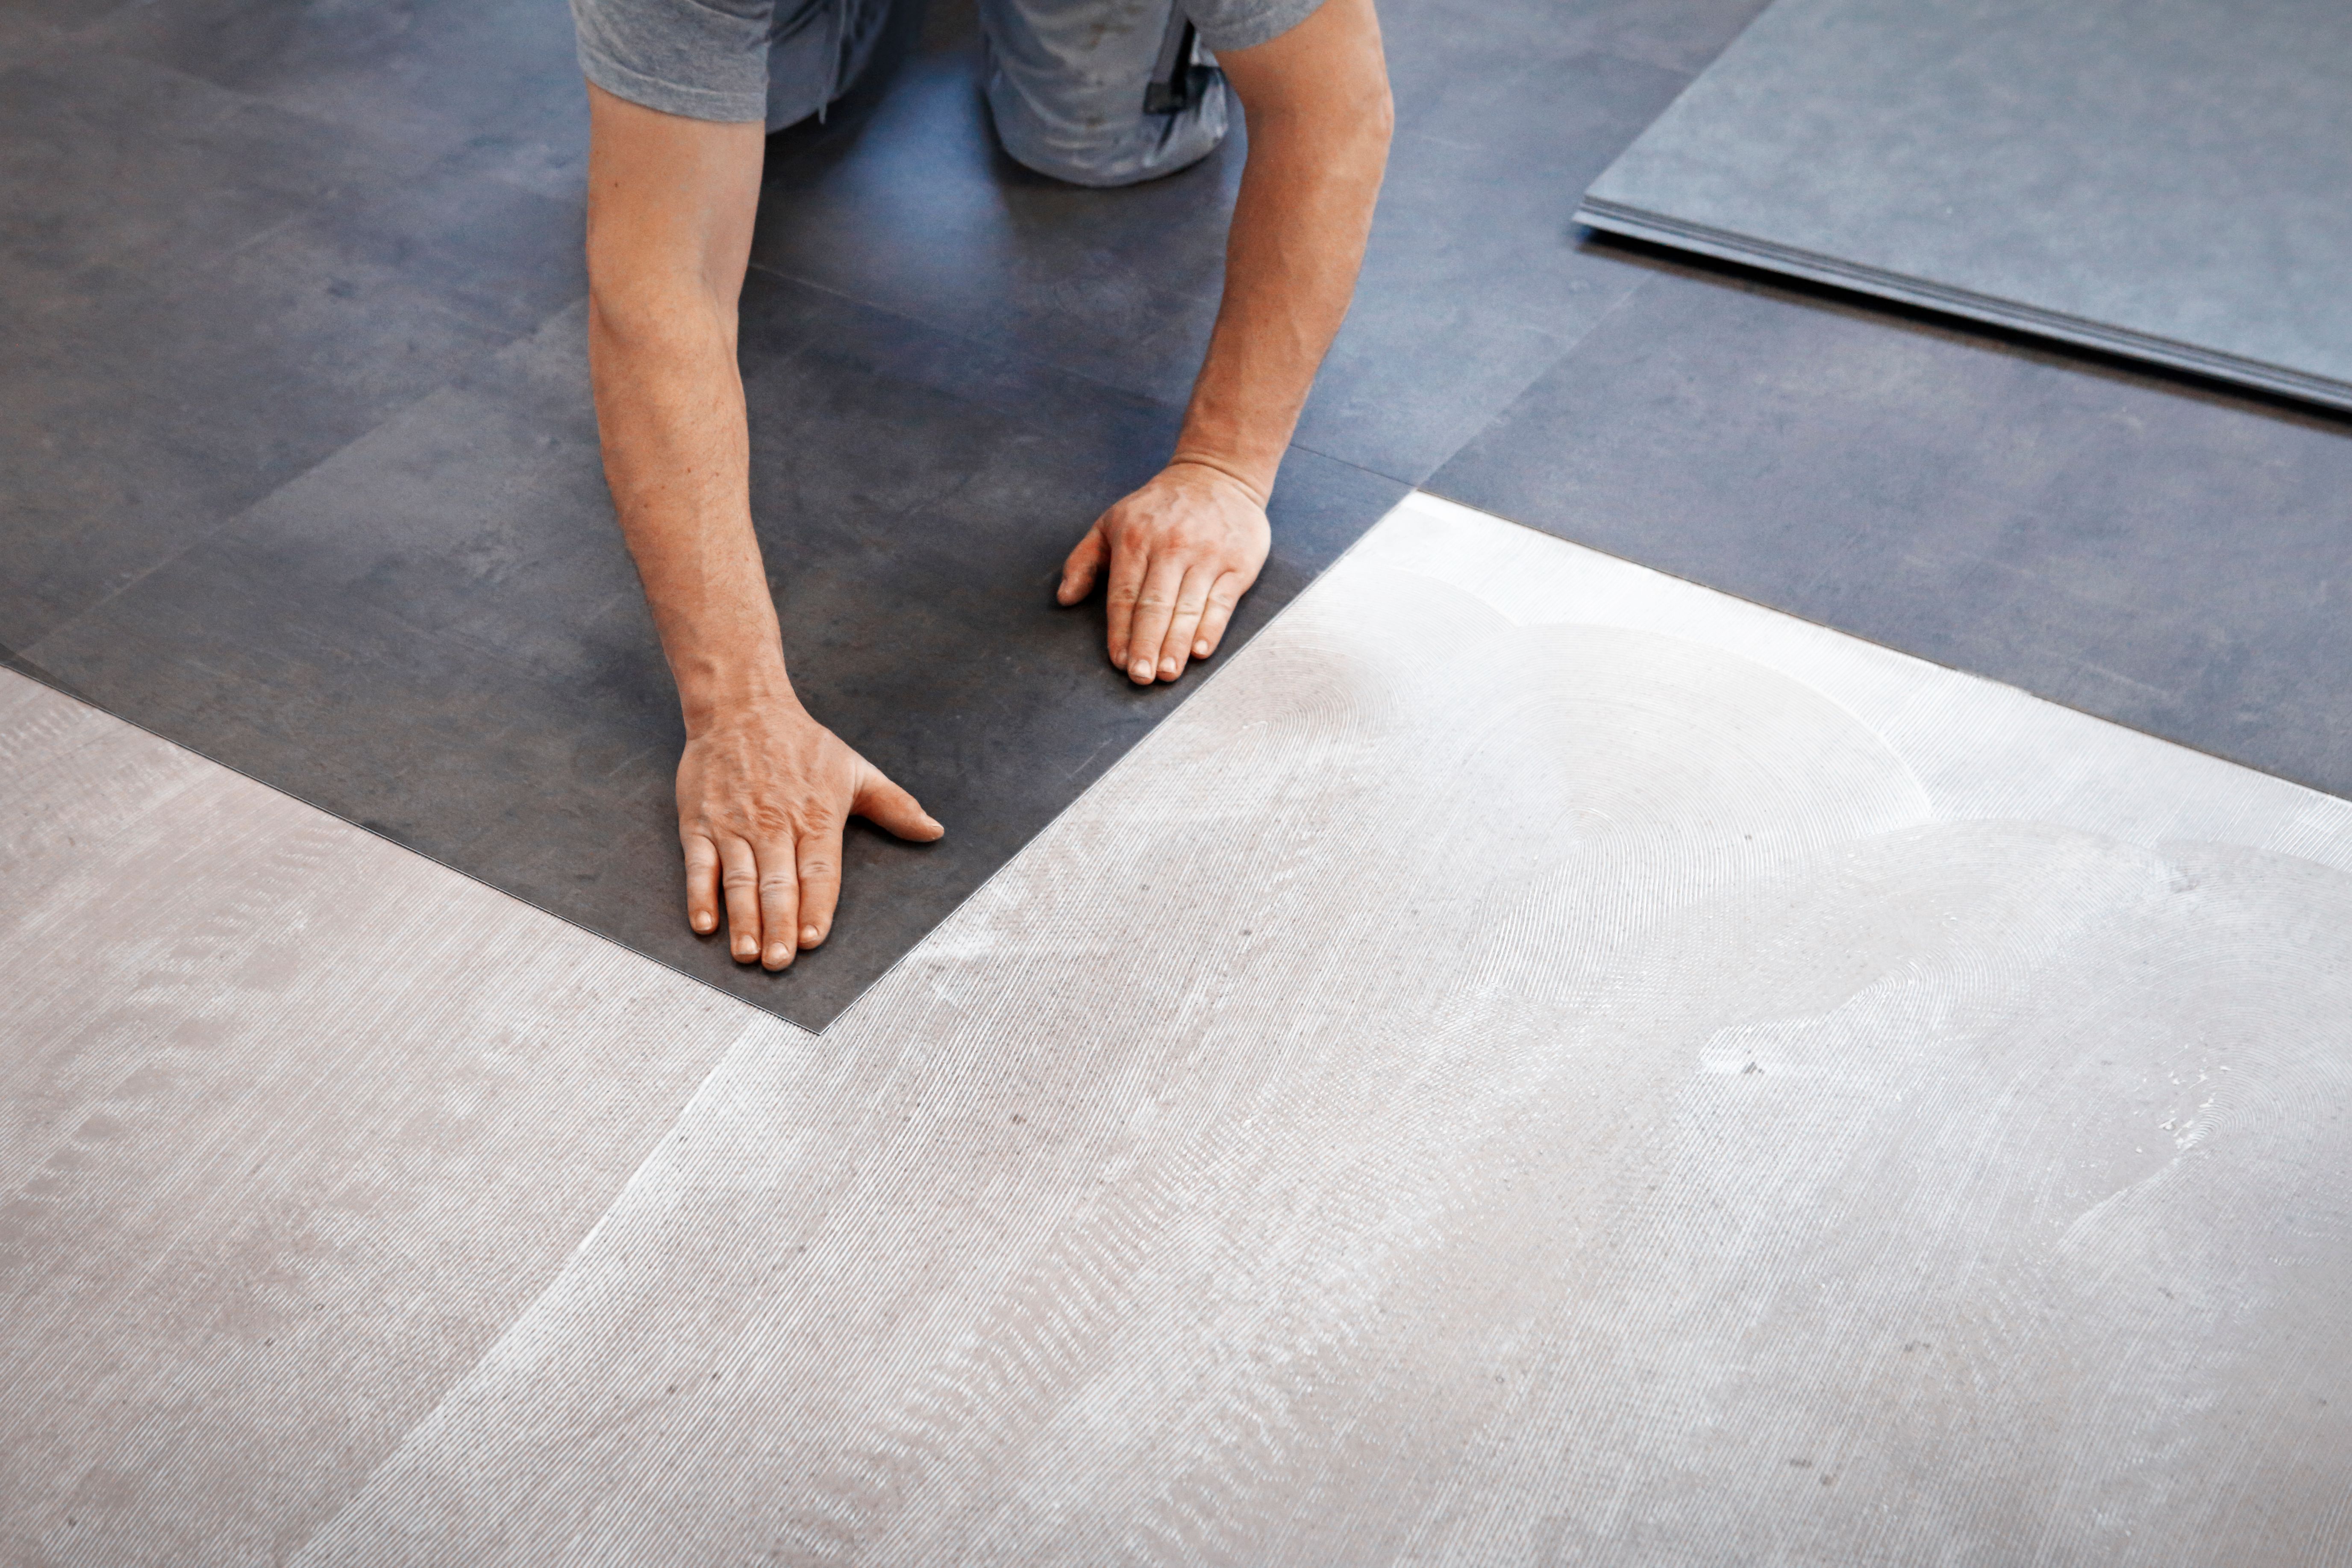
Install Your Vinyl Flooring
Now that your floor is prepped and you have a plan, it's time to start installing. Follow these steps:
- Lay the first row of planks or tiles along your starting line, ensuring they are straight and snug against each other.
- If using adhesive, apply it as per the manufacturer's instructions before placing each piece.
- Use a utility knife to cut planks or tiles to fit around corners, toilets, or other obstacles. A straightedge will help guide your cuts.
- Continue installing rows, staggering seams for a natural look.
Finishing Touches
After laying all the vinyl pieces, use a floor roller or rolling pin to press down firmly on each plank or tile. This helps secure them in place and ensures proper adhesion. If applicable, install baseboards or trim around the room's perimeter for a polished appearance.
Finally, enjoy your newly updated bathroom! With proper care, your DIY vinyl flooring will remain stylish and functional for years to come.
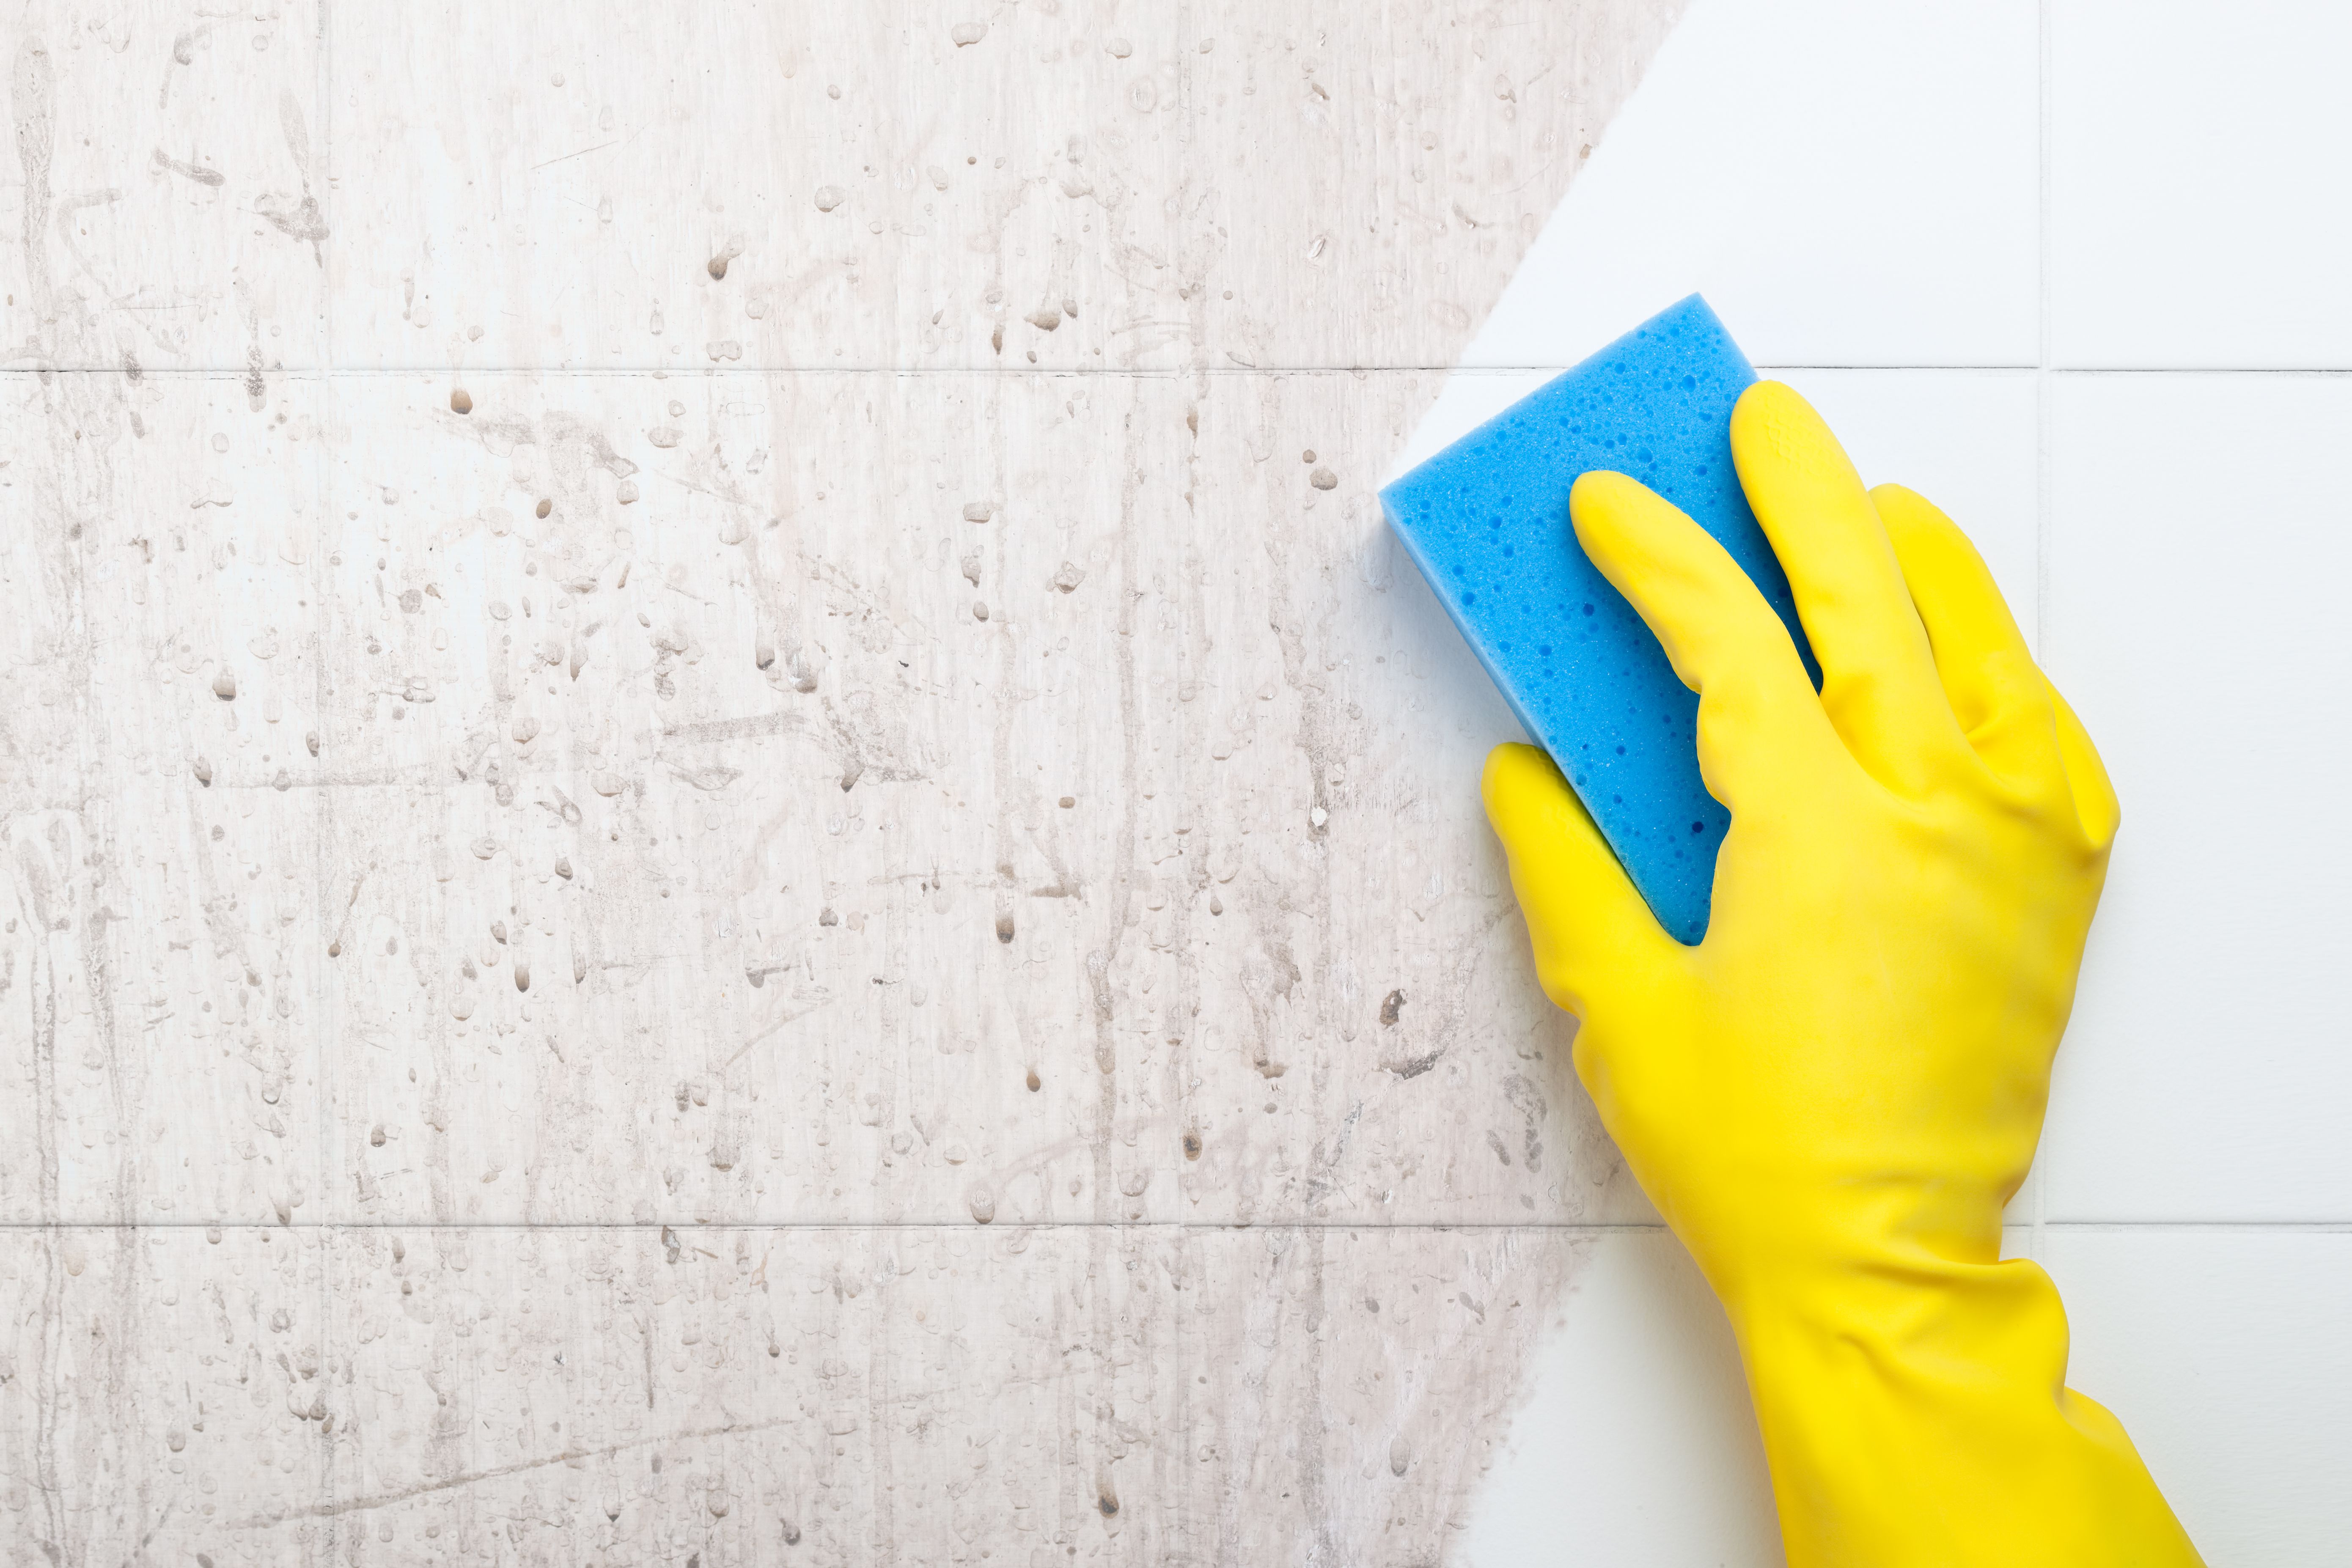
Maintenance Tips
To keep your new vinyl floor looking its best, follow these maintenance tips:
- Sweep or vacuum regularly to remove dirt and debris.
- Wipe up spills promptly to prevent staining.
- Avoid using abrasive cleaners or scrubbers that can damage the surface.
- Place mats near sinks and tubs to protect against water damage.
By following these steps and tips, you can confidently install vinyl flooring in your bathroom, enhancing its beauty and functionality without breaking the bank. Happy DIYing!