Luxury Vinyl Plank Installation in Ontario: Step-by-Step Guide


Introduction to Luxury Vinyl Plank Installation
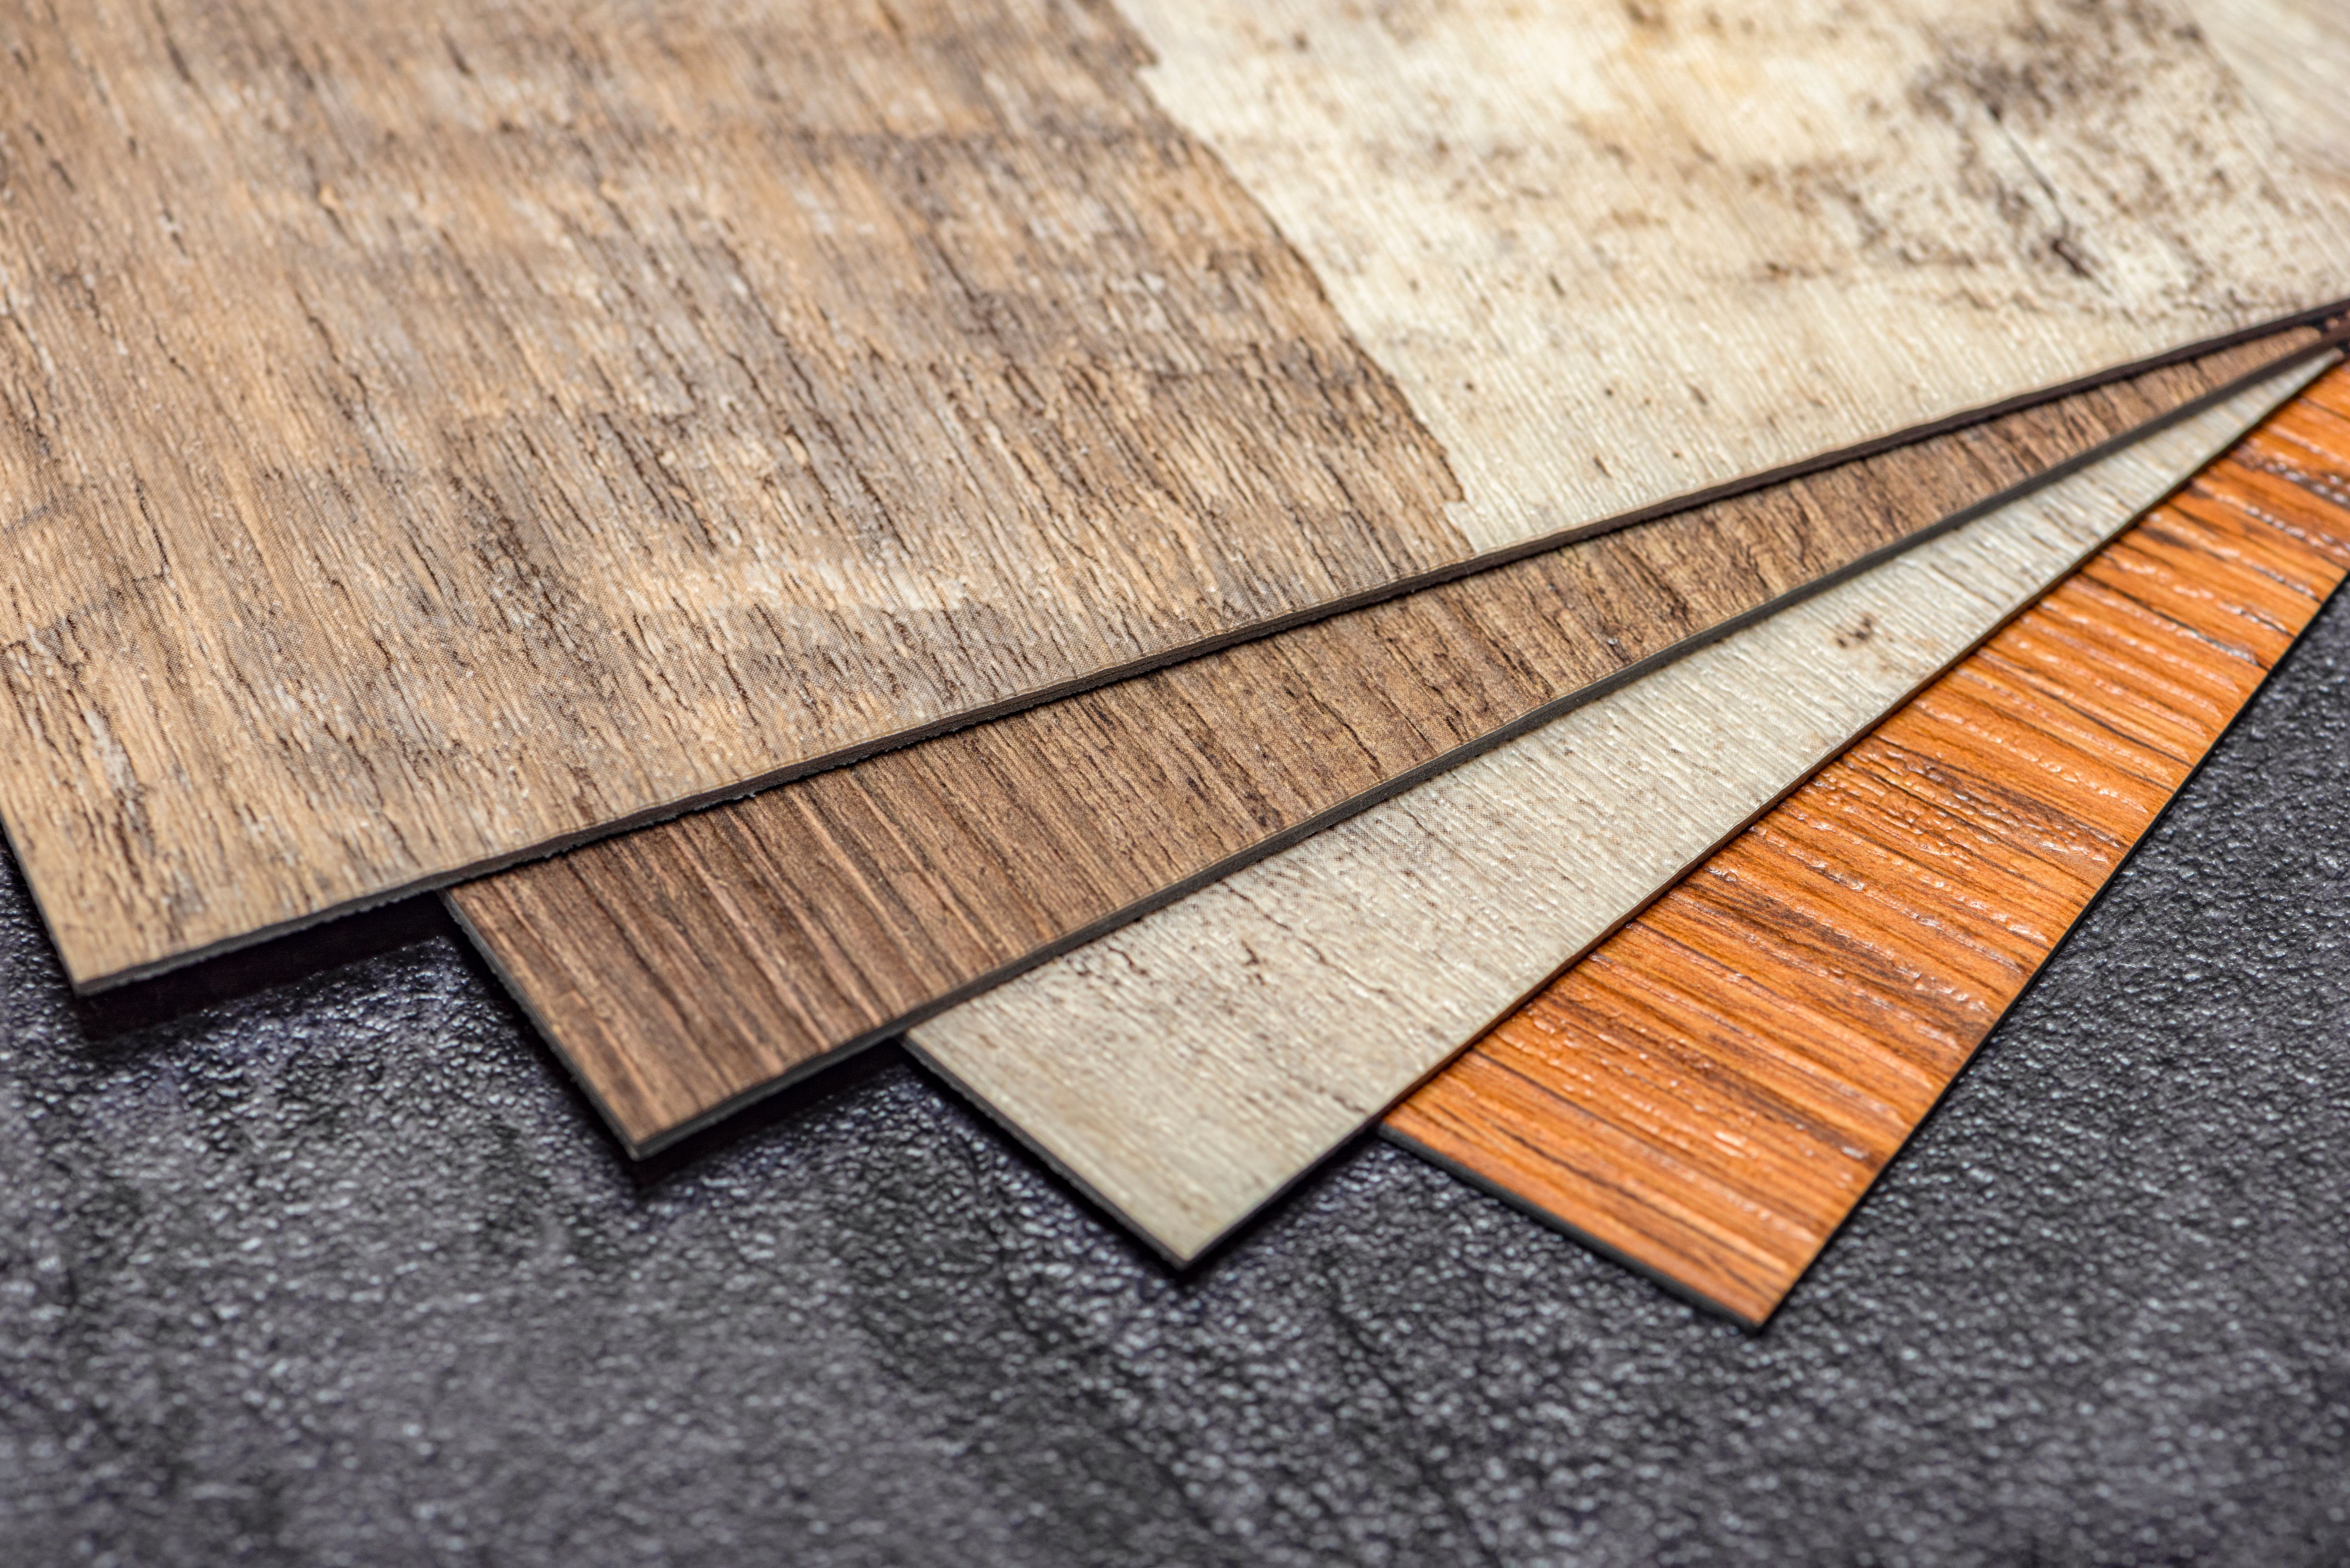
Luxury Vinyl Plank (LVP) has become a popular choice for homeowners in Ontario looking for a stylish and durable flooring option. Its versatility and cost-effectiveness make it an ideal choice for both residential and commercial spaces. This guide will walk you through the step-by-step process of installing LVP, ensuring a professional finish without the need for expert intervention.
Gathering Necessary Tools and Materials
Before starting the installation, it's crucial to gather all necessary tools and materials. You will need a tape measure, utility knife, straight edge, spacers, tapping block, pull bar, and a rubber mallet. Additionally, ensure you have enough luxury vinyl planks to cover your space, with an extra 10% for waste and cuts.
Having the right tools on hand will make the installation process smoother and more efficient. It's also important to acclimate your vinyl planks to the room's temperature and humidity for at least 48 hours before installation.
Preparing the Subfloor
Proper subfloor preparation is key to a successful LVP installation. Start by ensuring the subfloor is clean, dry, and level. Remove any debris, old flooring, or adhesive residues. If necessary, sand down high spots and fill in low areas with a leveling compound.
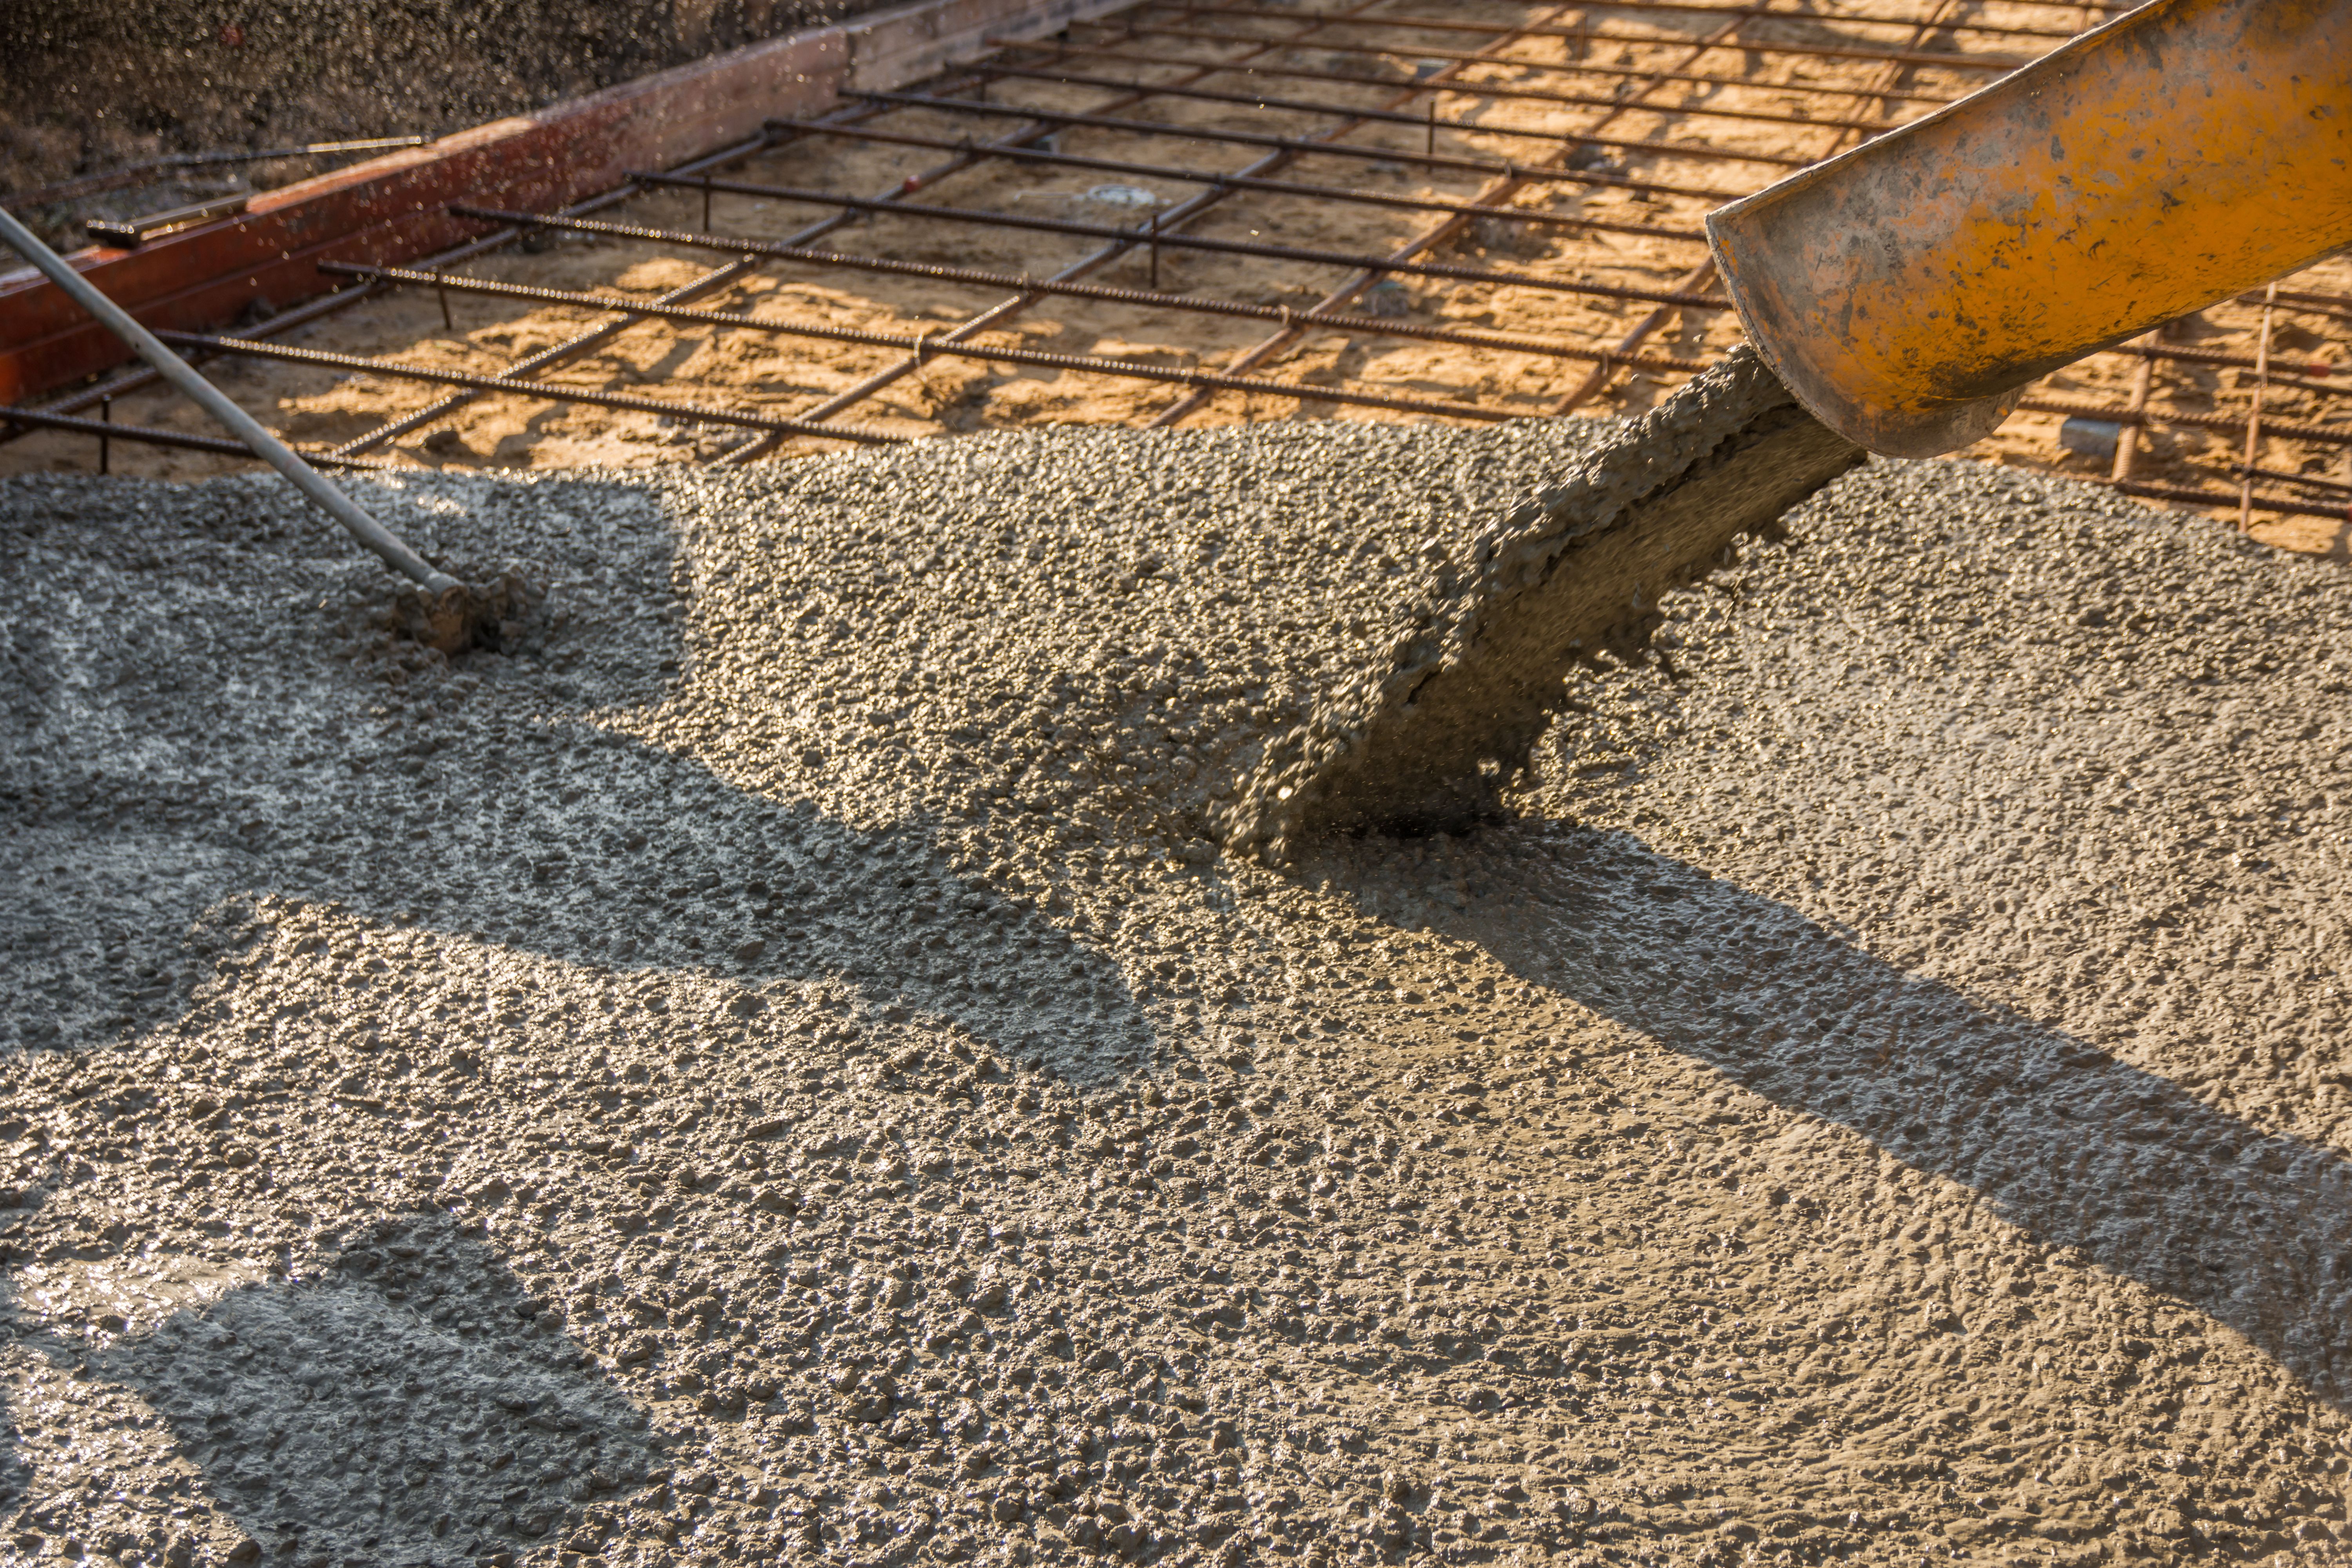
It's crucial to check for moisture levels in concrete subfloors, as excess moisture can lead to future damage. Use a moisture meter to verify that the subfloor is within the manufacturer’s recommended levels.
Installation Process
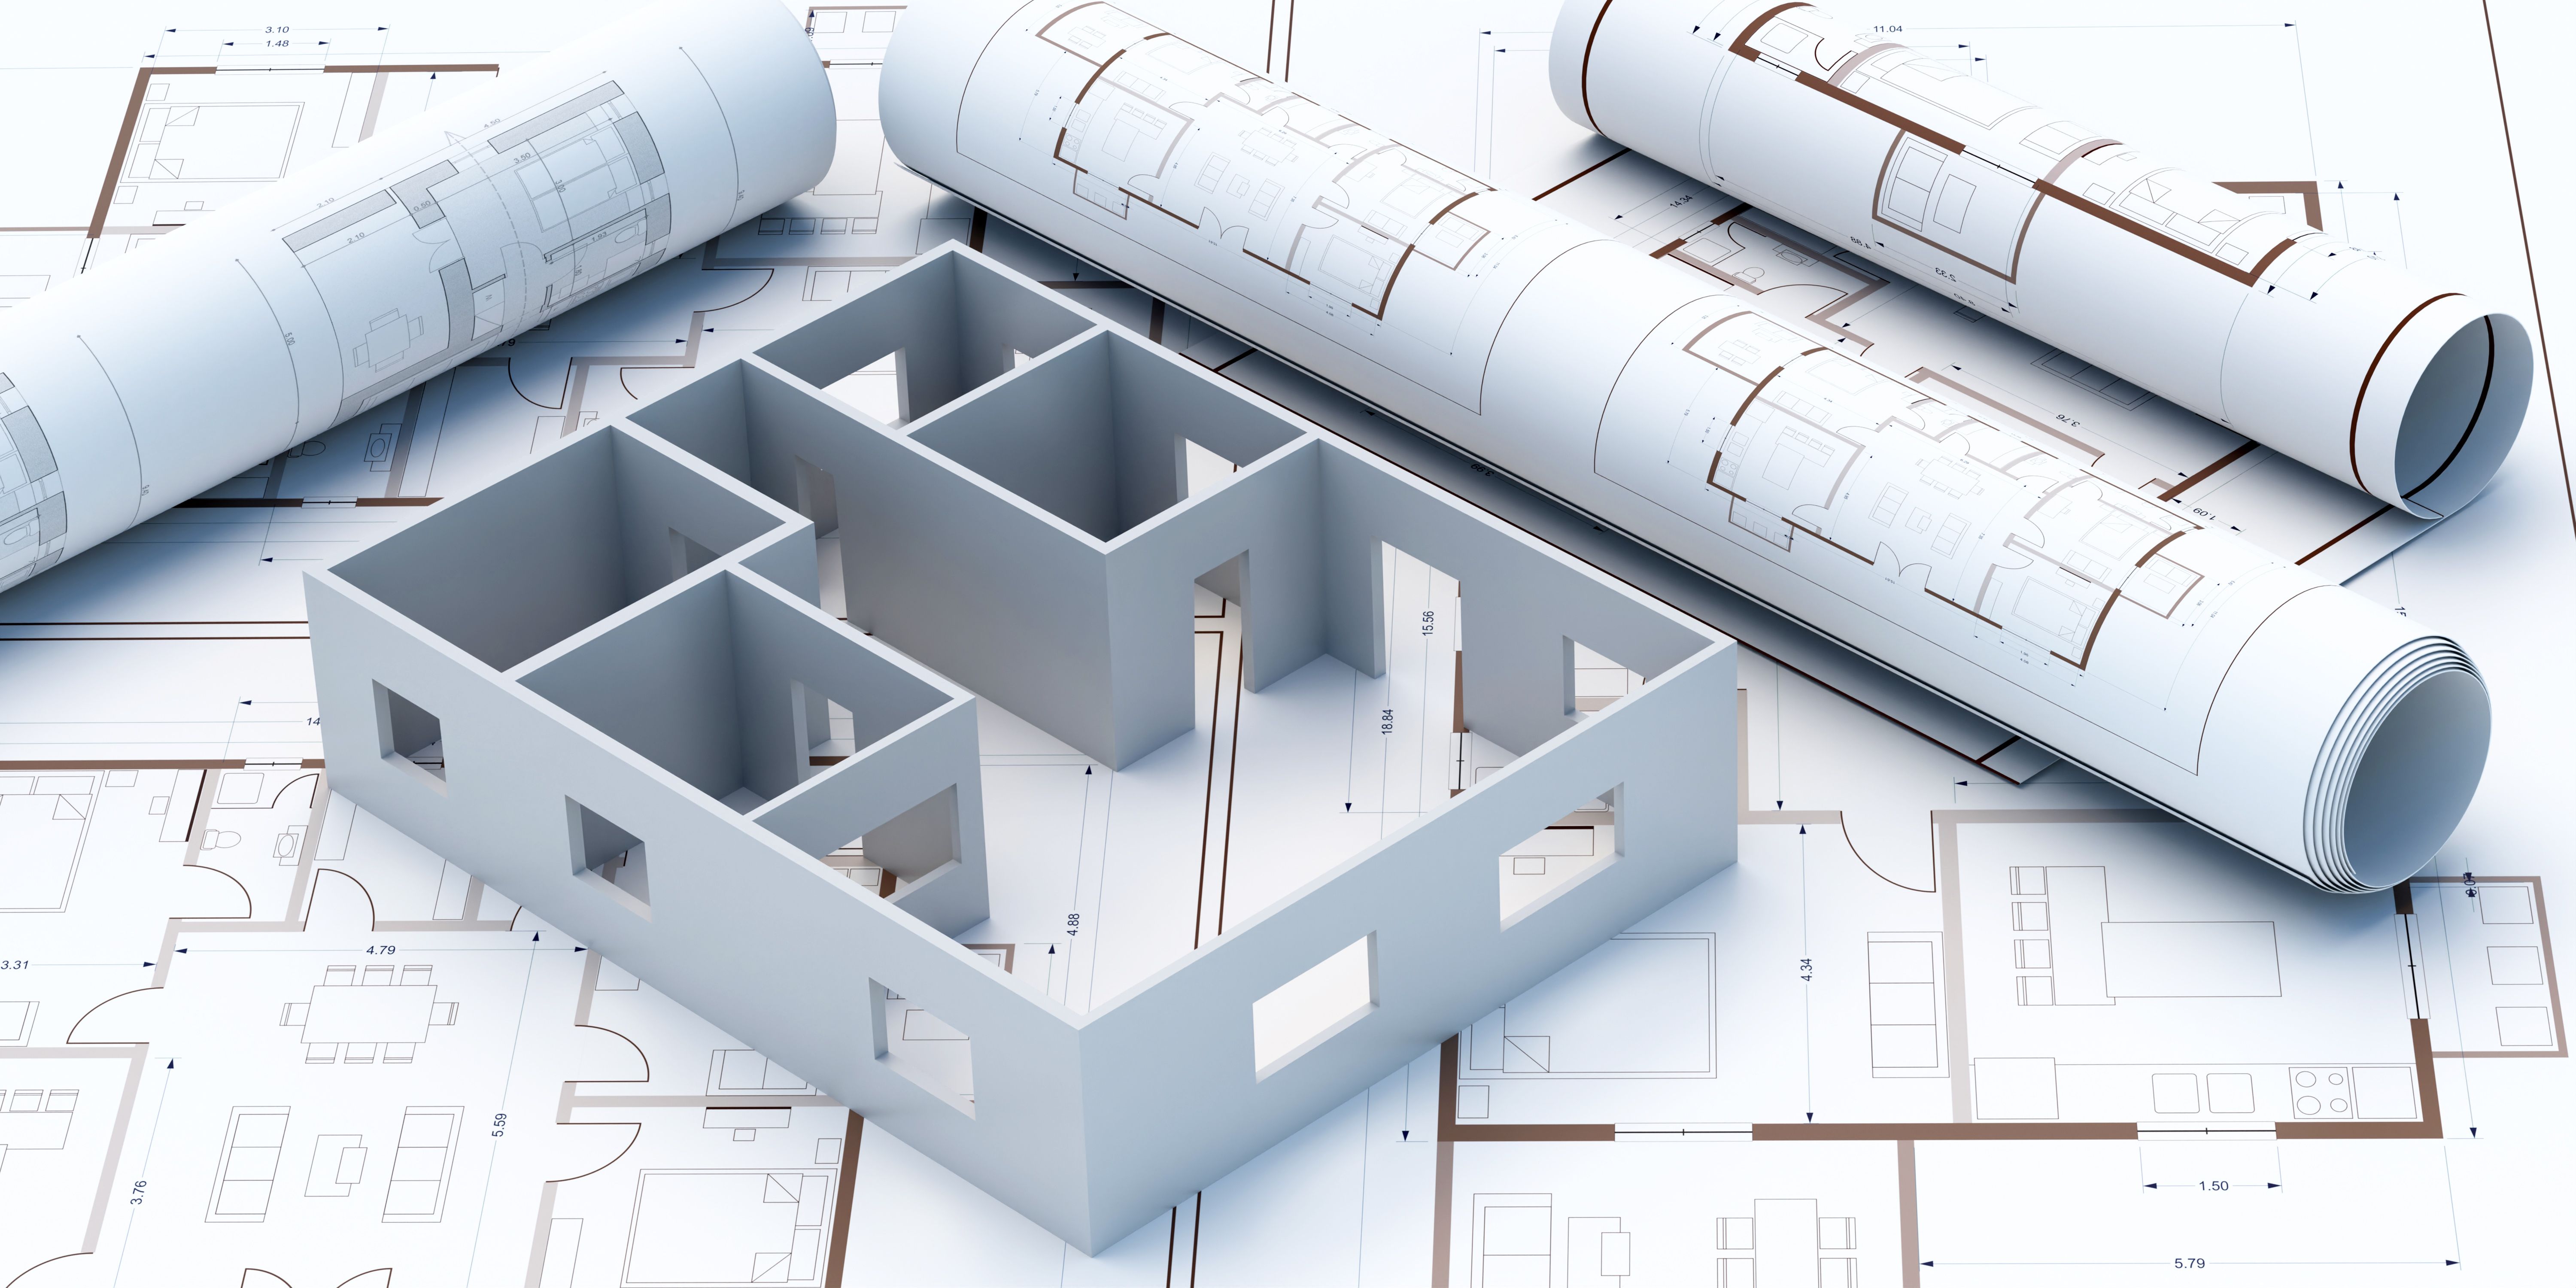
Planning the Layout
Before laying down the planks, plan your layout by measuring the room and determining how the planks will be arranged. Start from one corner of the room and work your way across, allowing for expansion gaps between the planks and walls as per manufacturer's guidelines.
Laying the First Row
Begin laying the first row of planks along the longest wall. Use spacers to maintain expansion gaps between the planks and walls. Ensure that each plank is aligned perfectly to avoid any gaps or misalignments as you proceed with subsequent rows.
For a natural look, stagger the end joints of adjacent rows. This not only enhances visual appeal but also increases the floor's structural integrity.
Finishing Touches
Once all planks have been laid, remove the spacers and install baseboards or moldings to cover the expansion gaps. Make sure not to fasten these directly to the floor, allowing room for natural expansion and contraction of the LVP.
Finally, clean the floor thoroughly to remove any dust or debris accumulated during installation. Your new luxury vinyl plank floor is now ready to enjoy!

Conclusion
Installing luxury vinyl plank flooring can be a rewarding DIY project that significantly enhances a room's aesthetic and functionality. By following this step-by-step guide, you can achieve professional-looking results that will last for years. Whether you're refreshing an old space or designing a new one, LVP offers an elegant solution tailored to your needs. Enjoy your new flooring!