Flooring Installation in North York: A Step-by-Step DIY Guide


Introduction to DIY Flooring Installation
Installing new flooring in your North York home can dramatically enhance its aesthetic appeal and increase its value. While hiring a professional is a common choice, undertaking a DIY flooring installation project can be both satisfying and cost-effective. Whether you're a seasoned DIY enthusiast or a first-timer, this step-by-step guide will walk you through the process of installing your own floors.
Before you start, it's crucial to choose the right type of flooring for your needs. Consider factors such as durability, maintenance, and style to make an informed decision. Once you've selected your flooring, gather all the necessary tools and materials to ensure a smooth installation process.
Preparing Your Space
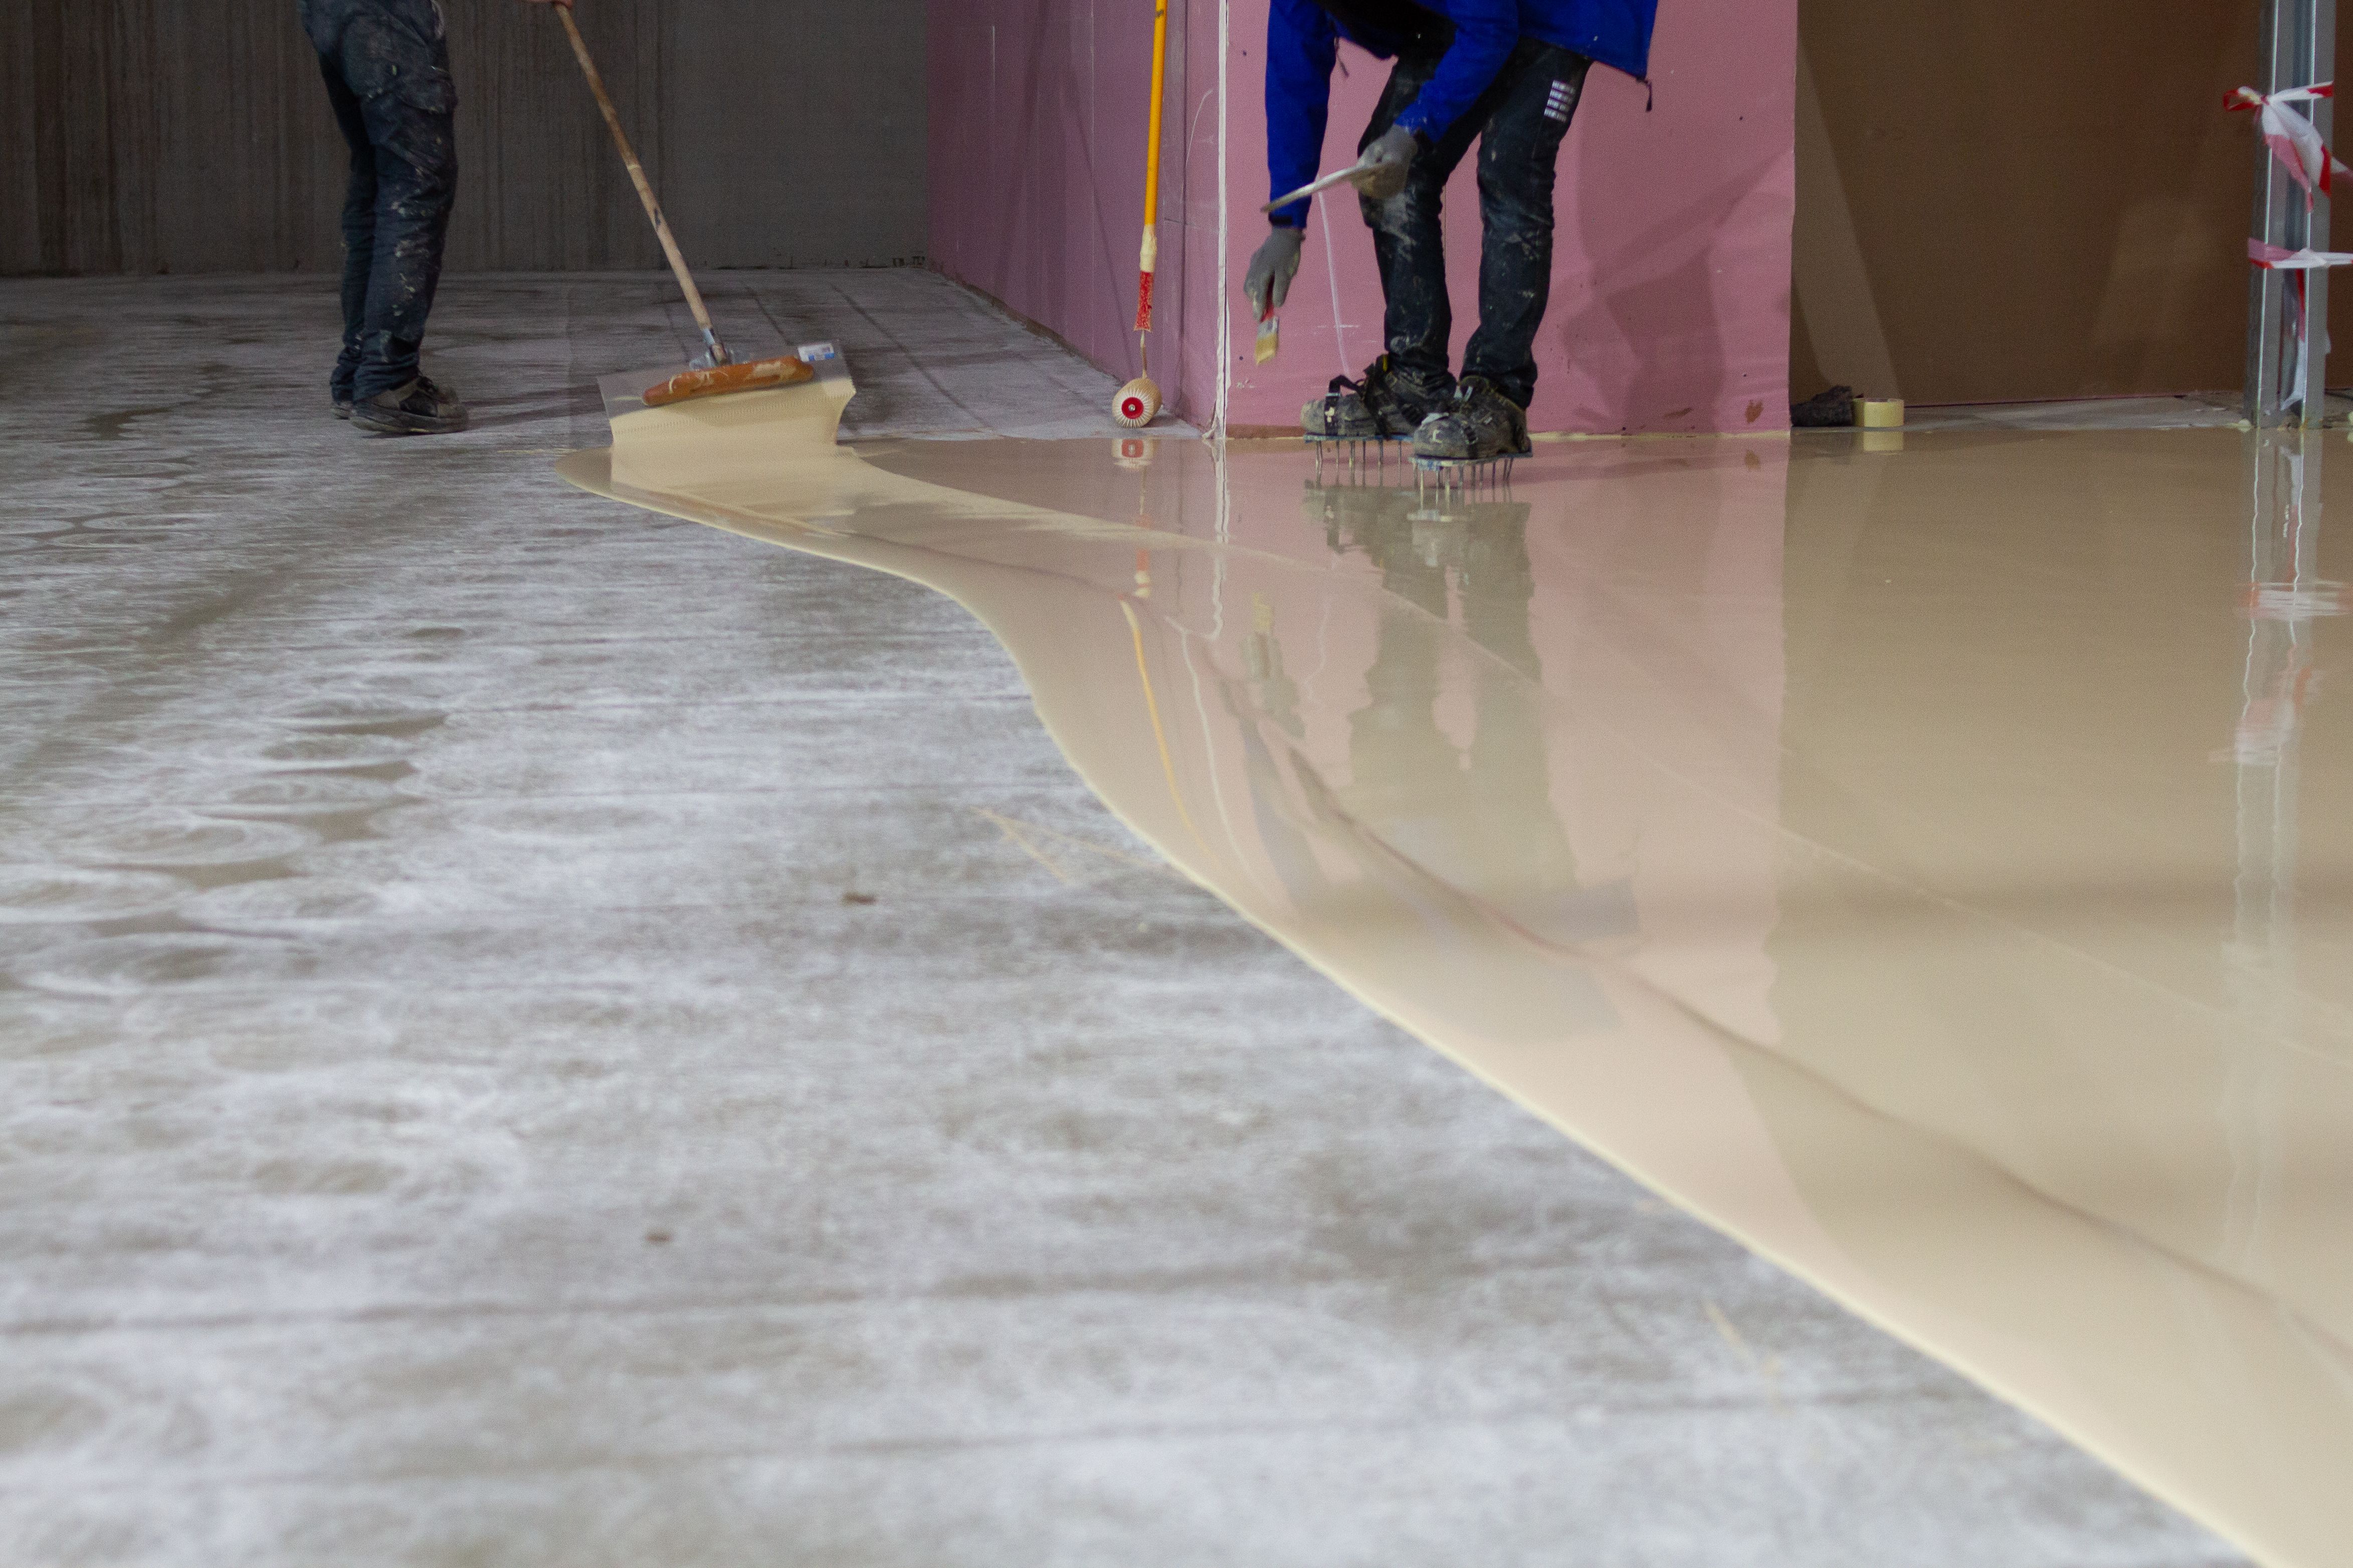
The first step in any flooring installation project is proper preparation. Clear the room of any furniture and ensure the subfloor is clean, dry, and level. Any imperfections in the subfloor can affect the appearance and performance of your new flooring.
Next, remove any existing flooring. If you're dealing with carpet, cut it into manageable sections for easier removal. For hardwood or laminate, use a pry bar to lift the planks. Once the old flooring is removed, inspect the subfloor for any damage or uneven areas that need repair.
Acclimating Your Flooring
Before installation, it's important to acclimate your new flooring to the room's environment. This step is crucial to prevent issues like warping or buckling later on. Lay out your flooring planks in the room for at least 48 hours, allowing them to adjust to the temperature and humidity.
While waiting, take this time to plan your layout. Decide on the direction of your planks for an appealing look. Typically, aligning planks with the longest wall or the direction of natural light enhances the room's appearance.
Installing Your New Flooring
With preparation complete, you're ready to start the installation. Begin by laying down a moisture barrier if required, followed by underlayment for added comfort and soundproofing. These layers are essential for a long-lasting and comfortable floor.
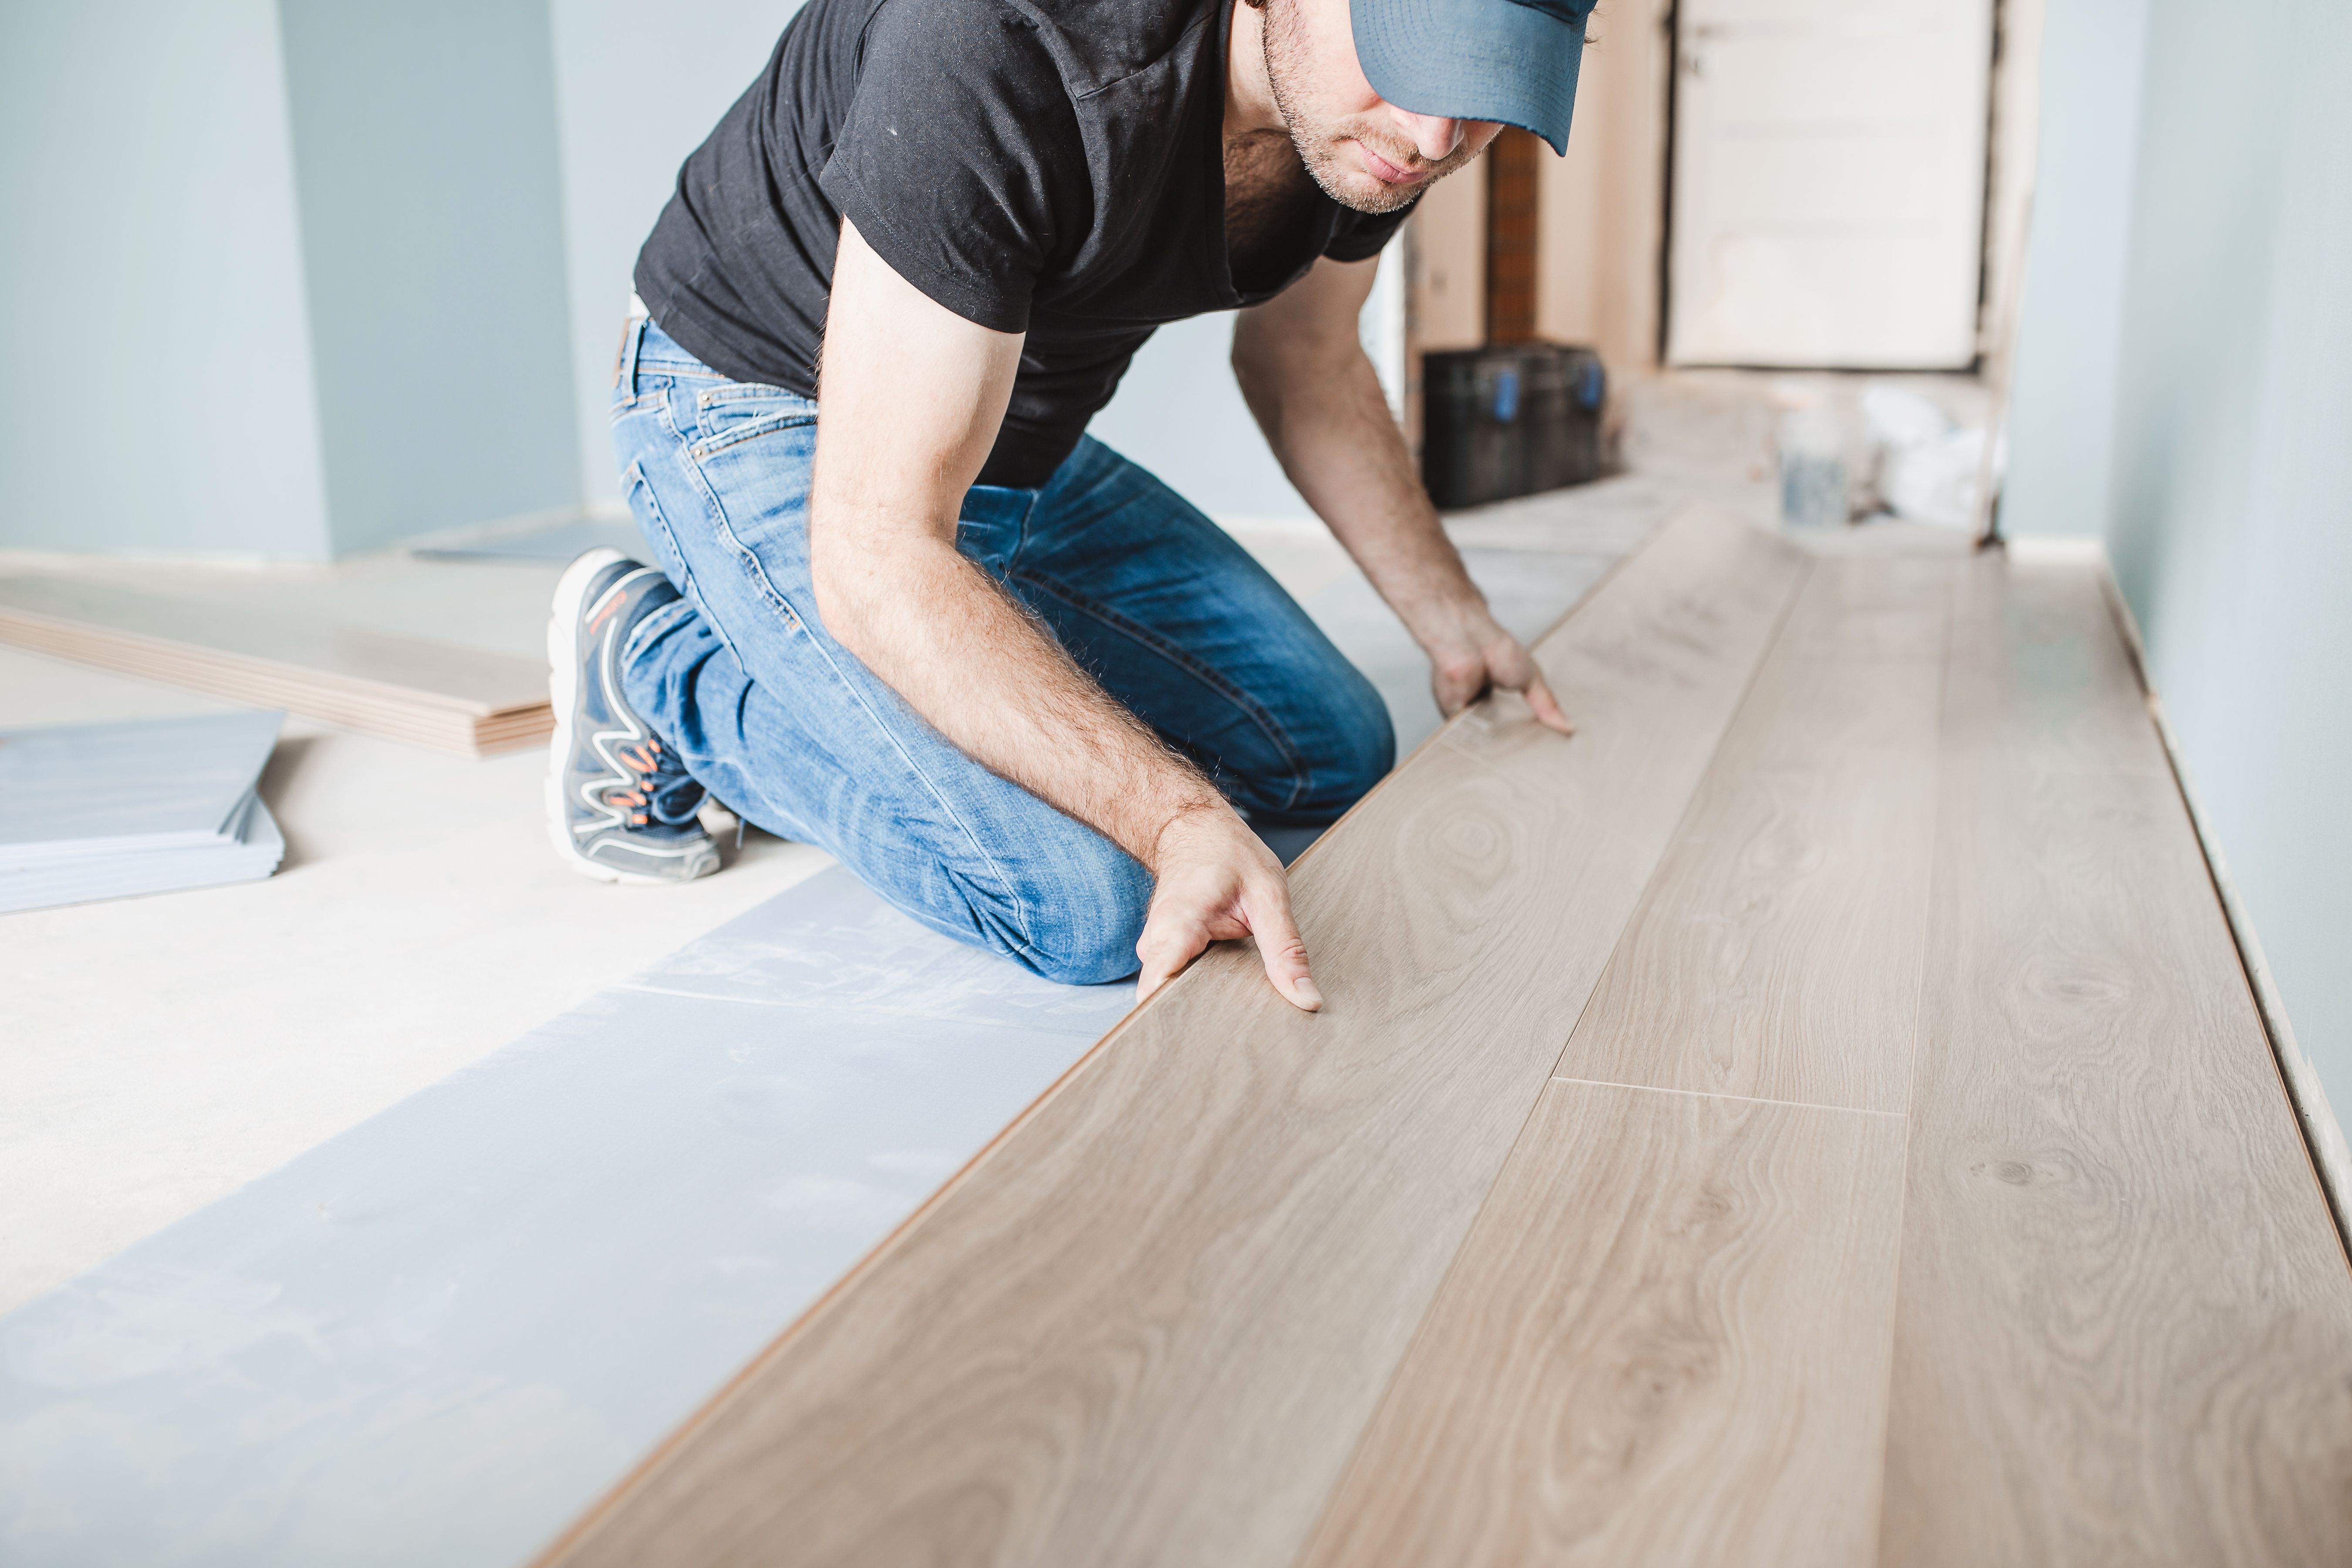
Start laying your first row of planks along one wall, using spacers to maintain an expansion gap between the planks and the wall. This gap allows for natural expansion and contraction with temperature changes.
Continuing and Finishing Installation
Once the first row is in place, continue with subsequent rows. Use a tapping block and mallet to fit planks snugly together without damaging them. Stagger the seams for a more natural look and increased strength.
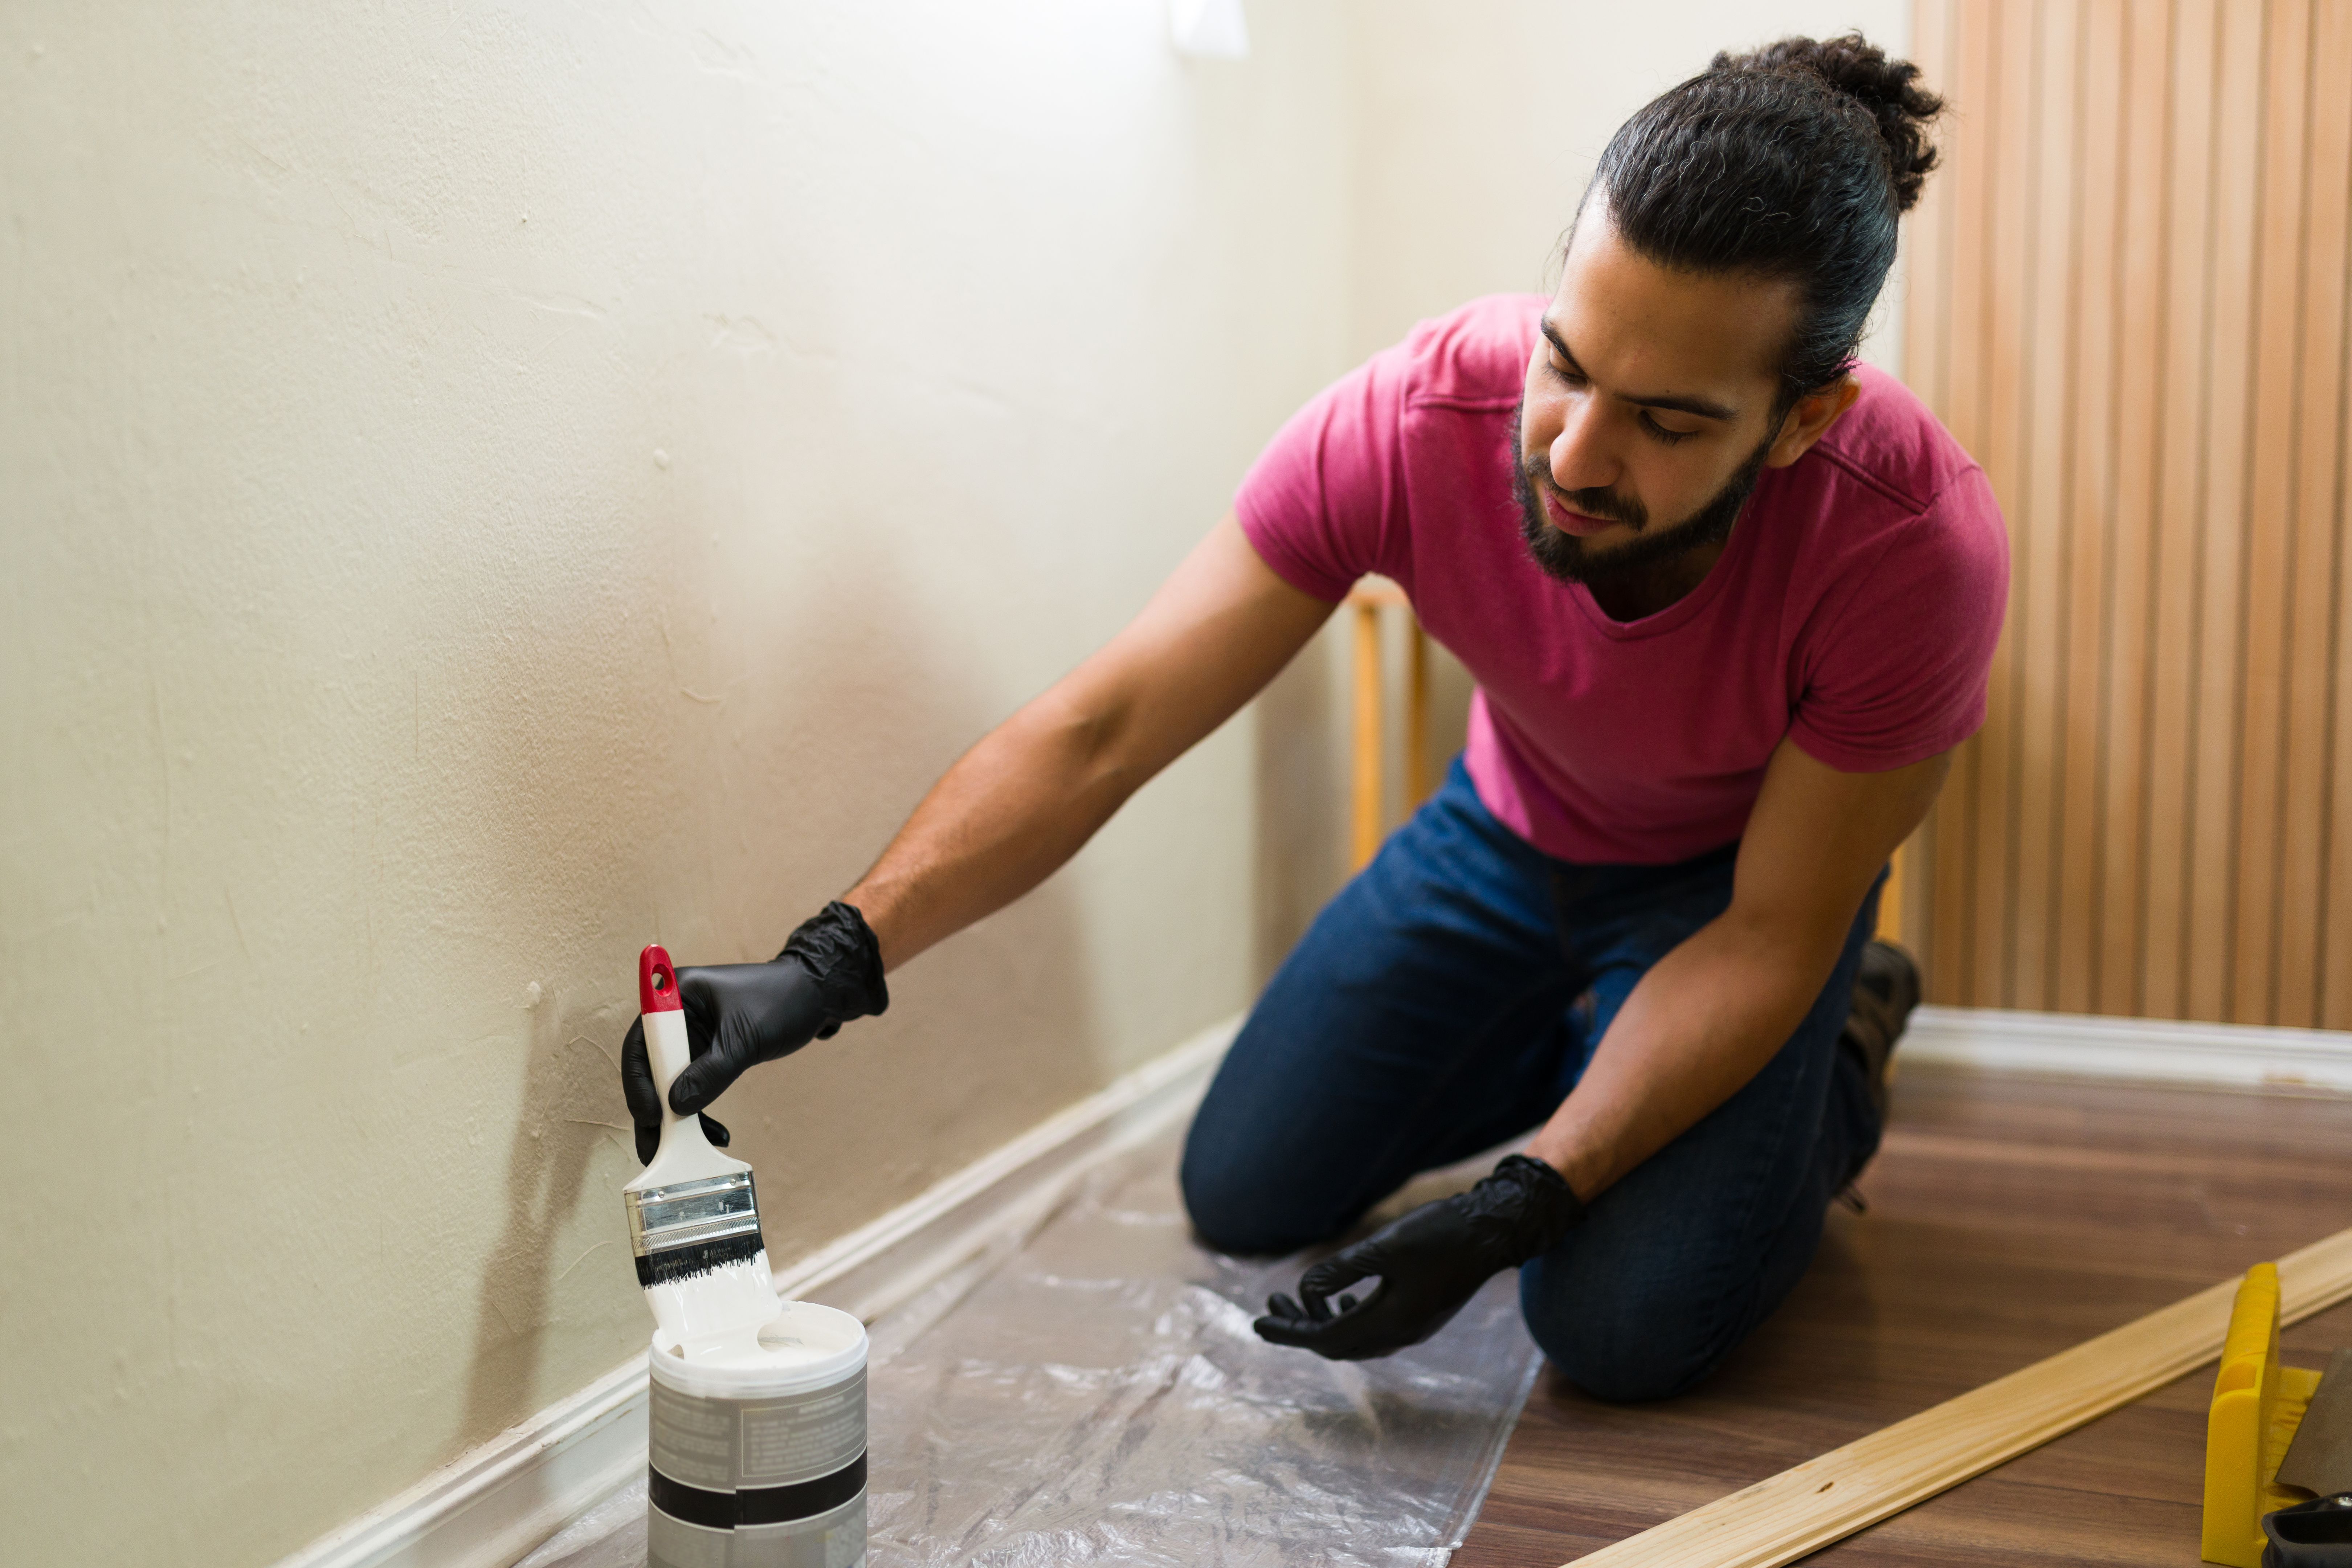
As you reach the final row, measure and cut the planks to fit. Remember to maintain the expansion gap along all walls. After installing all planks, remove spacers and install baseboards or shoe molding to cover gaps and add a polished finish.
Final Touches and Maintenance
With your new flooring installed, take time to clean up any debris and give your floor a good cleaning with products suitable for its material. This not only enhances its appearance but also prolongs its life.
Regular maintenance is key to keeping your new floors in top condition. Use rugs in high-traffic areas, clean spills immediately, and follow manufacturer recommendations for cleaning products and procedures.
By following this step-by-step guide, you'll enjoy the satisfaction of a successful DIY flooring installation in your North York home. Not only will you save money on labor costs, but you'll also gain valuable skills for future projects.