DIY Vinyl Flooring Installation: Step-by-Step Guide for Beginners


Why Choose Vinyl Flooring?
Vinyl flooring is a popular choice for homeowners due to its durability, affordability, and variety of designs. Whether you're looking to refresh a single room or your entire home, vinyl flooring offers a versatile solution that combines style and function. Easy maintenance and water resistance make it particularly suitable for kitchens and bathrooms.
Gather Your Tools and Materials
Before you start, make sure you have all the necessary tools and materials. Here's a list of what you'll need:
- Vinyl flooring planks or tiles
- Utility knife
- Tape measure
- Carpenter's square
- Adhesive (if required)
- Rubber mallet
- Underlayment (optional)
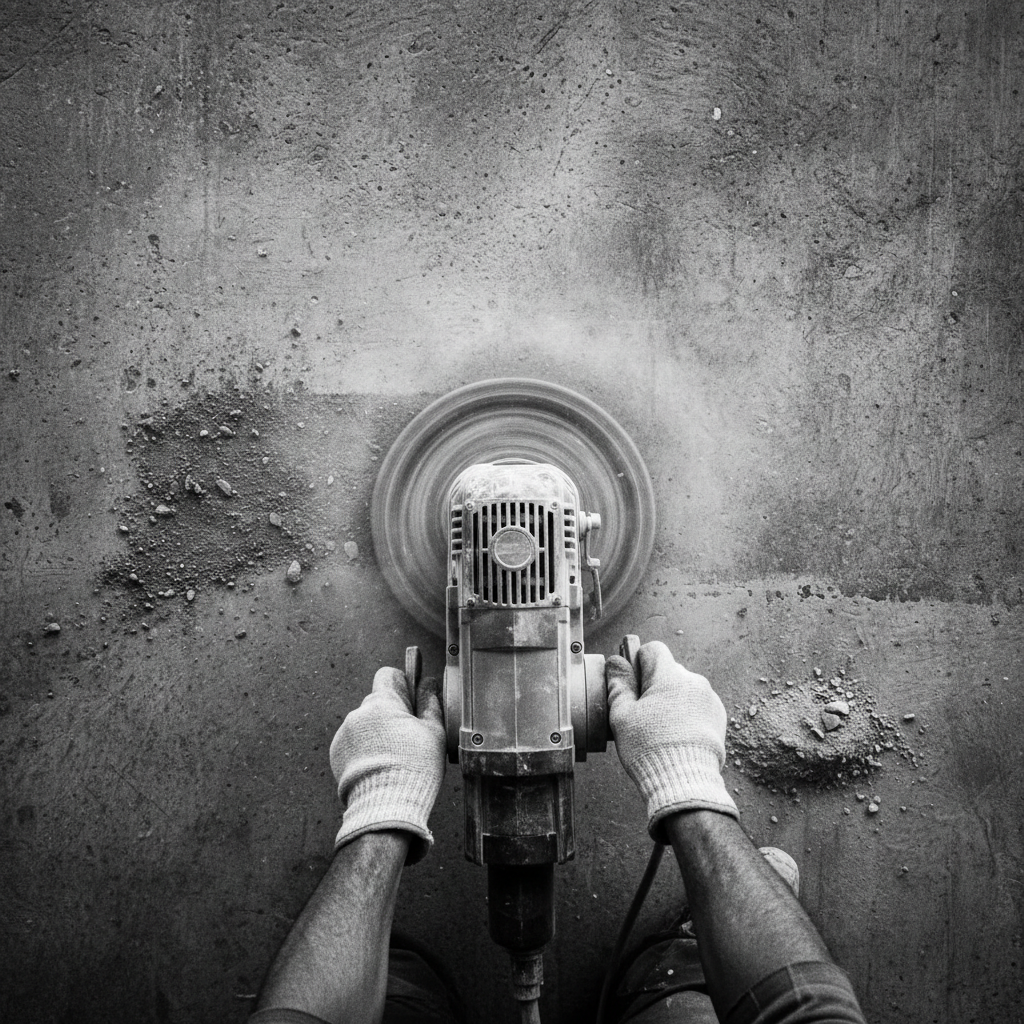
Preparing the Subfloor
Proper preparation of the subfloor is crucial for a successful installation. Ensure the subfloor is clean, dry, and level. Remove any old flooring and debris. If there are any imperfections, smooth them out with a patching compound. A well-prepared subfloor will help your vinyl flooring last longer and look better.
Measure and Plan Your Layout
Accurate measurements are key to a successful vinyl flooring installation. Measure the length and width of the room to determine how much flooring you'll need. Plan your layout by deciding the direction in which you'll lay the planks or tiles. This is particularly important if you're using patterned designs that need alignment.
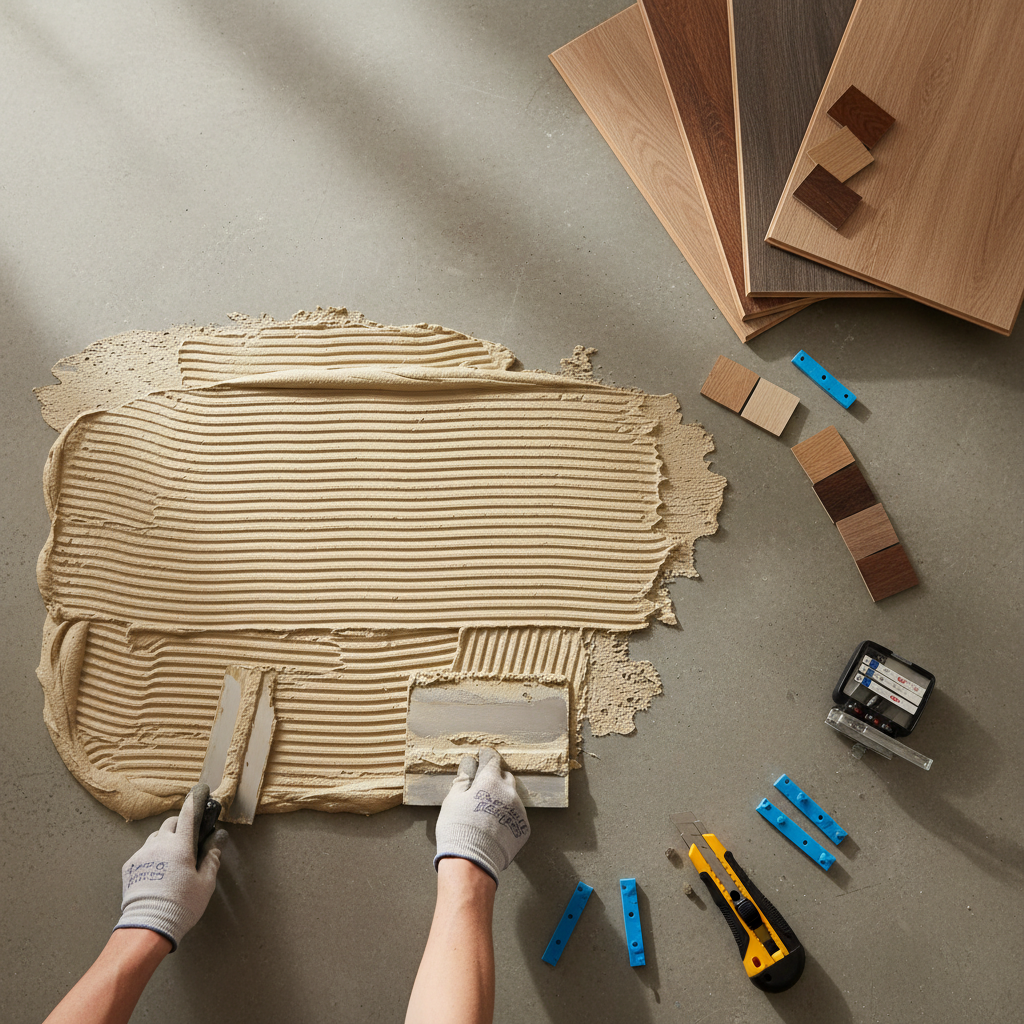
Cutting and Fitting the Vinyl
Once you have your layout planned, begin cutting the vinyl planks or tiles to fit the space. Use a utility knife and a carpenter's square for precise cuts. Remember to leave a small gap around the edges to allow for expansion, typically about 1/4 inch.
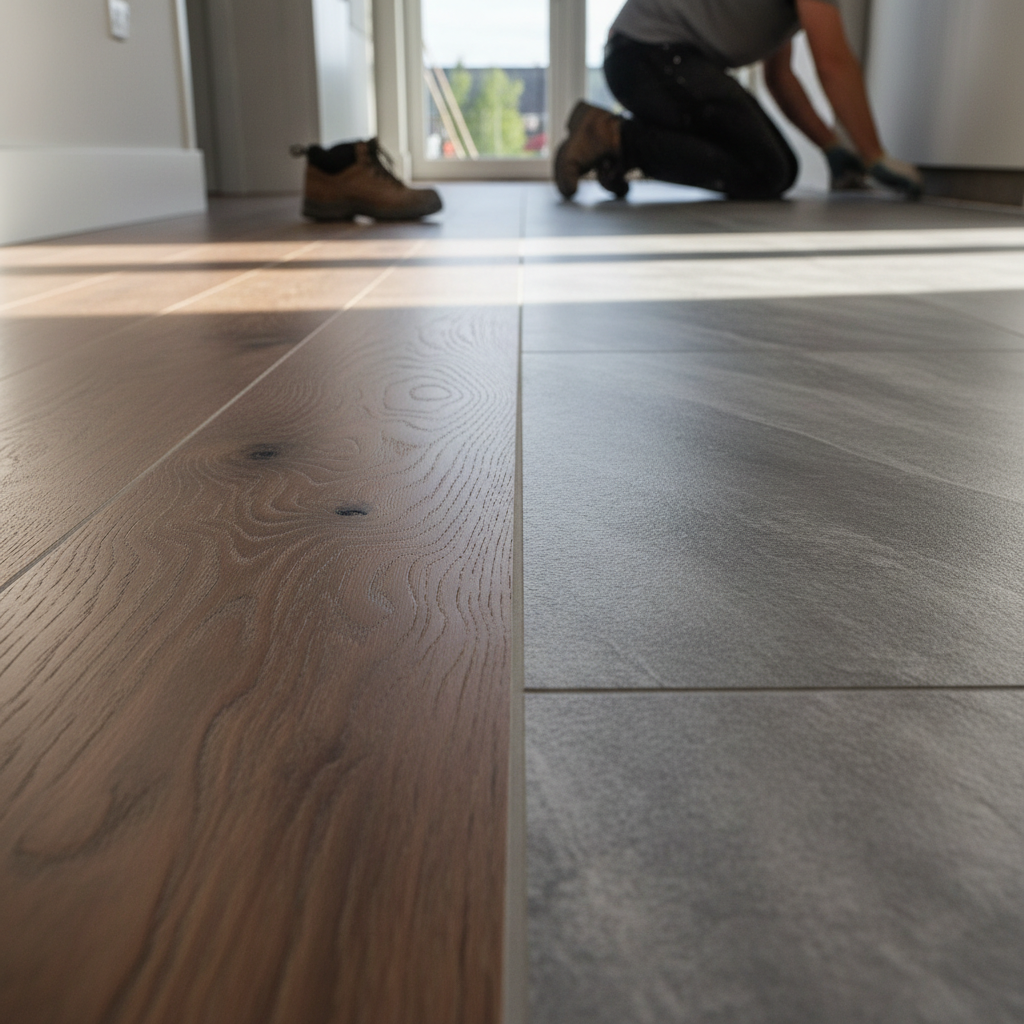
Begin the Installation
Start installing your vinyl flooring from one corner of the room, working your way out. If using a click-lock system, align the planks and click them into place. For adhesive vinyl, apply the adhesive according to the manufacturer's instructions and firmly press the tiles or planks into place.
Finishing Touches
Once all the vinyl is laid, use a rubber mallet to ensure all pieces are securely in place. Install any necessary trim or moldings around the edges to cover expansion gaps and give your floor a finished look.

Enjoy Your New Floor
Congratulations! You've successfully installed your vinyl flooring. Not only have you added value and beauty to your home, but you've also achieved a sense of accomplishment by completing this DIY project. Regular cleaning and maintenance will keep your new floor looking great for years to come.