DIY Tips for Installing Laminate Floors in Etobicoke


Installing laminate floors can be a rewarding DIY project that adds value and beauty to your home. If you're in Etobicoke and considering this upgrade, you're in the right place. With the right tools and a bit of patience, you can transform your floors without needing a professional.
Preparing Your Space
Before you begin, it's crucial to prepare your space properly. Start by removing all furniture from the room. If your floor has existing carpet or tiles, you'll need to remove these as well. Once the space is cleared, clean the subfloor thoroughly to ensure it's free from debris and dust.
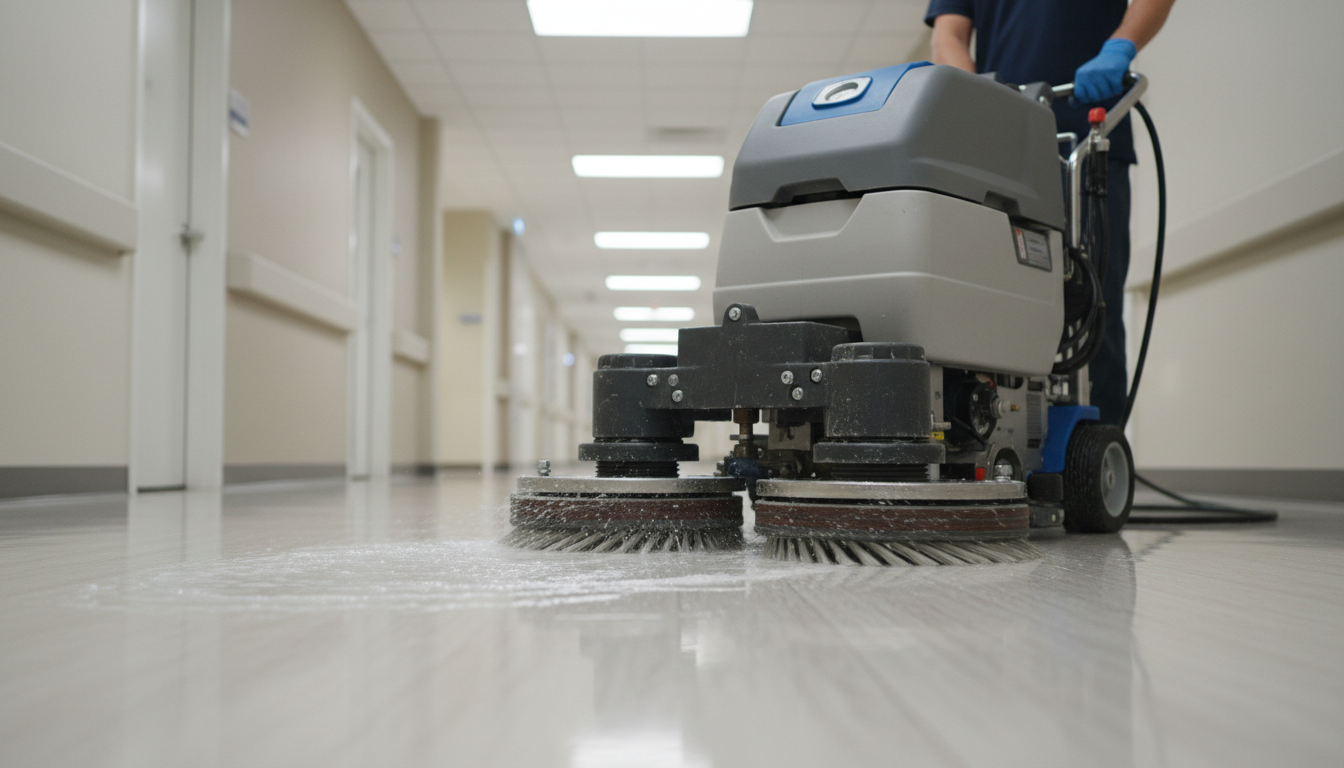
Next, check the subfloor for any uneven areas. Laminate needs a smooth surface for a successful installation. Use a leveling compound to address any dips or high spots. This step is vital for preventing future issues with your laminate floor.
Gathering the Right Tools
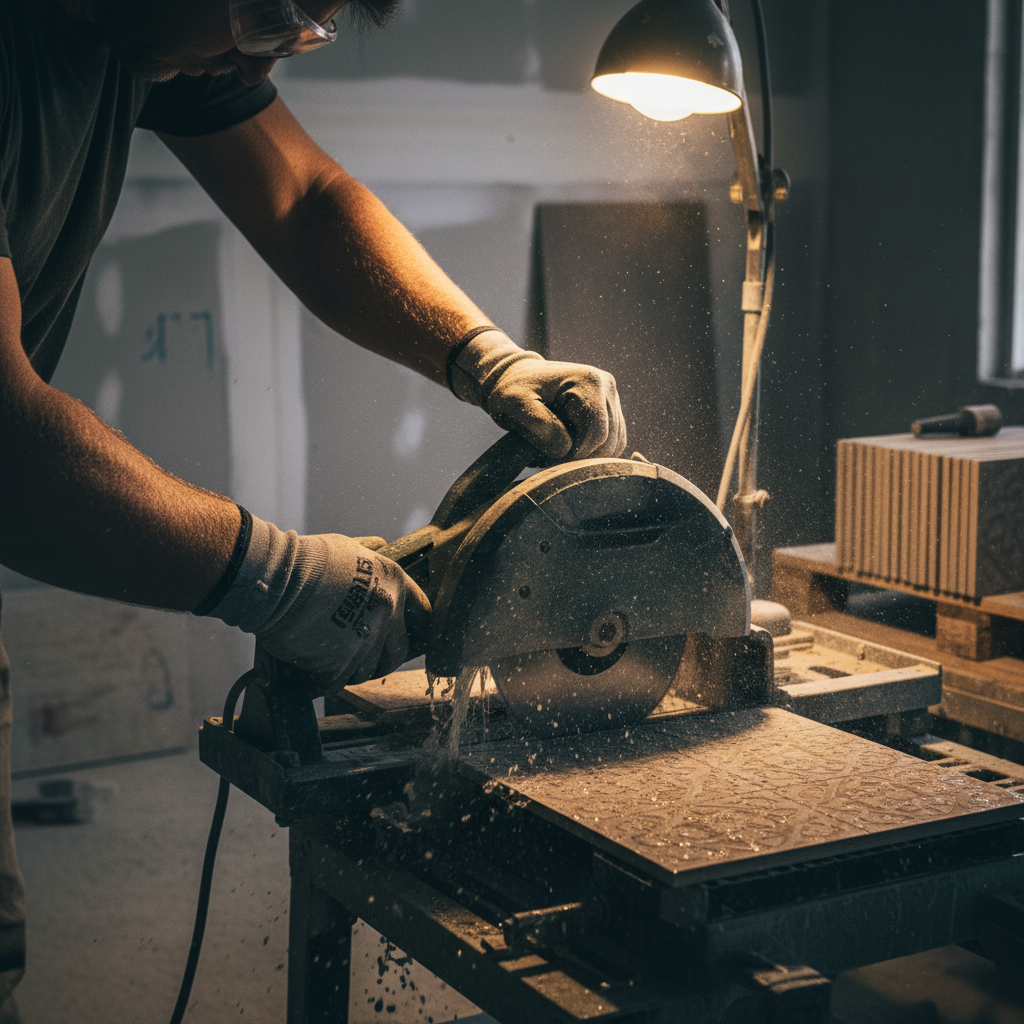
Having the right tools on hand will make the installation process much smoother. You'll need a saw (a jigsaw or circular saw works well), a tapping block, a pull bar, spacers, and a measuring tape. Additionally, consider using knee pads to make the installation more comfortable.
Acclimating Your Laminate
Laminates need to acclimate to the room's environment before installation. Place the unopened boxes of laminate in the room where they'll be installed for at least 48 hours. This allows the material to adjust to the temperature and humidity, reducing the risk of expansion or contraction after installation.
During this time, it's a good idea to review the manufacturer's instructions. Each laminate brand may have specific guidelines that are crucial for a successful installation.
Installation Process
Start by laying an underlayment, which acts as a moisture barrier and provides cushioning. Roll it out across the floor, making sure to cover the entire area. Secure the underlayment with tape at the seams.
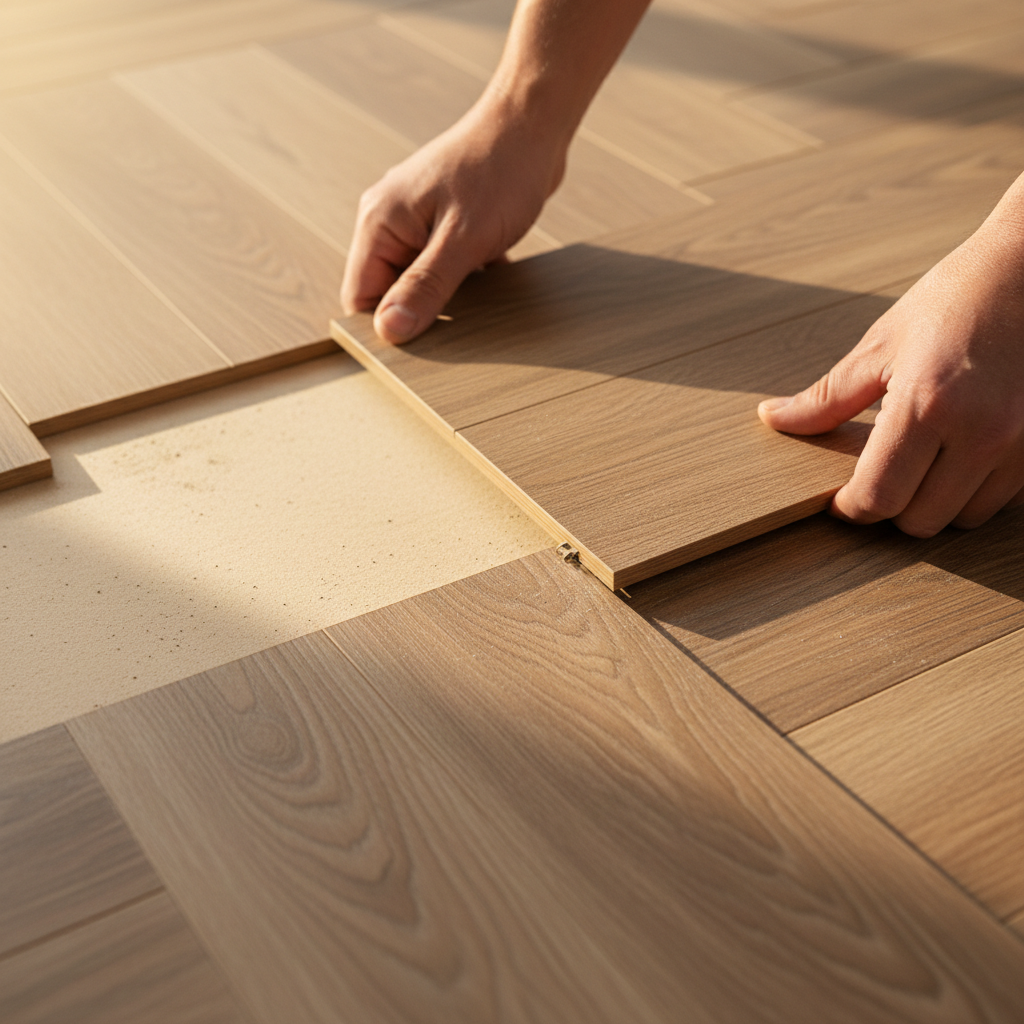
Begin installing the laminate planks along the longest wall, placing spacers between the planks and the wall to allow for expansion. Connect the planks by aligning the tongues and grooves, using a tapping block to ensure a snug fit.
Dealing with Obstacles
When encountering door frames or vents, measure and cut the planks accordingly. A jigsaw can be particularly useful for intricate cuts around obstacles. Remember to maintain the expansion gap around these areas as well.
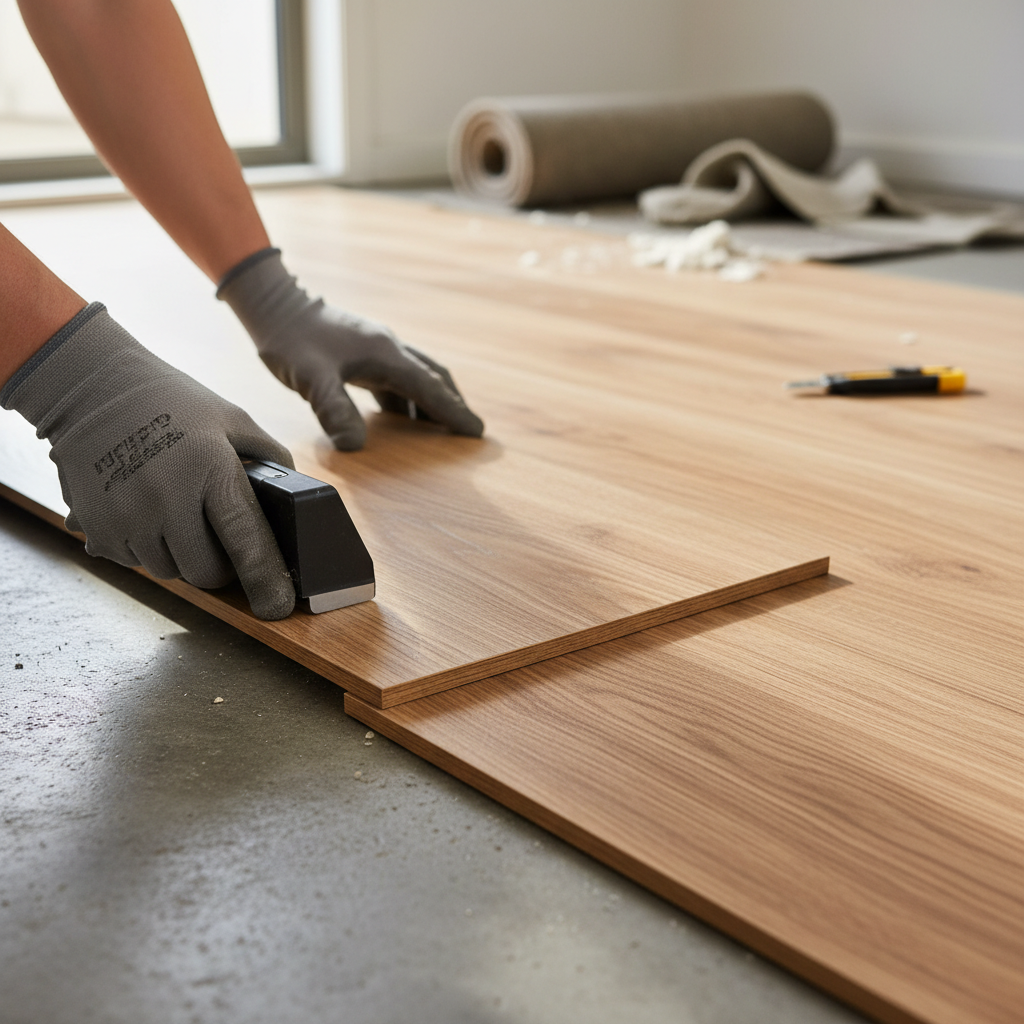
As you approach the final row, you may need to cut the planks lengthwise to fit. Use a pull bar to secure the last row in place.
Finishing Touches
Once all the planks are installed, remove the spacers and install baseboards to cover the expansion gaps. This not only provides a finished look but also secures the flooring perimeter.
Finally, move your furniture back into the room carefully. Consider using furniture pads to prevent scratches on your new floor. With your laminate floor installed, enjoy the fresh, updated look of your space!