DIY Tips for Installing Engineered Hardwood Floors


Understanding Engineered Hardwood Floors
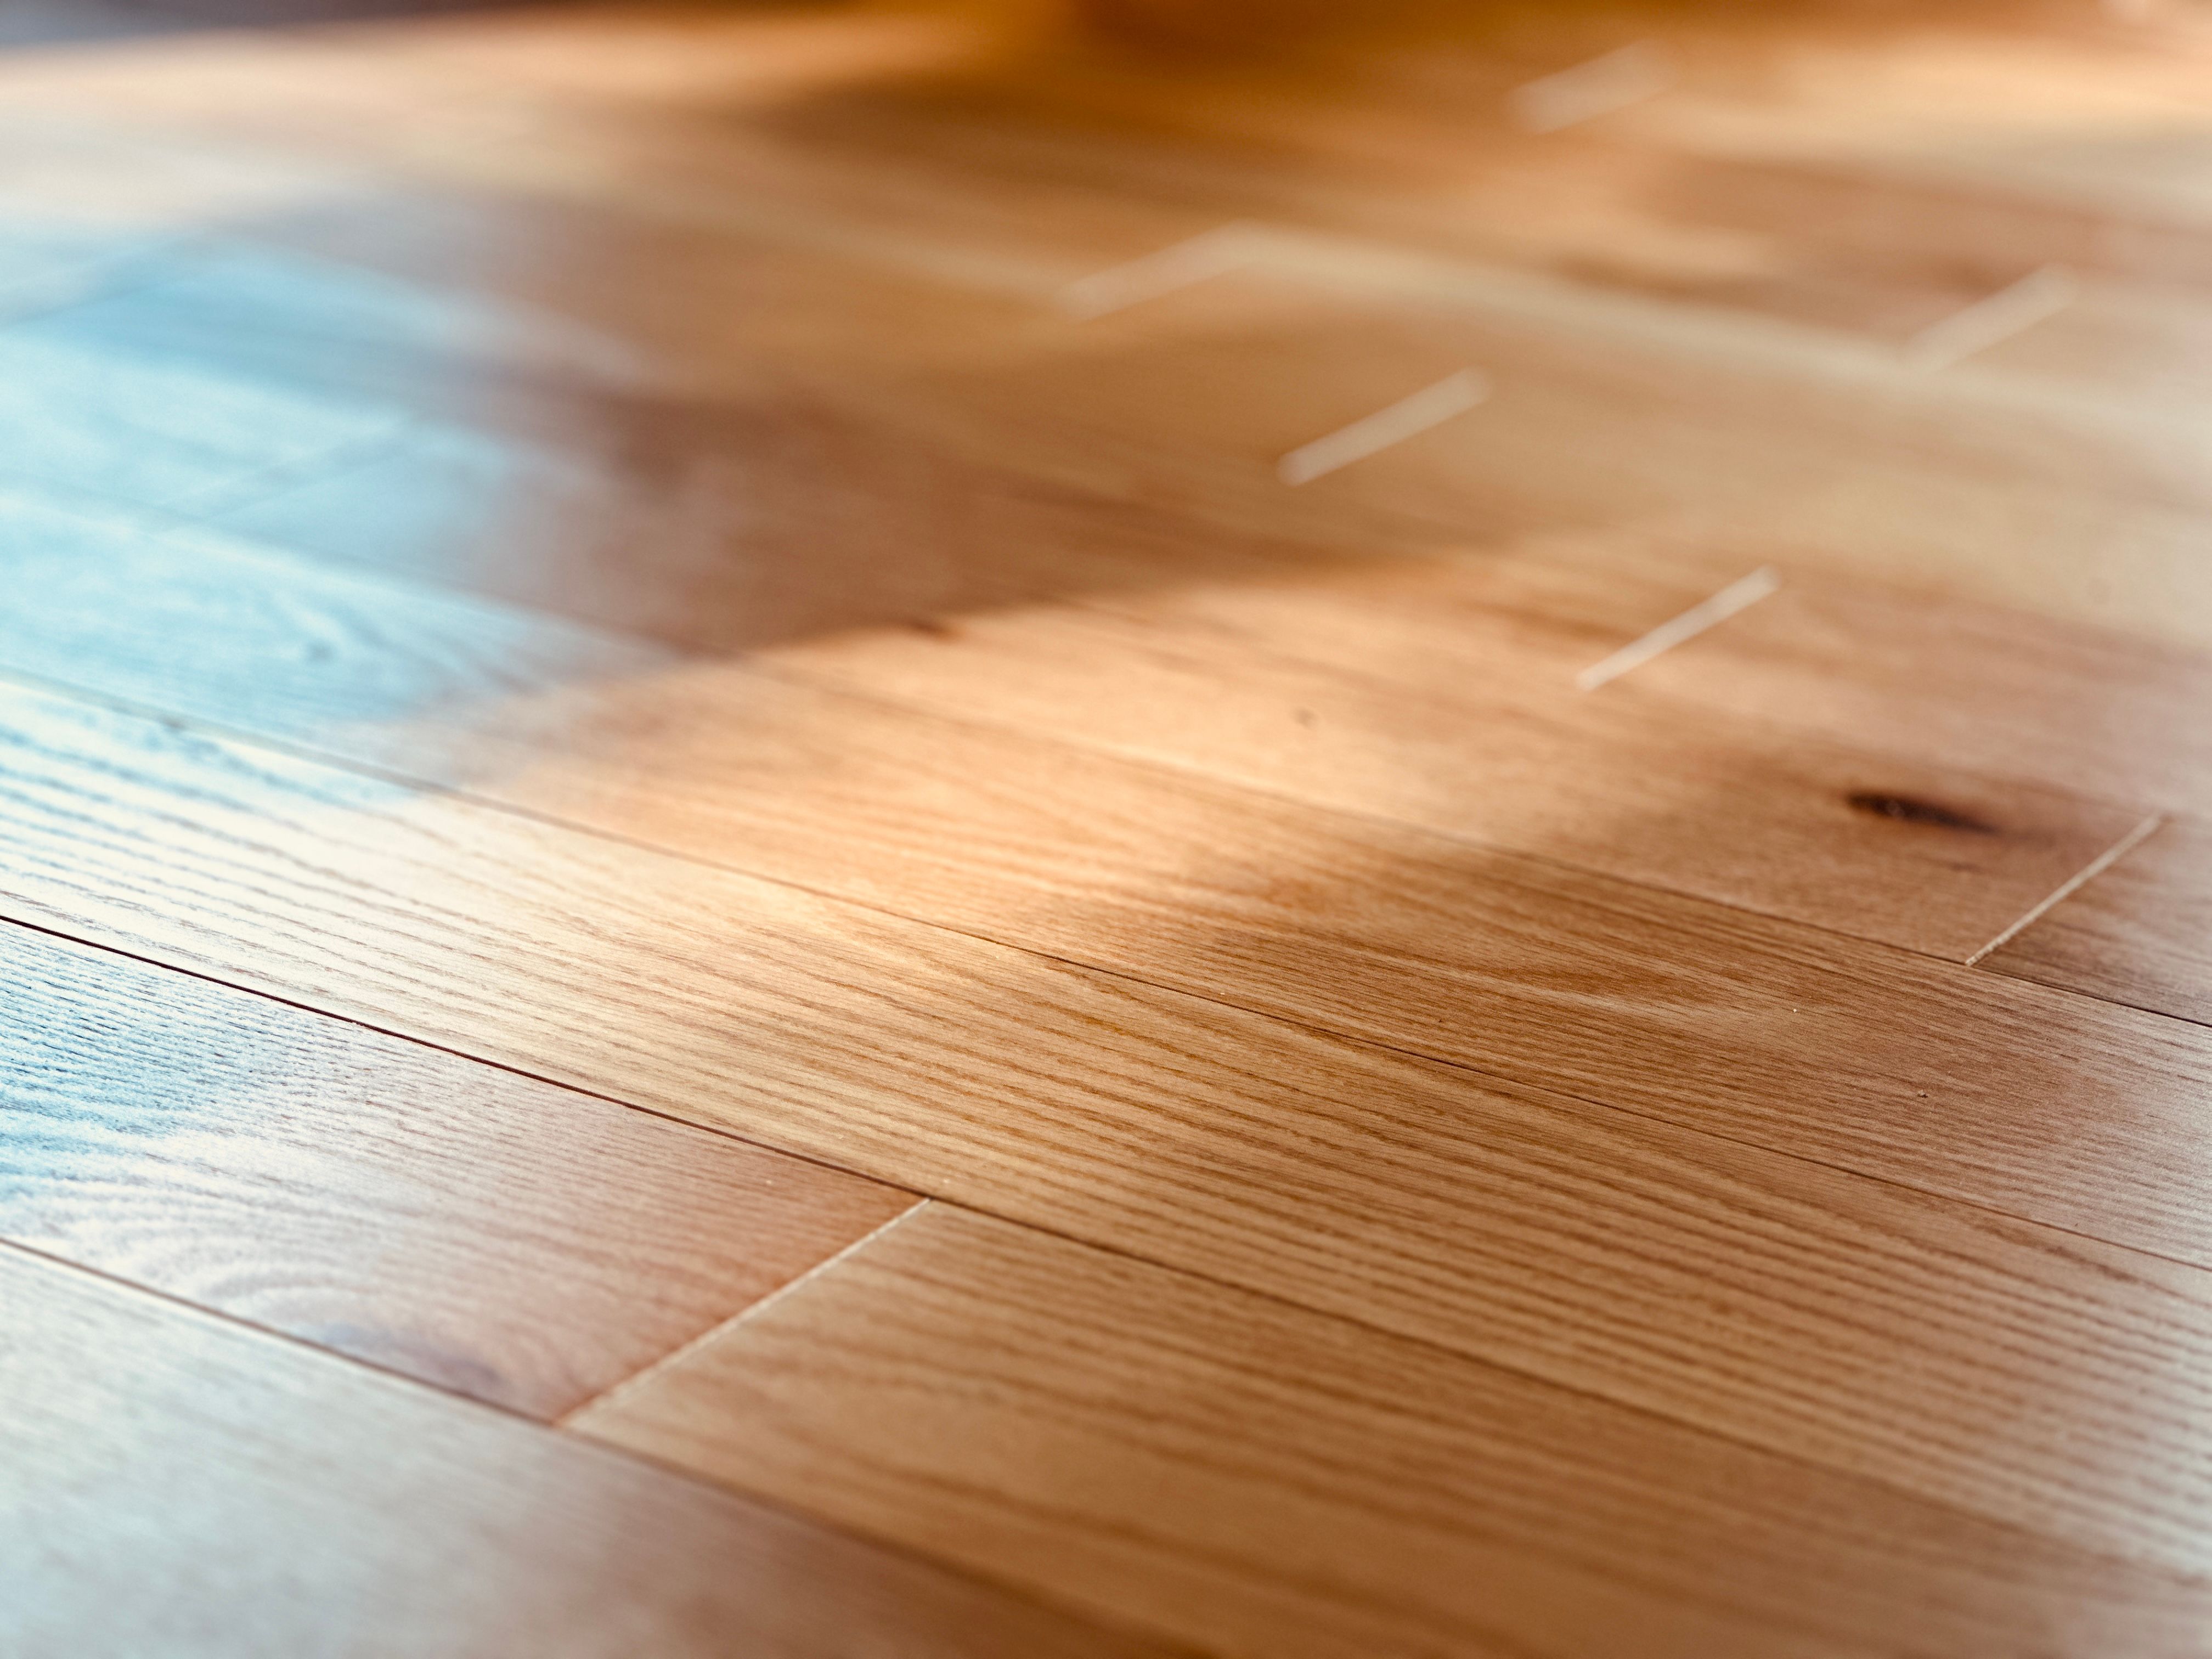
Engineered hardwood floors are a popular choice for homeowners due to their durability and aesthetic appeal. Unlike solid hardwood, engineered wood consists of multiple layers, making it more stable and less susceptible to changes in humidity and temperature. This stability makes it an excellent choice for DIY installation.
Gathering Your Tools and Materials
Before you start, ensure you have all the necessary tools and materials. You'll need a tape measure, a saw for cutting the planks, a hammer, a tapping block, spacers, and a moisture barrier. Additionally, purchase enough engineered hardwood planks to cover your floor, accounting for extra in case of mistakes or future repairs.
Preparing the Subfloor
Proper preparation of the subfloor is crucial for a successful installation. Ensure your subfloor is clean, dry, and level. Any imperfections can lead to issues down the road. Use a leveling compound to correct any uneven areas, and vacuum thoroughly to remove dust and debris.

Acclimating Your Hardwood
Before installation, allow your engineered hardwood to acclimate to the room's climate. Lay the planks out in the installation area for at least 48 hours. This process helps the wood adjust to the room's temperature and humidity, minimizing the risk of warping after installation.
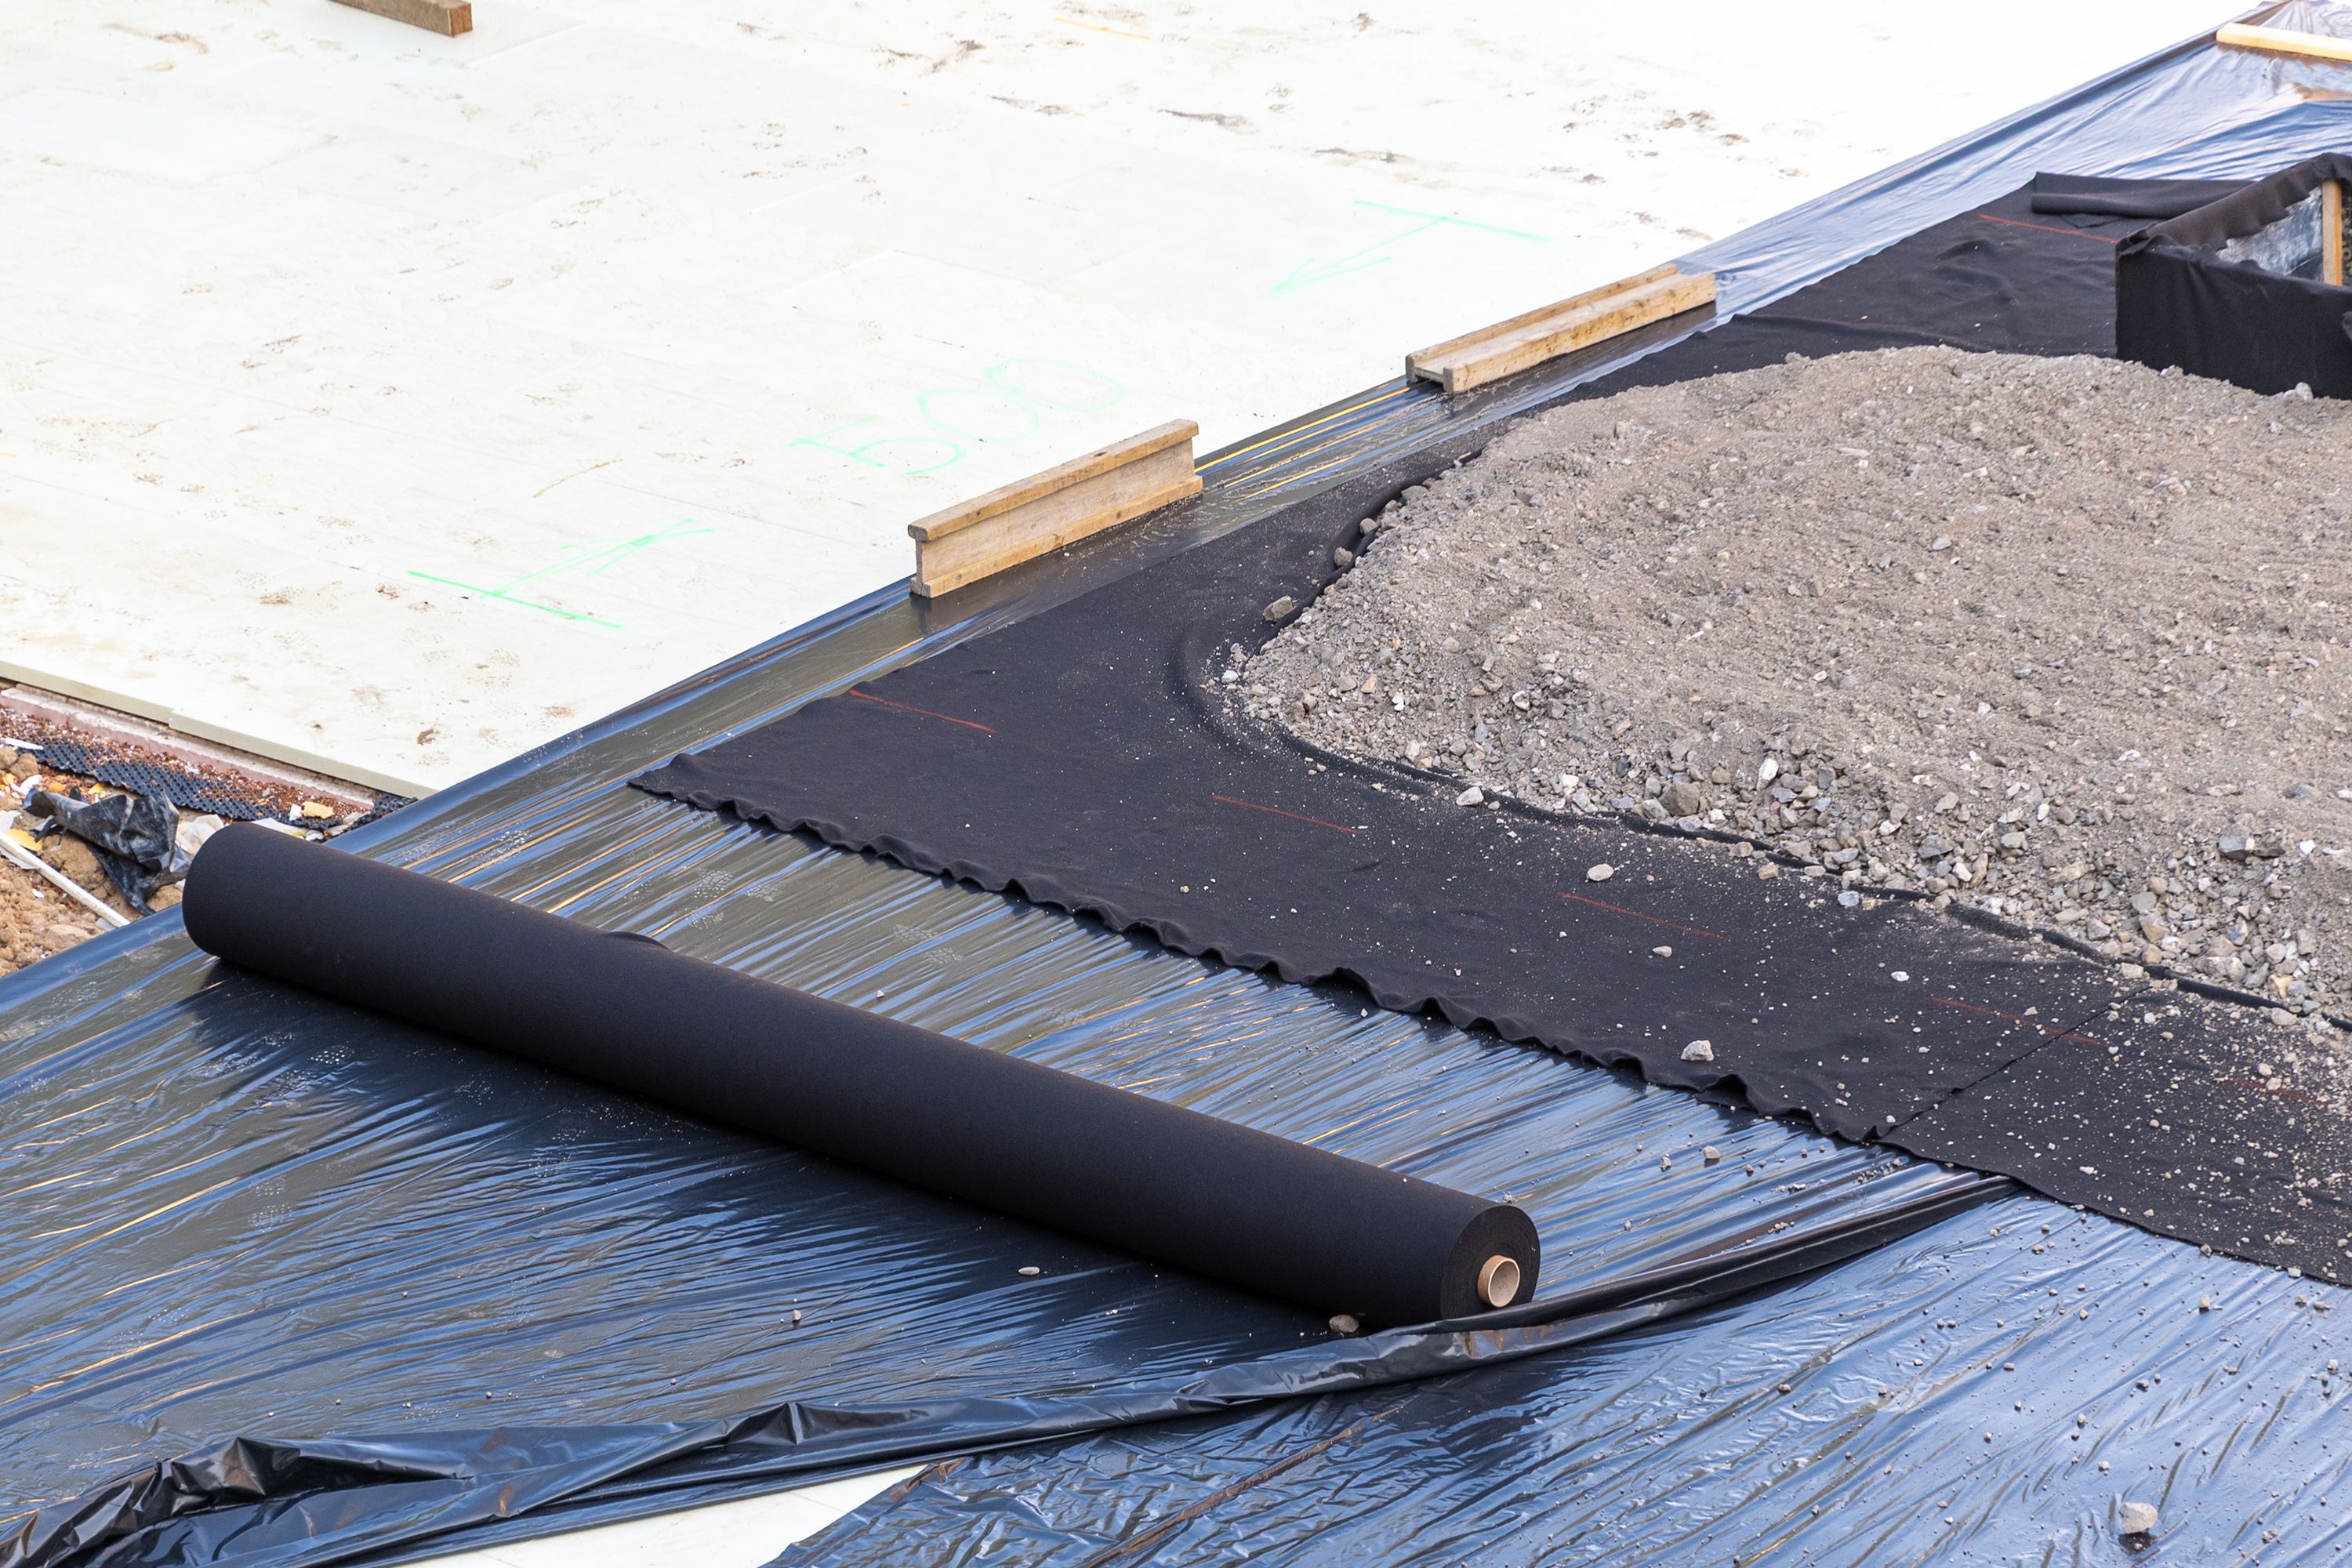
Installing the Moisture Barrier
To protect your floors from moisture, install a moisture barrier before laying down the hardwood. Roll it out across the entire floor, ensuring that the edges overlap slightly. This barrier is essential, especially in areas prone to moisture such as basements.
Laying Down the Planks
Start laying the planks in the longest, straightest wall of the room. Use spacers between the wall and the planks to allow for expansion. Fit the planks together by aligning the tongue and groove joints, gently tapping them into place with a tapping block and hammer.
Handling Obstacles
When encountering obstacles like door frames or vents, measure and cut the planks to fit around them. Precision is key, so take your time to ensure a snug fit. Remember to maintain the expansion gap around these areas as well.
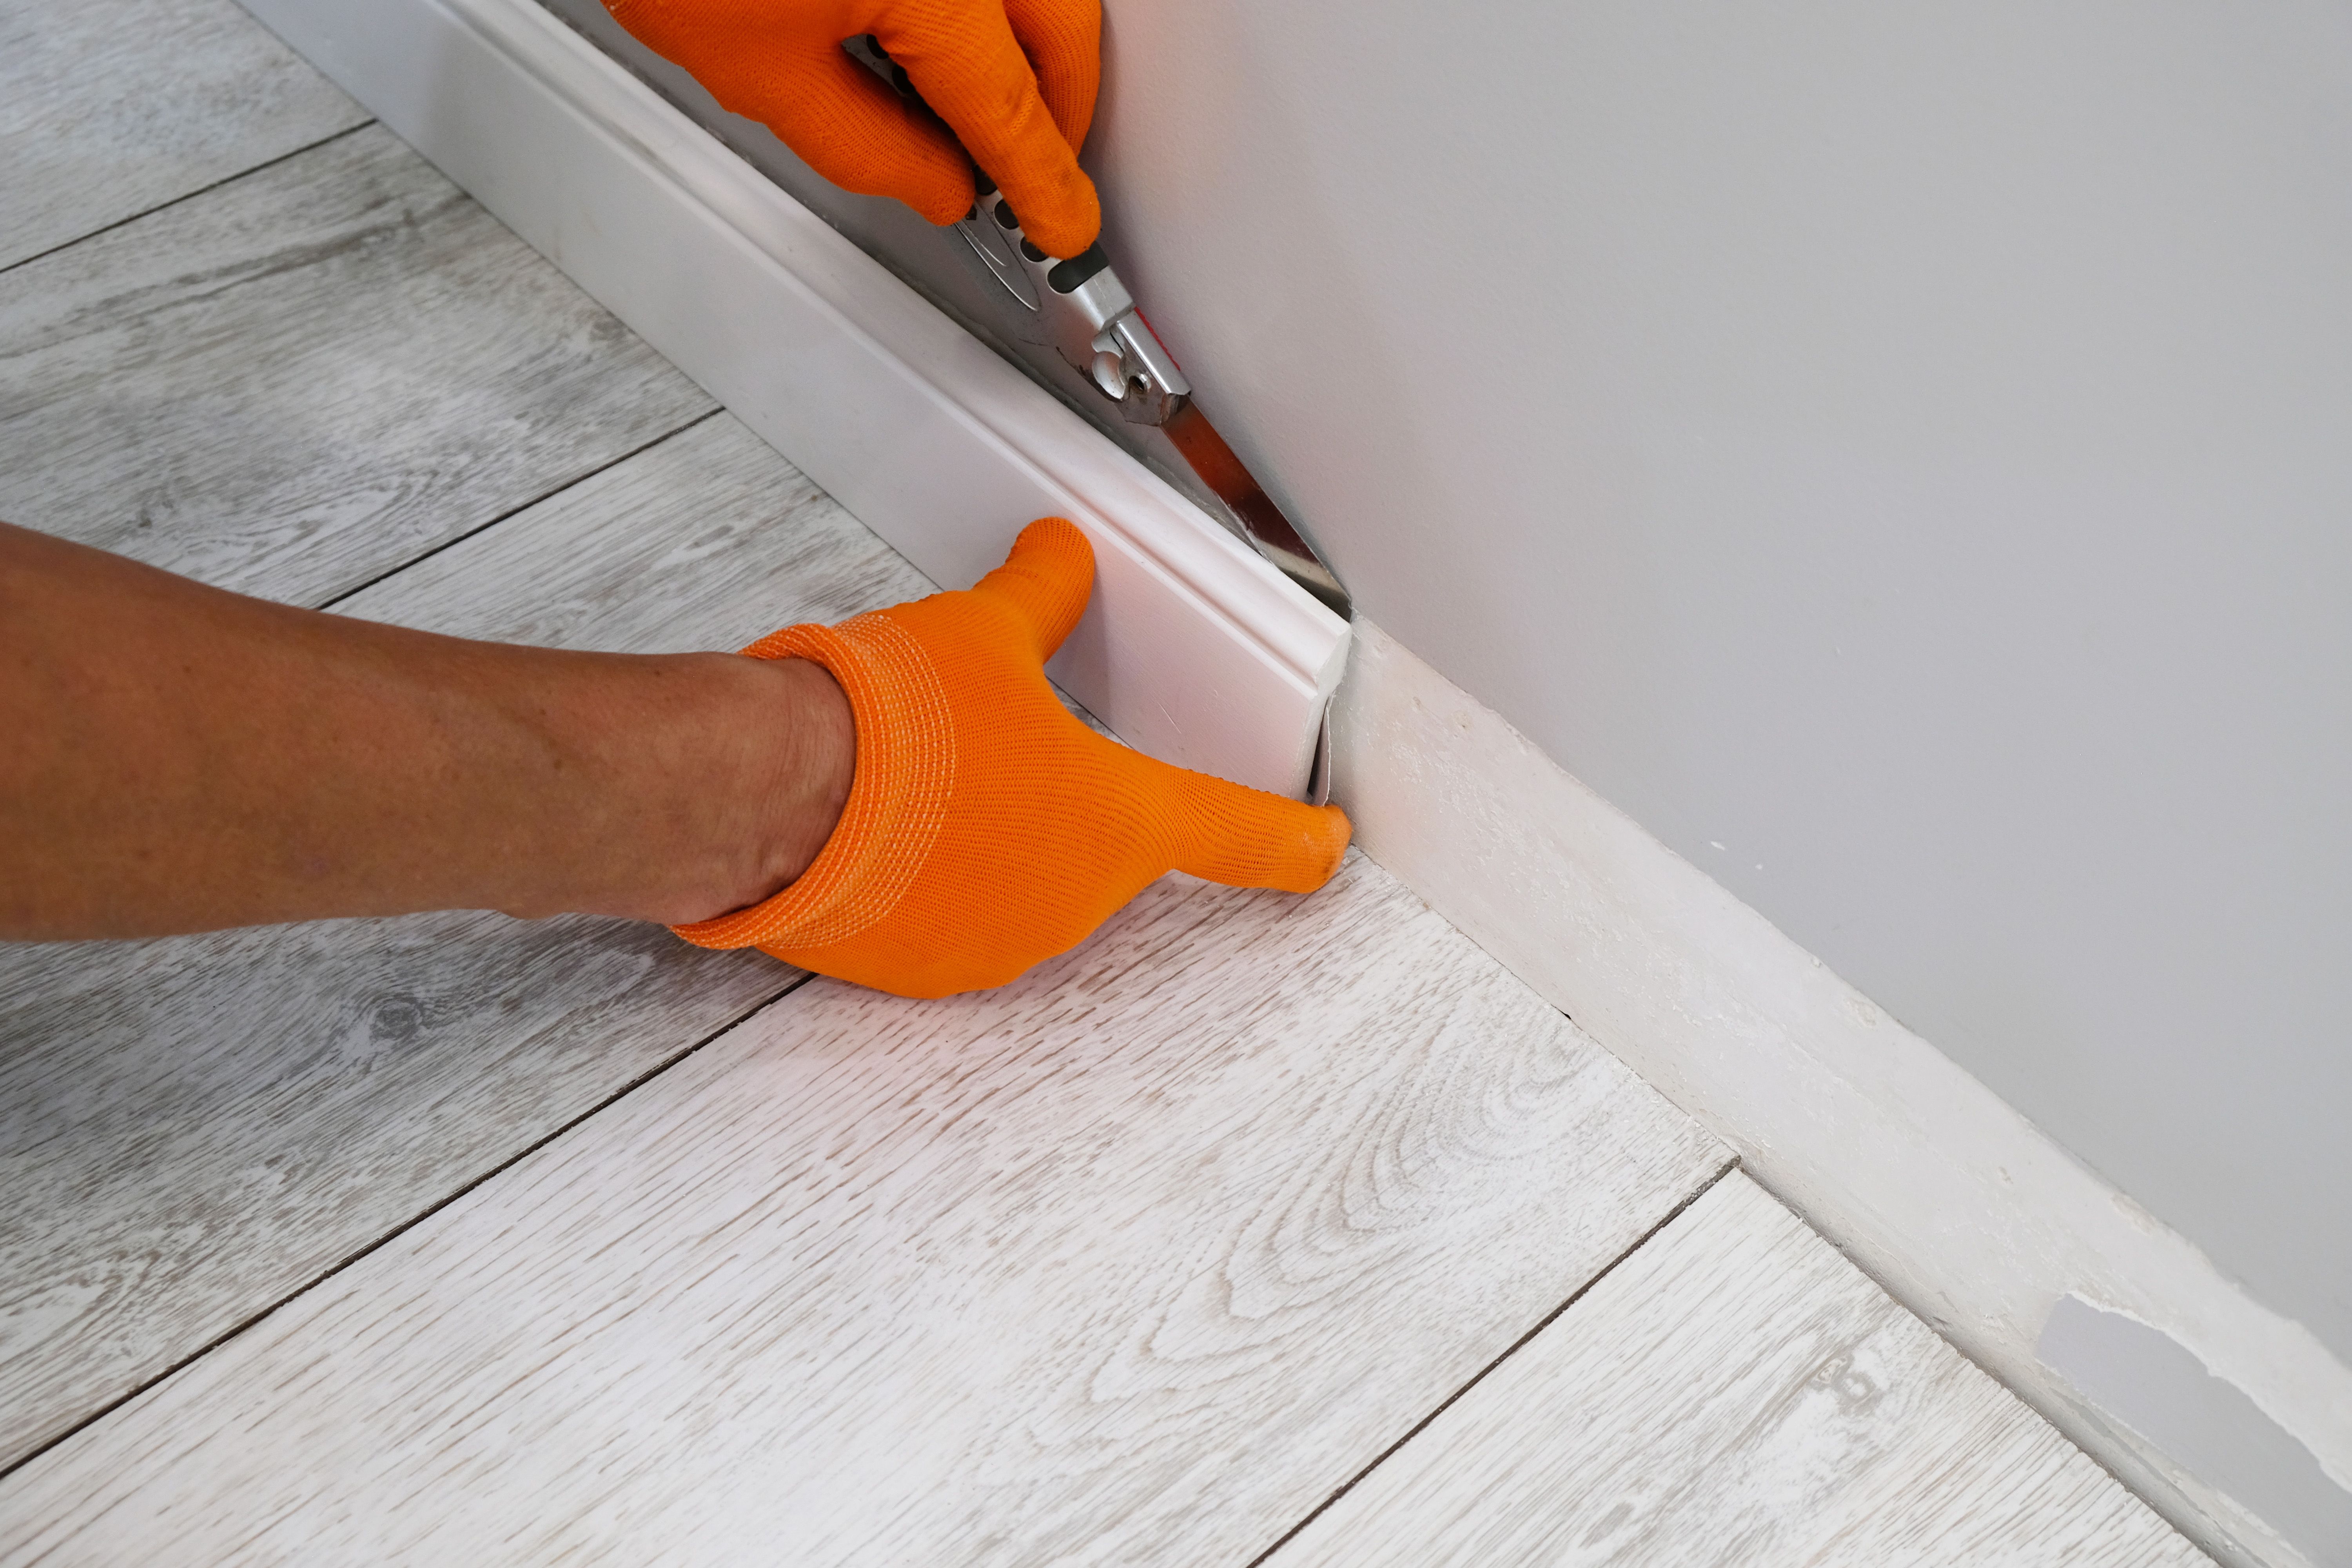
Finishing Touches
Once all the planks are in place, remove the spacers and install the baseboards or molding to cover the expansion gaps. This final step not only secures the flooring but also adds a polished look to your space.
With these DIY tips, installing engineered hardwood floors can be a rewarding experience, adding value and beauty to your home. Take your time with each step for the best results, and enjoy your new floors!