DIY Tile Floor Installation: A Step-by-Step Guide


Introduction to DIY Tile Floor Installation
Transforming your home with a new tile floor can be both rewarding and cost-effective when you decide to do it yourself. Whether you're updating your kitchen, bathroom, or any other space, installing tile flooring can enhance the aesthetic appeal and increase the value of your home. This step-by-step guide will walk you through the process, ensuring a smooth and successful installation.
Gathering Your Materials and Tools
Before you begin, it's essential to gather all the necessary materials and tools. Having everything on hand will make the process more efficient and help avoid unnecessary delays. Here's a list of what you'll need:
- Ceramic or porcelain tiles
- Tile spacers
- Tile adhesive or thin-set mortar
- Notched trowel
- Grout and grout float
- Tile cutter or wet saw
- Level and measuring tape
- Sponge and bucket for cleaning
- Knee pads for comfort
Preparing the Surface
Proper preparation of the subfloor is crucial for a successful tile installation. Ensure that the surface is clean, dry, and level. If necessary, remove old flooring and repair any damages to create a smooth base. Using a level, check for any uneven areas and sand them down or fill them with a leveling compound as needed.

Laying Out Your Tiles
Before applying adhesive, it's important to plan the layout of your tiles. Start by finding the center point of the room and laying a row of tiles along the center lines. This ensures that any cut tiles will be evenly distributed around the room's edges. Use tile spacers between each tile to maintain consistent gaps for grout lines.
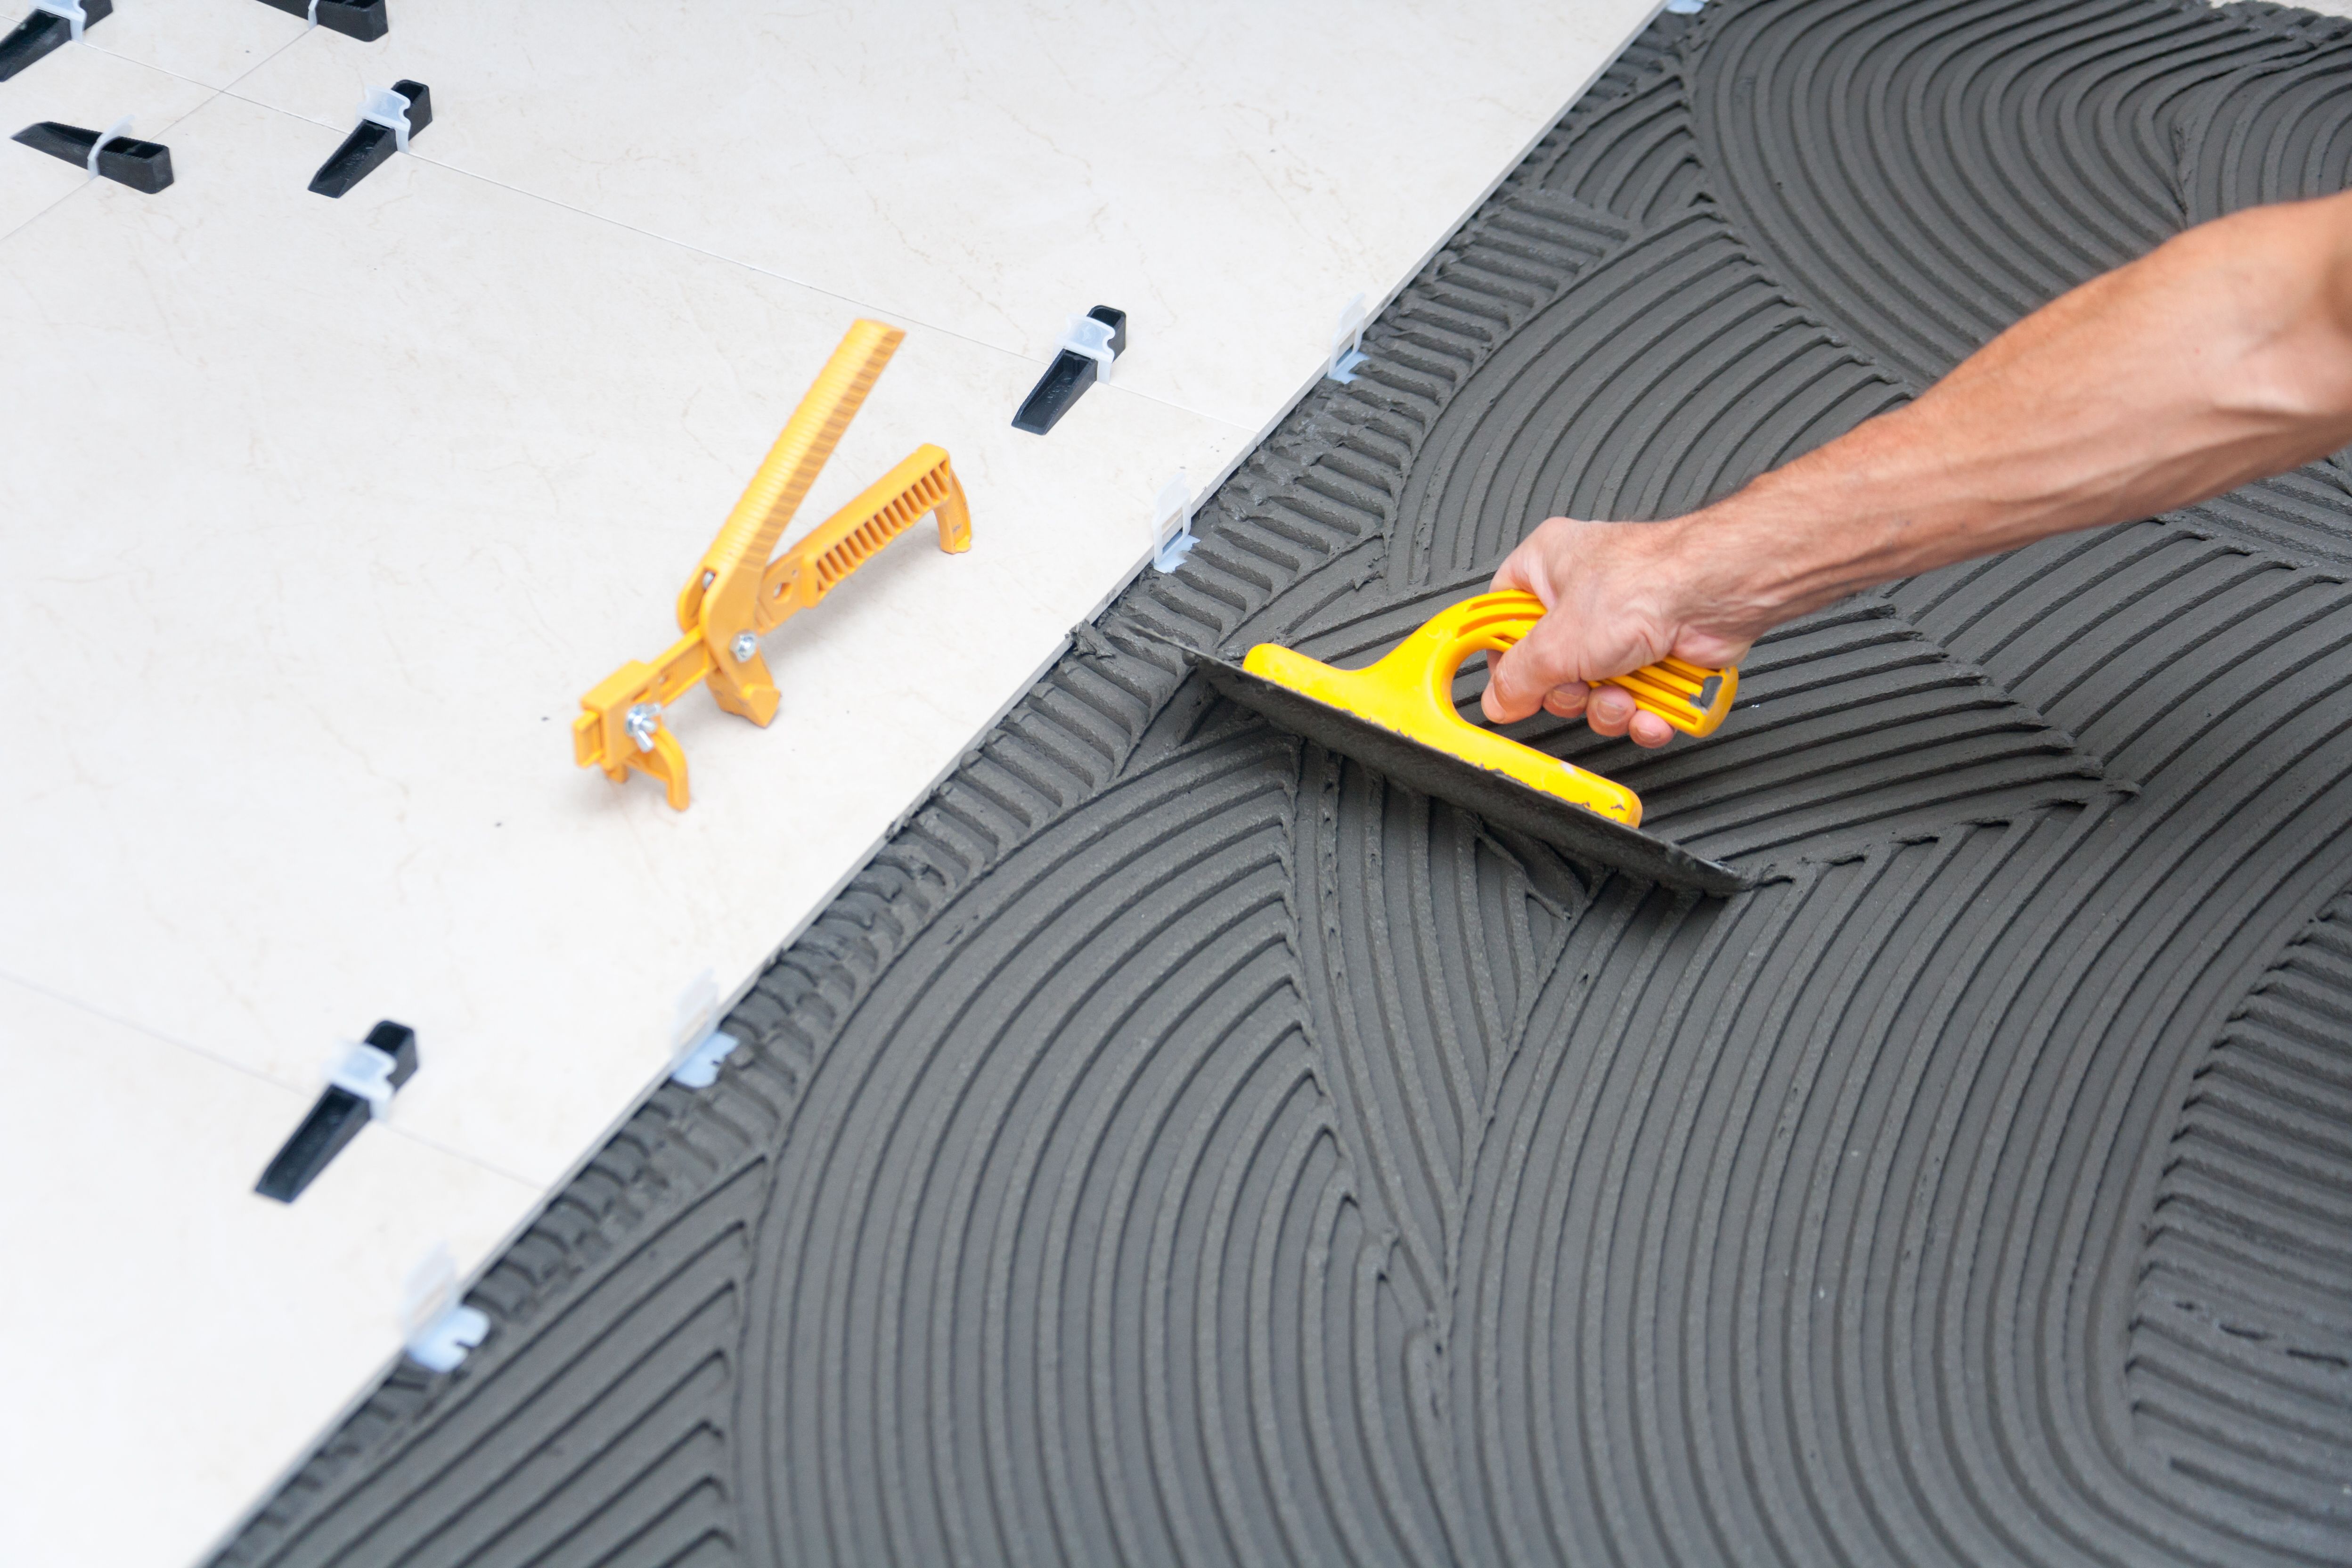
Applying Adhesive and Setting Tiles
Once you're satisfied with the layout, begin applying adhesive to a small section of the floor using a notched trowel. Work in small areas to prevent the adhesive from drying out before you can set the tiles. Firmly press each tile into place, using spacers to maintain even spacing. Check your work frequently with a level to ensure that the tiles are evenly set.
Cutting Tiles for Edges and Corners
When you reach the edges of the room or any obstacles, you'll need to cut tiles to fit. Use a tile cutter for straight cuts or a wet saw for more intricate cuts. Measure carefully before cutting to ensure a precise fit. Once cut, place these tiles in their positions, maintaining consistent spacing with tile spacers.
Grouting Your Tile Floor
After allowing the adhesive to cure for at least 24 hours, it's time to apply grout. Mix the grout according to the manufacturer's instructions and use a grout float to press it into the spaces between tiles. Work in small sections and remove excess grout with a damp sponge before it dries. Allow the grout to set for another 24 hours before walking on your new floor.
Final Touches and Maintenance Tips
Once your grout has fully cured, clean any remaining haze from the tiles with a soft cloth. To ensure the longevity of your new tile floor, consider applying a sealant to protect against stains and moisture. Regular cleaning and maintenance will keep your floor looking beautiful for years to come.
By following these steps, you can successfully install your own tile floor, adding both beauty and value to your home while enjoying the satisfaction of a DIY project well done.