DIY Laminate Flooring Installation: Tips and Tricks for North York Homeowners


Understanding Laminate Flooring
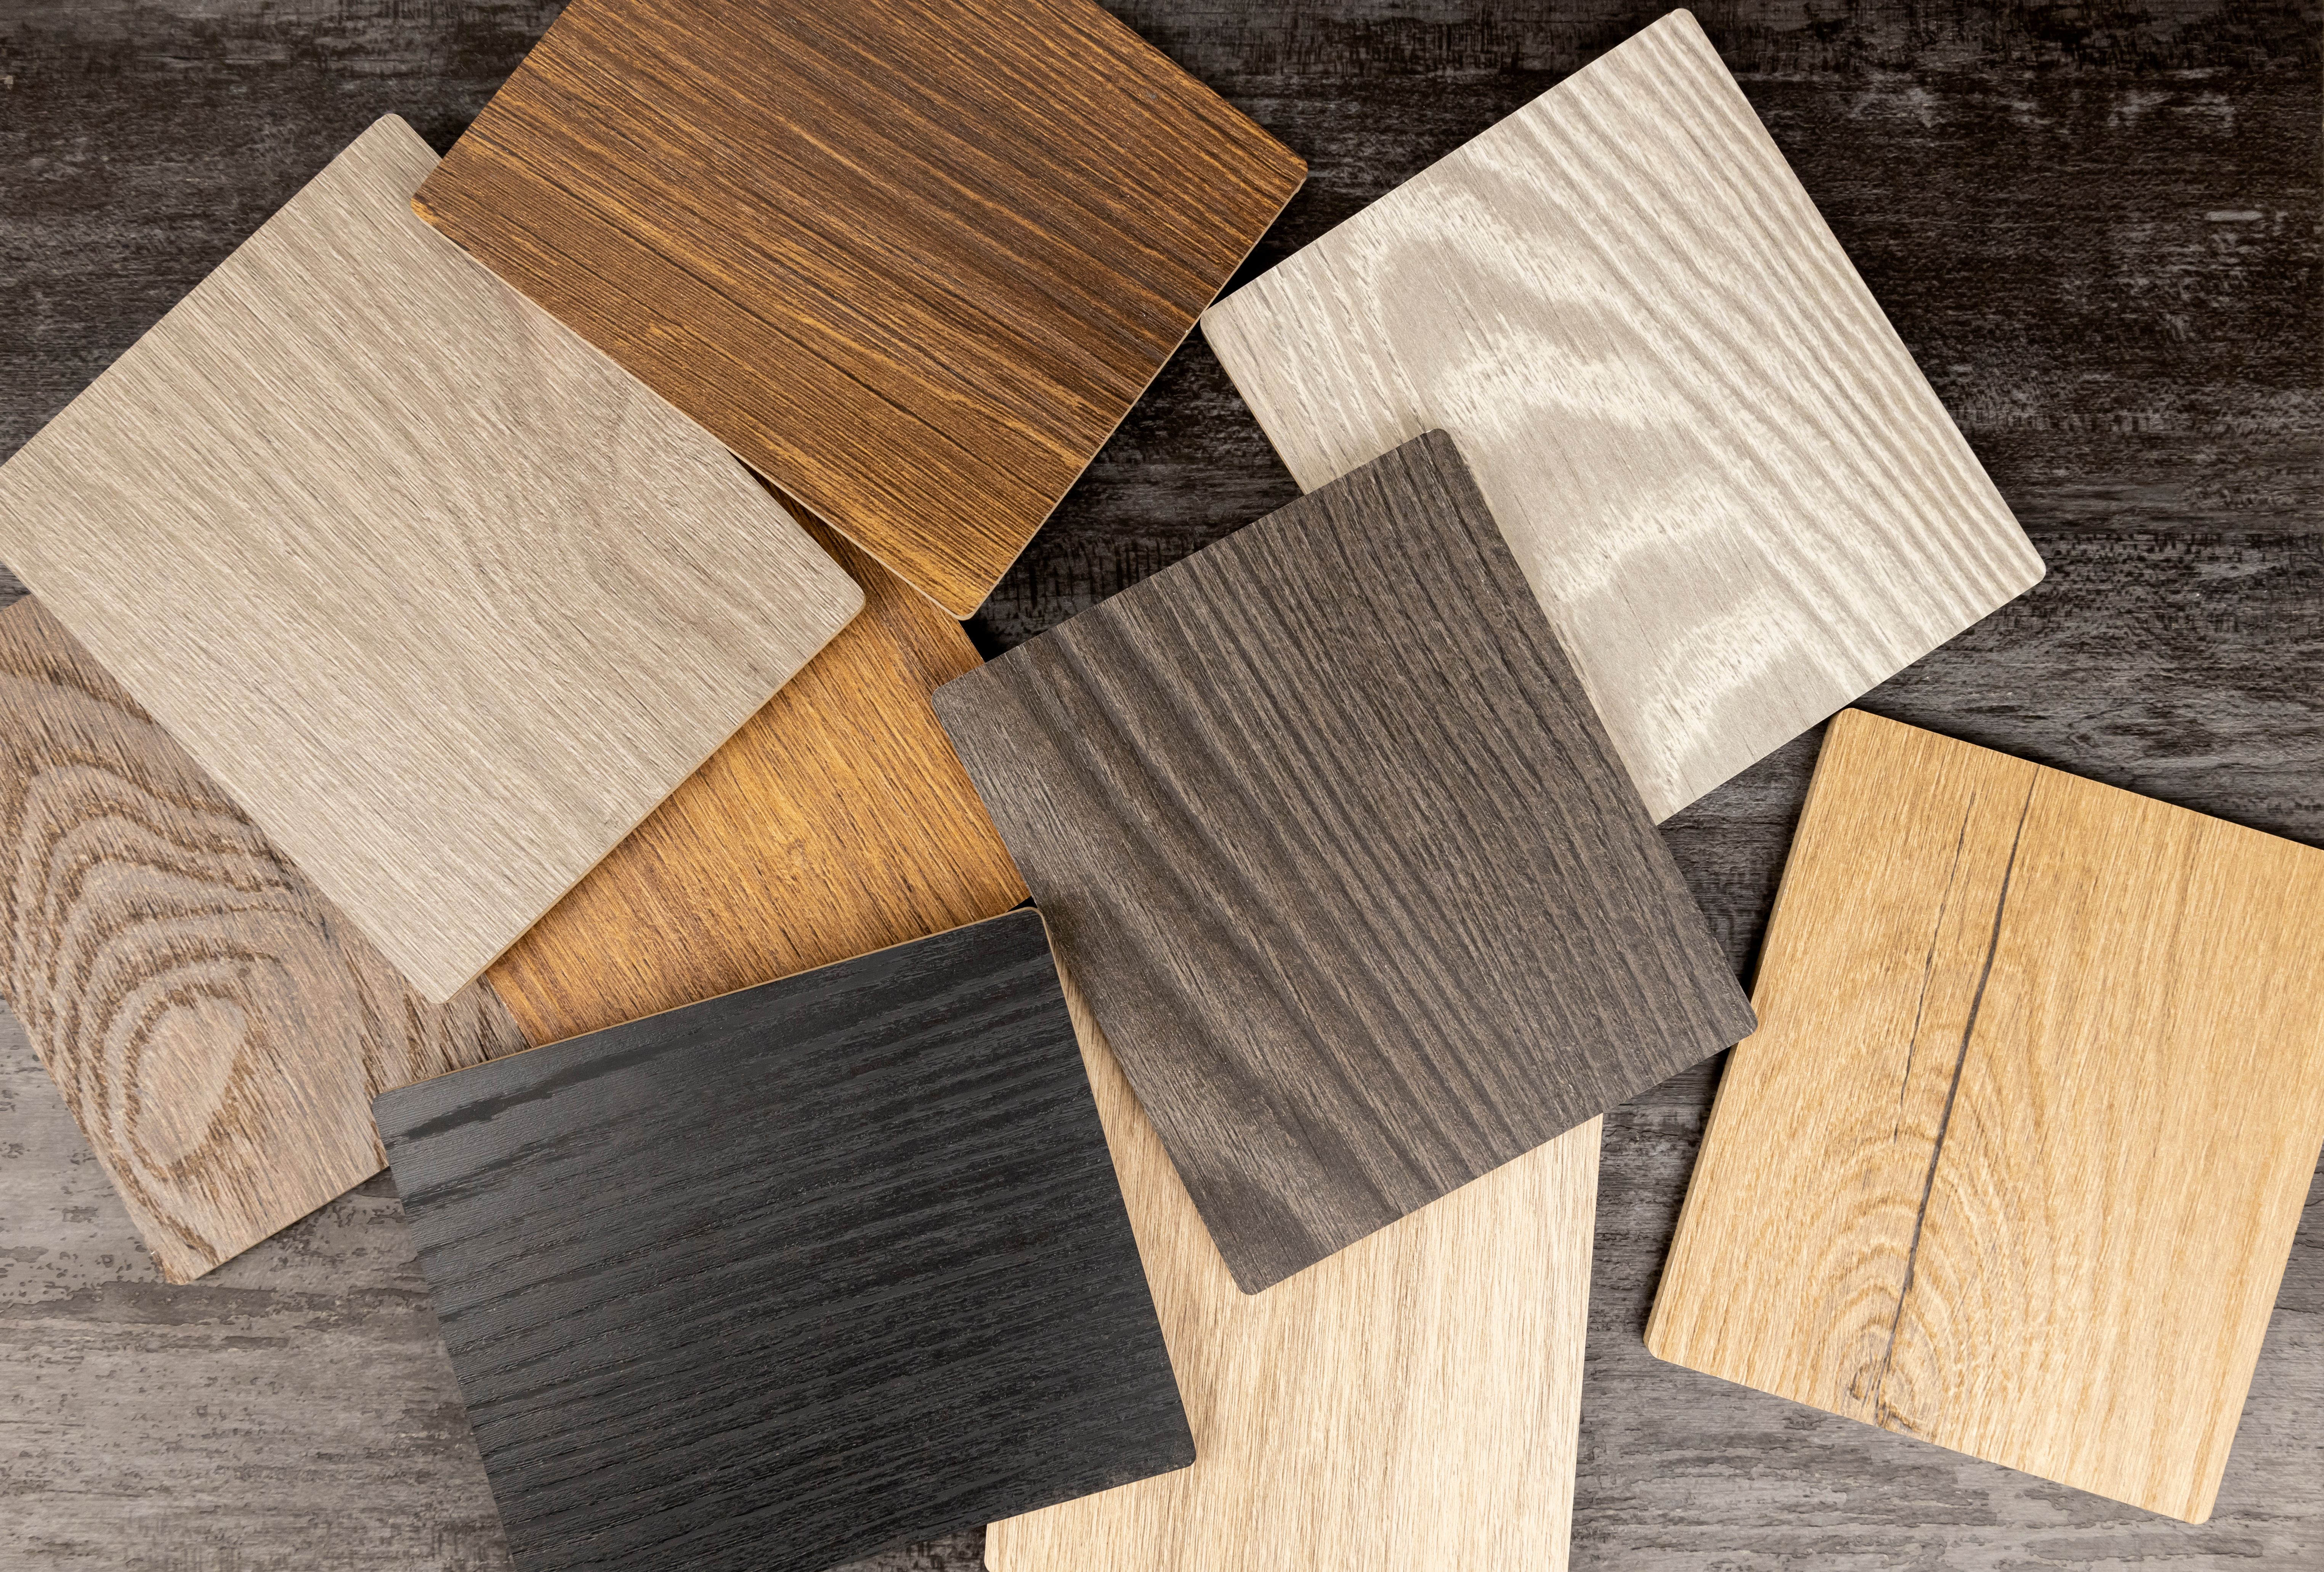
Laminate flooring has become a popular choice for North York homeowners due to its durability, affordability, and aesthetic appeal. Its versatility makes it suitable for various rooms, and with the right tools and guidance, installing it yourself can be a rewarding project. Whether you're looking to refresh your living room or upgrade your kitchen floor, laminate is a practical solution that offers both style and function.
Preparation is Key
Before you begin the installation process, it's crucial to prepare your space adequately. Start by removing any existing flooring and thoroughly cleaning the subfloor. Ensure it's dry, level, and free of any debris. This preparation step is essential to ensure your laminate flooring lays flat and lasts for years to come.
Next, acclimate your laminate planks by leaving them in the room where they will be installed for at least 48 hours. This helps the material adjust to the room's temperature and humidity levels, minimizing the risk of expansion or contraction after installation.
Gathering Your Tools
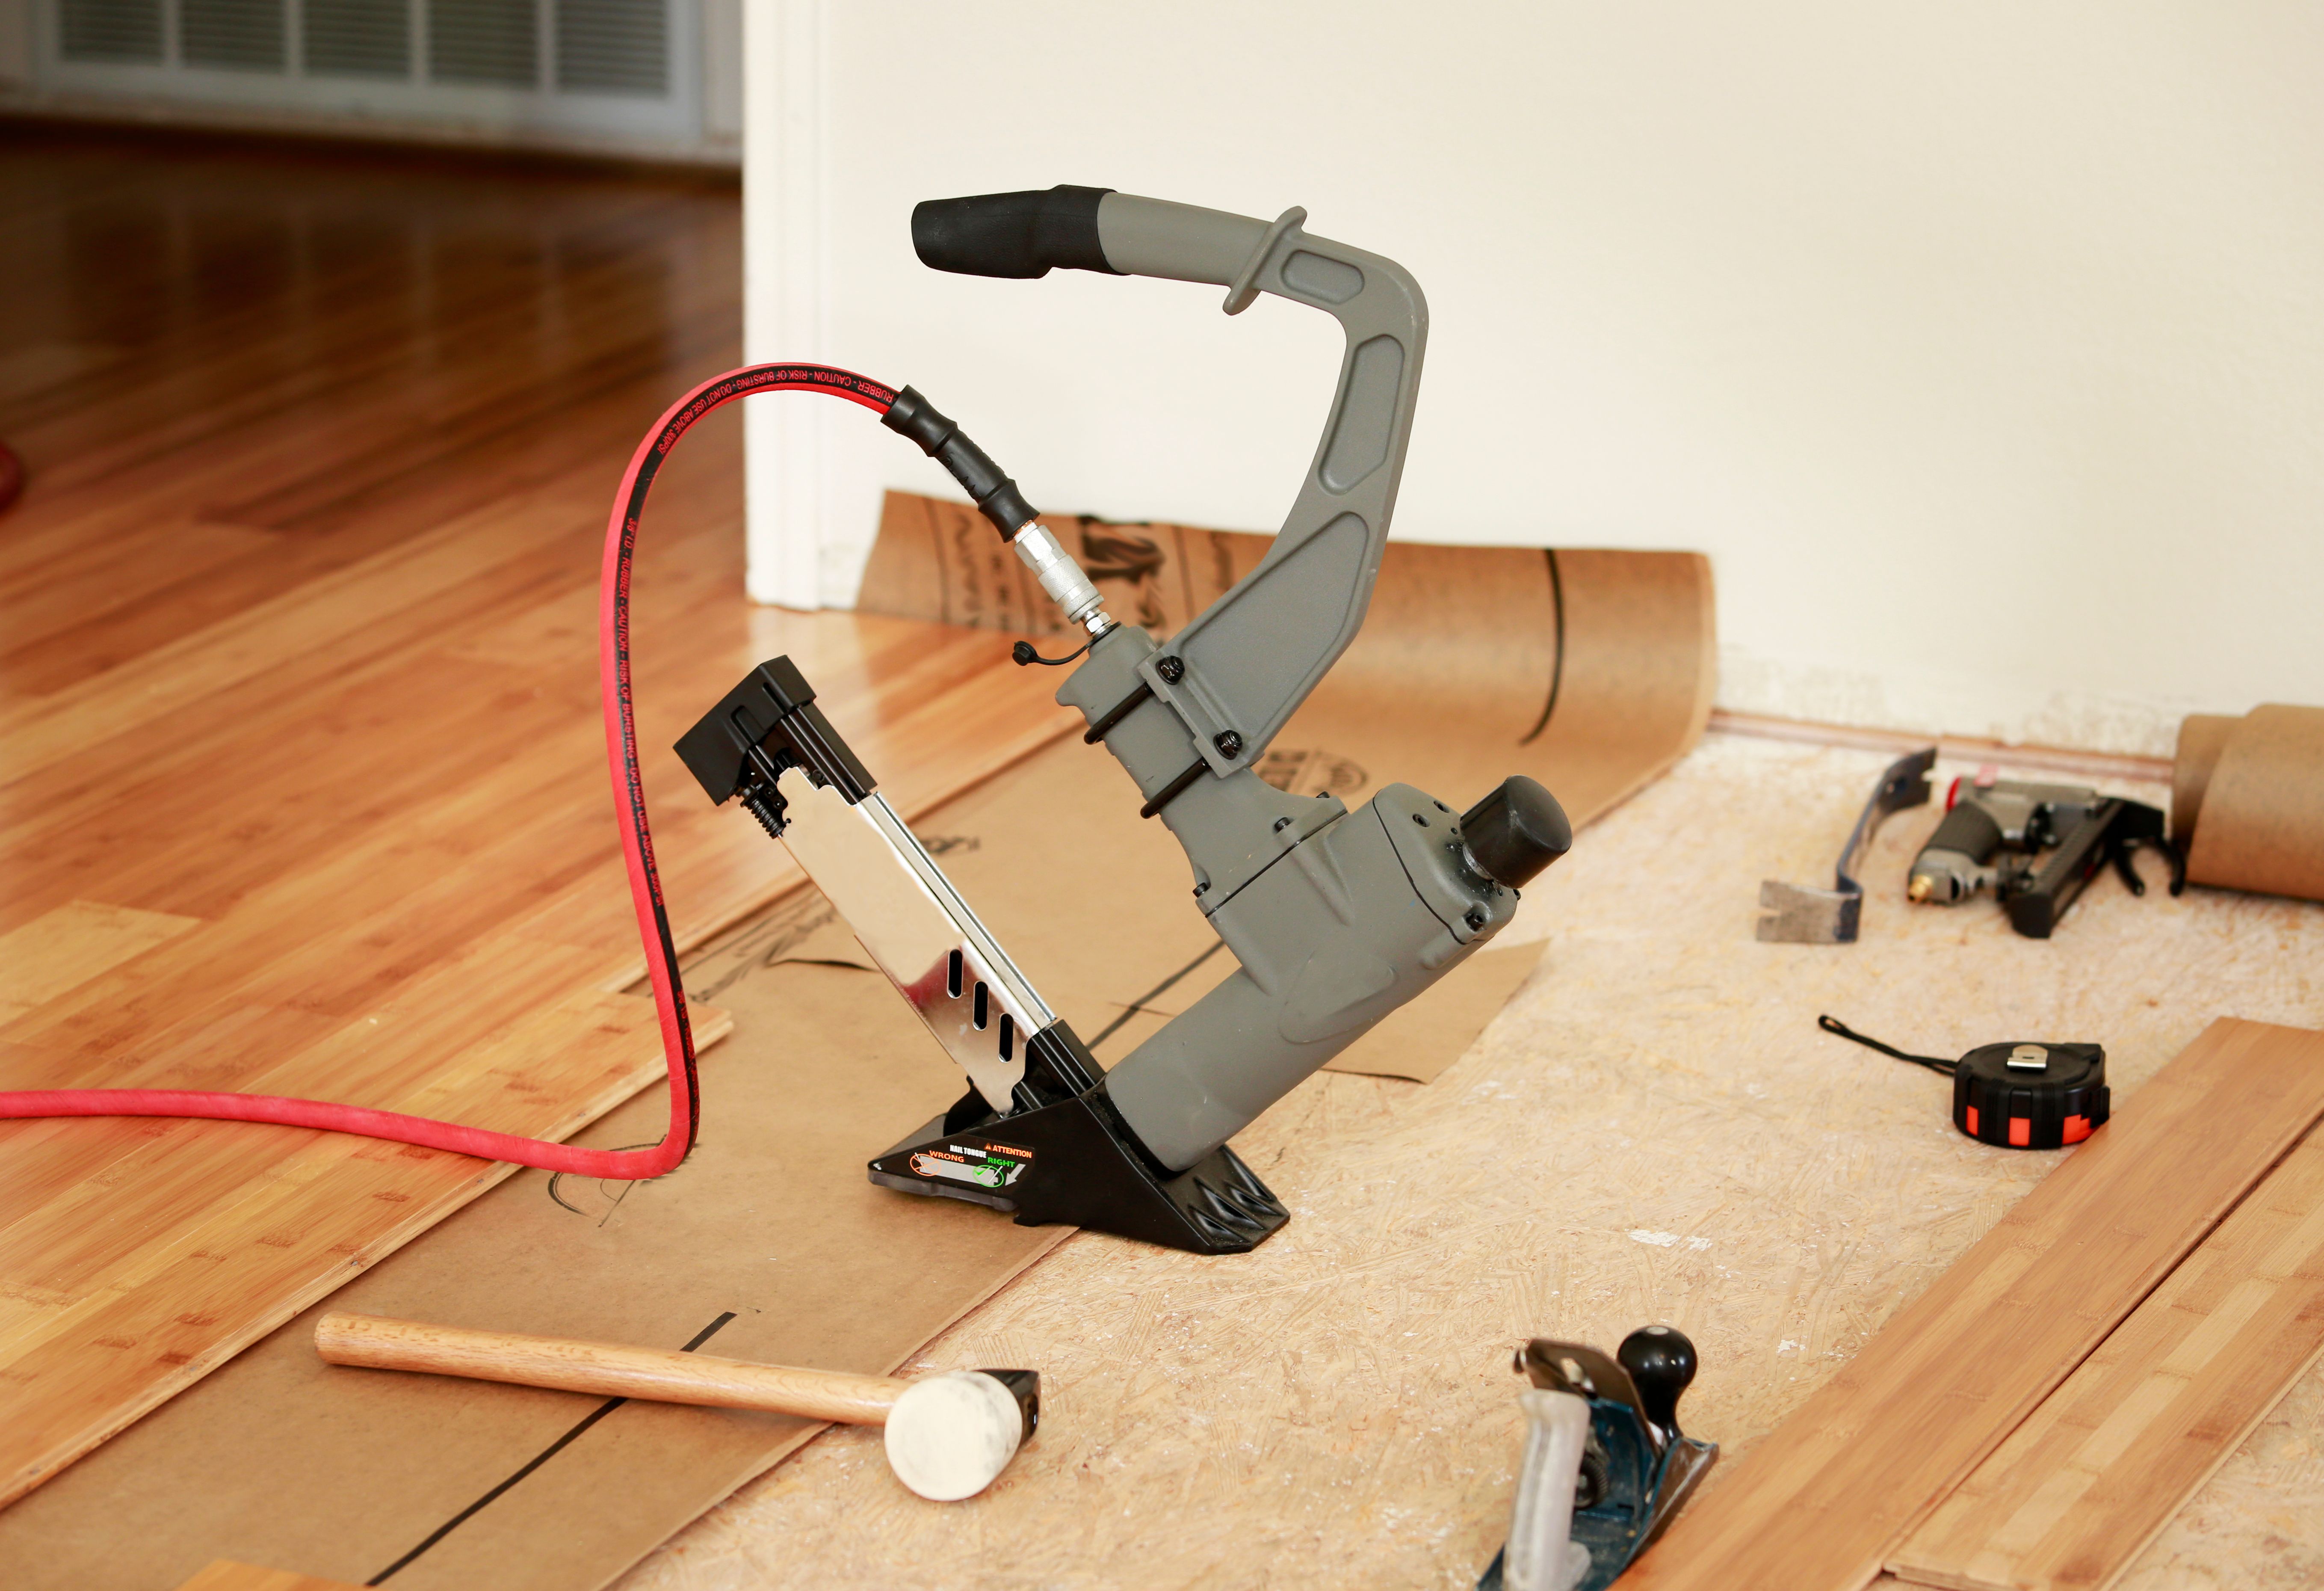
Having the right tools on hand can make or break your DIY project. Here’s a list of essential tools you’ll need:
- Tape measure
- Utility knife
- Hammer
- Tapping block
- Pull bar
- Spacers
- Saw (table or circular)
The Installation Process
Once your space is prepped and tools are ready, it's time to start laying down your laminate flooring. Begin by laying an underlayment if required, as this will provide a moisture barrier and help with soundproofing. Be sure to follow the manufacturer's instructions regarding underlayment.
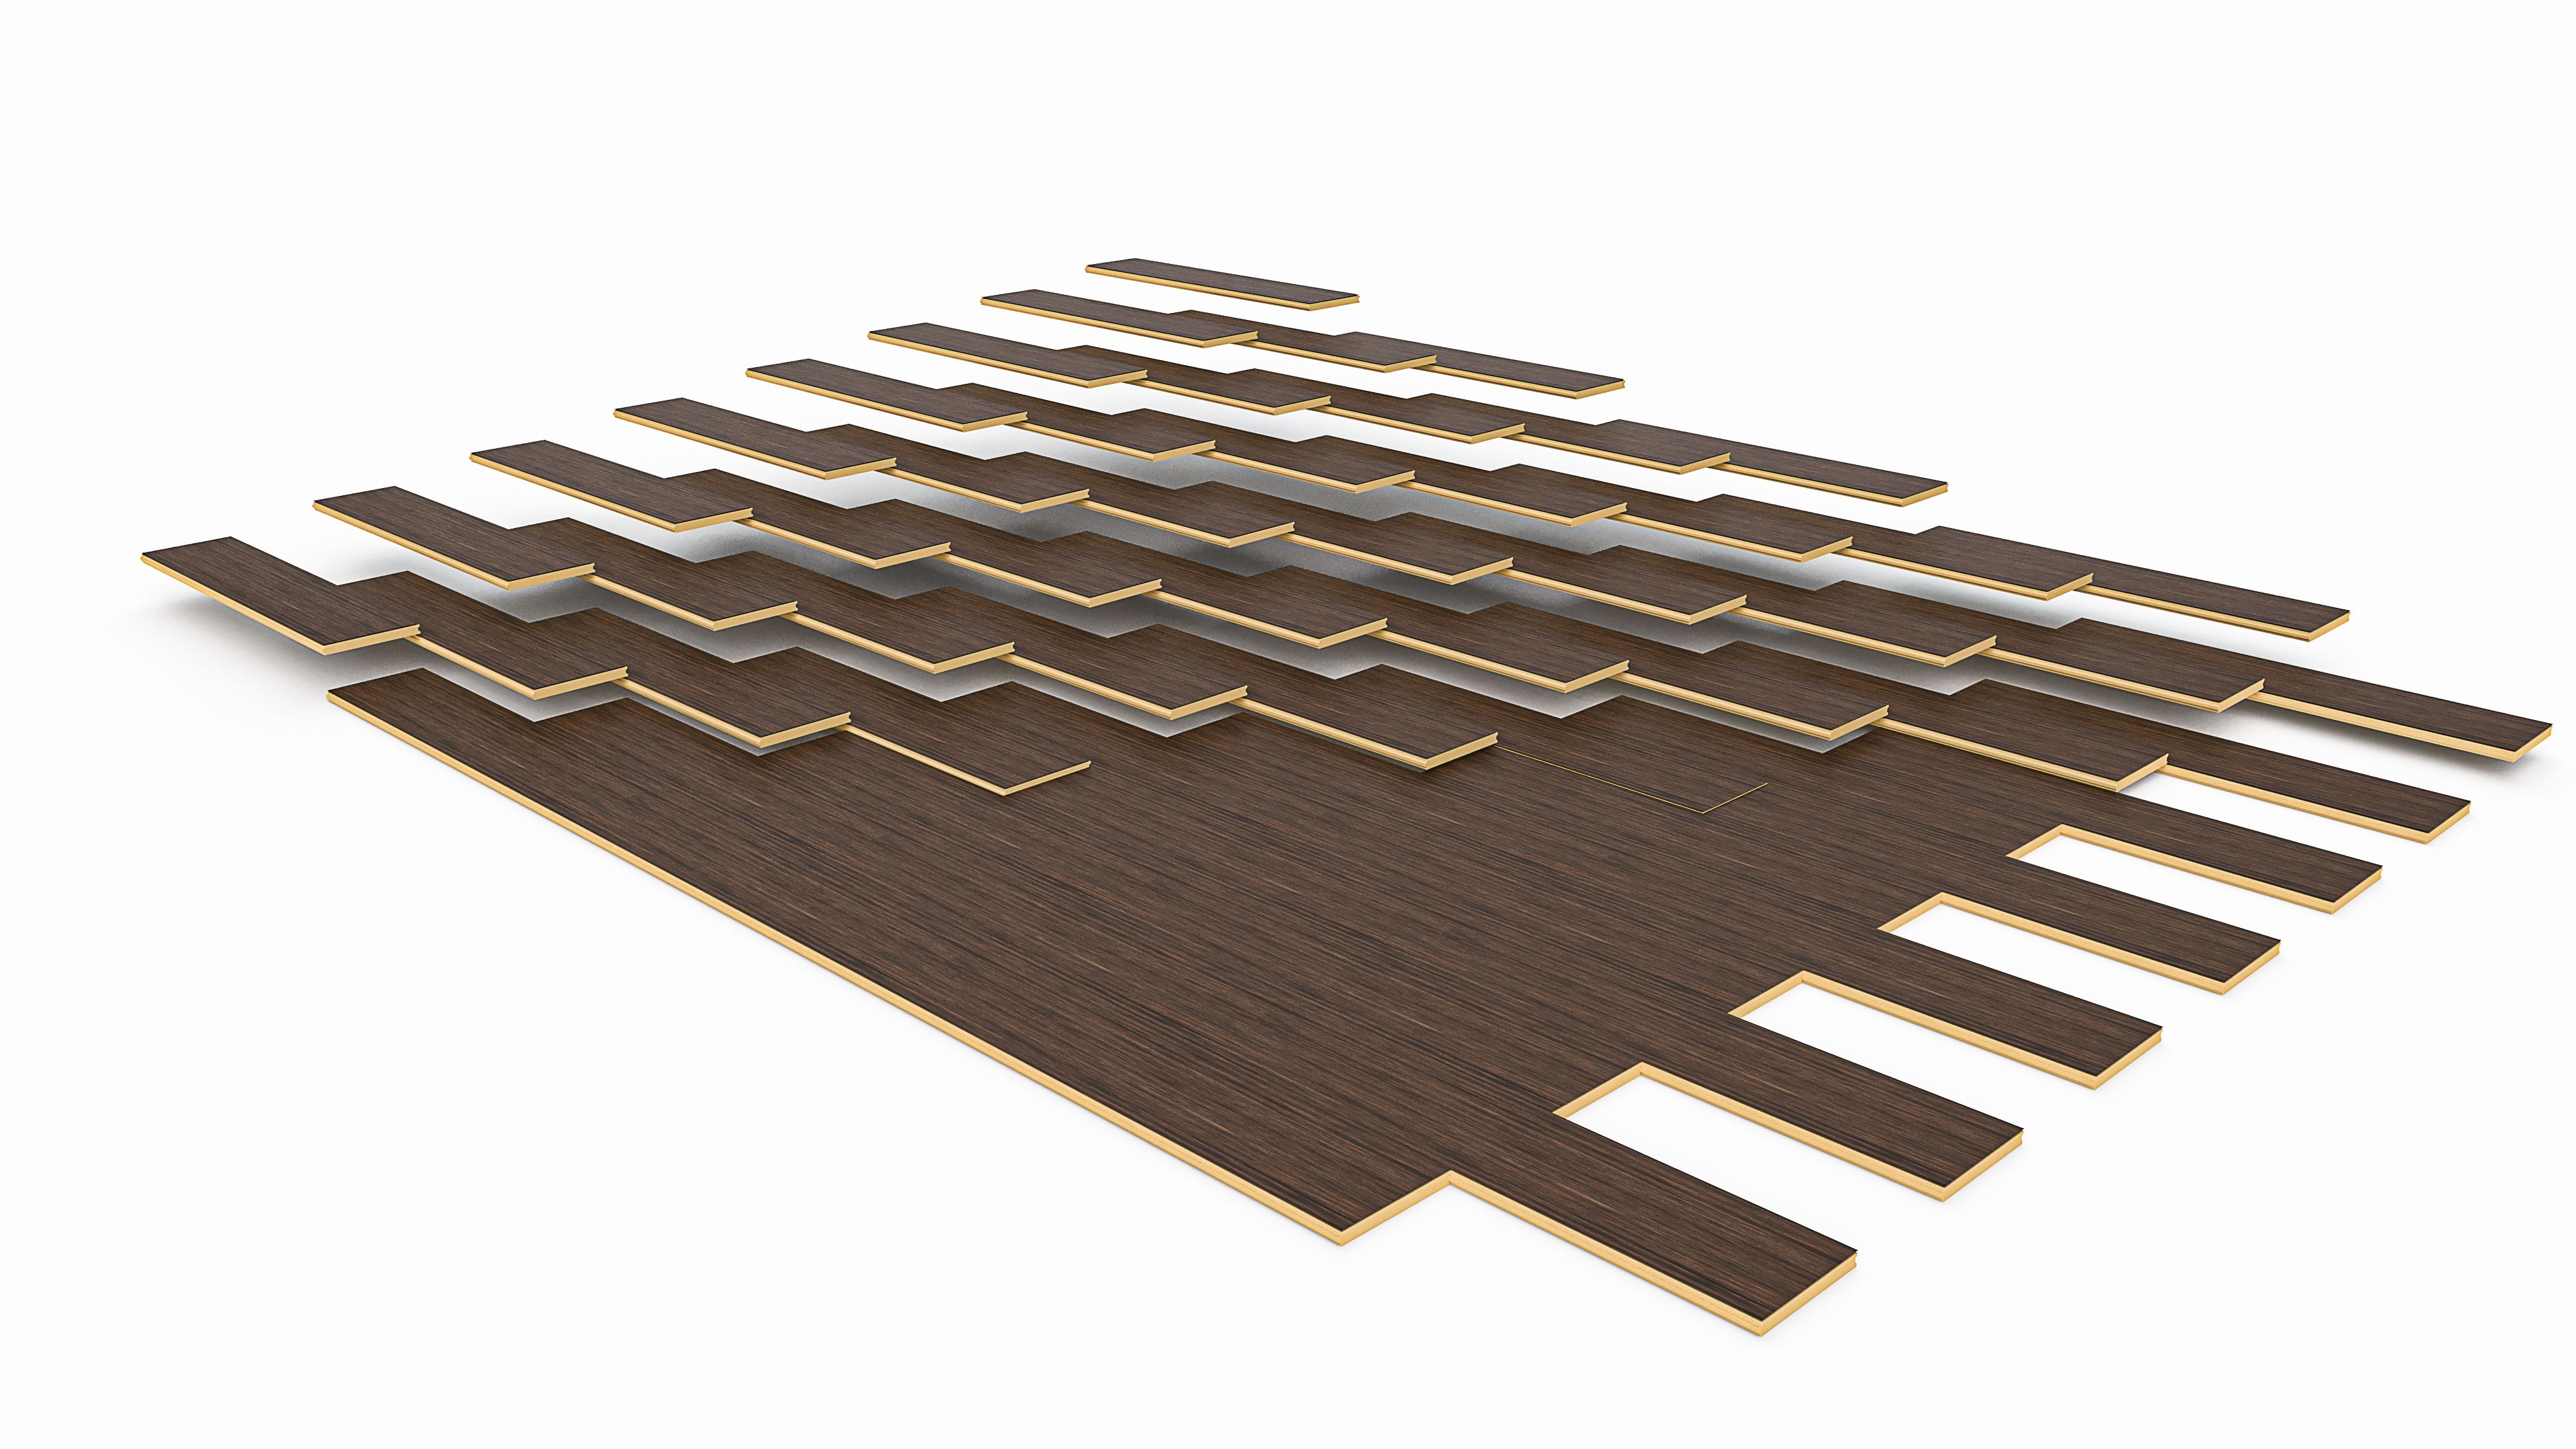
Start laying the planks from one corner of the room, working your way across. Use spacers to maintain a small gap between the planks and the wall. This gap allows for natural expansion and contraction without warping.
Perfecting Your Technique
A helpful trick is to stagger the planks, similar to laying bricks. This not only enhances the visual appeal but also adds stability to the floor. To achieve this, start each row with a different length plank than the previous row.
When cutting planks to fit, measure twice and cut once to avoid wastage. A table or circular saw is ideal for making precise cuts quickly. Use a tapping block and a hammer to snugly fit each plank into place without damaging the edges.
Final Touches
After all planks are installed, remove spacers and install baseboards or molding to cover expansion gaps around the room’s perimeter. These finishing touches provide a polished look and help secure the flooring.
Your new laminate floor is now ready to enjoy! Regular maintenance such as sweeping and occasional damp mopping will keep it looking fresh for years. With these tips and tricks, North York homeowners can confidently tackle their own laminate flooring installations.