DIY Laminate Flooring Installation: A Step-by-Step Guide for Toronto Homeowners


Installing laminate flooring can be a rewarding DIY project that transforms the look of your home. Toronto homeowners will find that laminate is a durable and stylish option, perfect for dealing with the city's varied climate. With a little preparation and patience, you can achieve professional-looking results.
Gather Your Tools and Materials
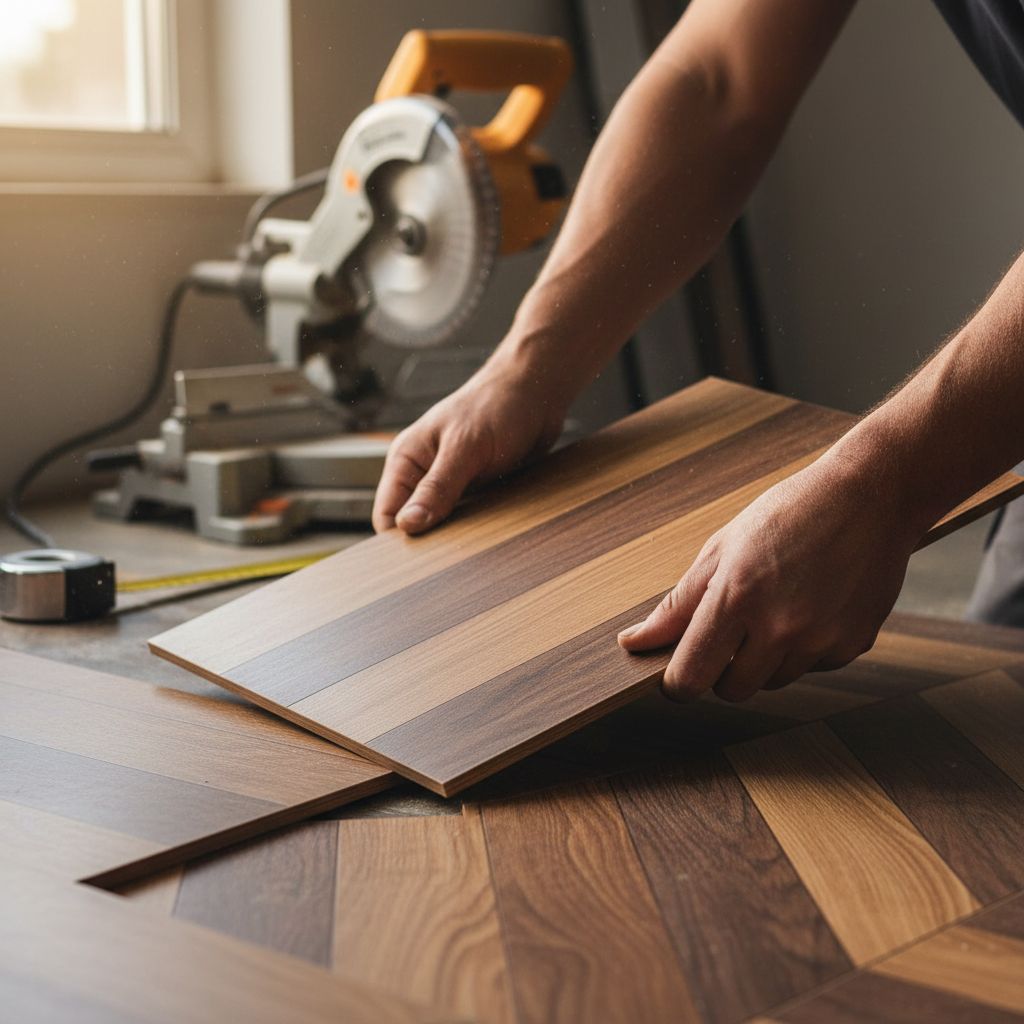
Before you start, make sure you have all the necessary tools and materials. You’ll need:
- Laminate flooring planks
- Underlayment
- Measuring tape
- Utility knife
- Spacers
- Saw (circular or jigsaw)
- Rubber mallet
- Tapping block
Having everything ready will make the installation process smoother and more efficient.
Prepare the Subfloor
Start by preparing your subfloor. Ensure it is clean, dry, and level. Remove any old flooring materials and repair any damages. A clean, even surface is crucial for a successful installation.

Next, lay down the underlayment. This layer will help reduce noise and provide a moisture barrier. Roll it out smoothly and trim any excess with a utility knife. Make sure the underlayment is tight against the walls and doesn’t overlap.
Plan Your Layout
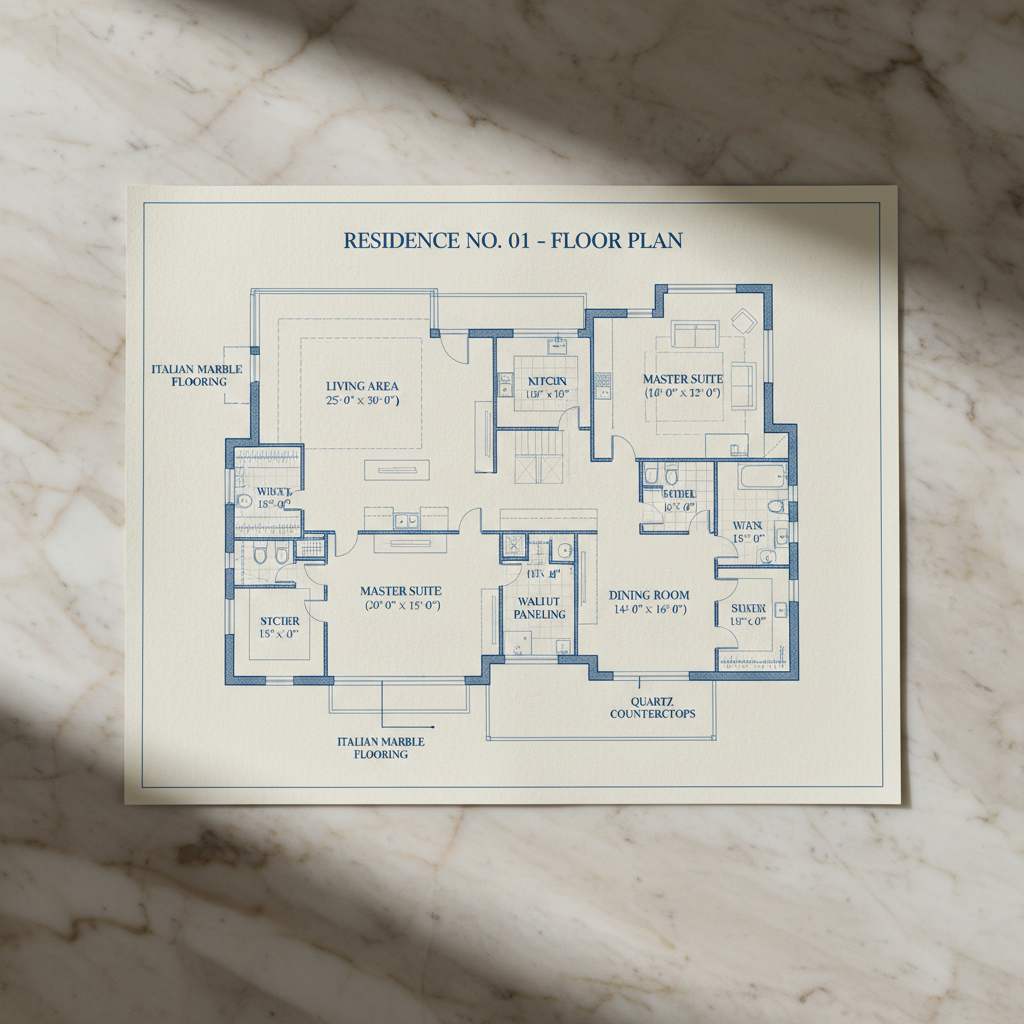
Before you begin placing the laminate, take the time to plan your layout. Consider the direction of the light in the room and align the planks accordingly. This can enhance the aesthetic appeal of your space.
Measure the room carefully to determine how the planks will fit. You may need to cut the first row of planks to ensure an even fit. Remember to leave a small gap between the flooring and the wall to allow for expansion.
Start Laying the Laminate
Begin installing the laminate flooring from one corner of the room, typically the left-hand corner. Use spacers between the planks and the wall to maintain an expansion gap. Connect the planks by angling the tongue of one plank into the groove of another, then press down to lock them together.
Use a tapping block and rubber mallet to ensure a snug fit between the planks. Continue this process, row by row, until you’ve covered the entire floor. Stagger the seams for a more natural look.
Cutting and Fitting the Final Rows
As you approach the final rows, you’ll likely need to cut the planks to fit. Measure carefully and use a saw to make precise cuts. Ensure the final row maintains the expansion gap along the wall.
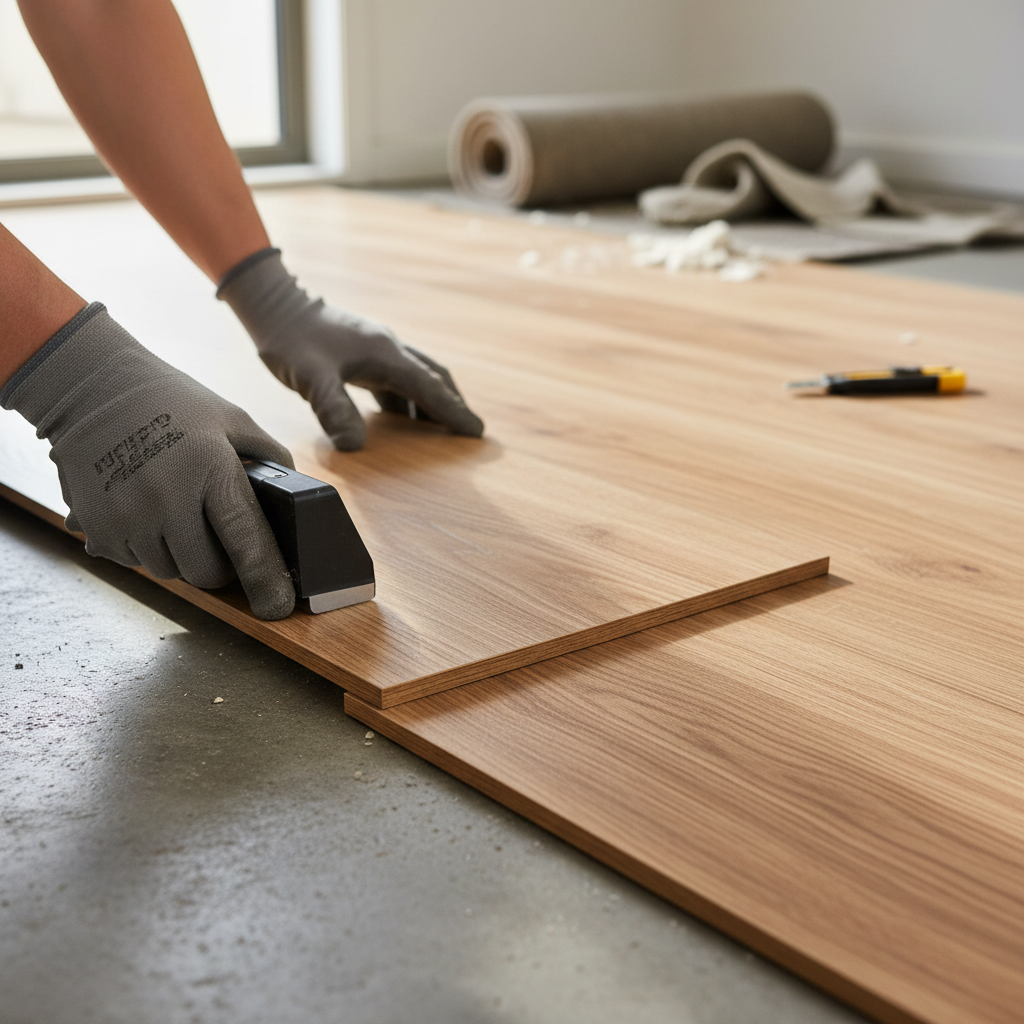
Once all the planks are in place, remove the spacers and install baseboards to cover the expansion gaps. This will give your floor a polished, professional appearance.
Final Touches and Maintenance
After installation, clean the floor to remove any dust or debris. Regular maintenance includes sweeping and using a damp mop for cleaning. Avoid excess water, as it can damage the laminate.
With these steps, Toronto homeowners can enjoy a beautiful and durable laminate floor. DIY installation not only saves money but also offers the satisfaction of enhancing your home with your own hands.