DIY Flooring Installation: Step-by-Step Guide for Beginners


Getting Started with DIY Flooring Installation
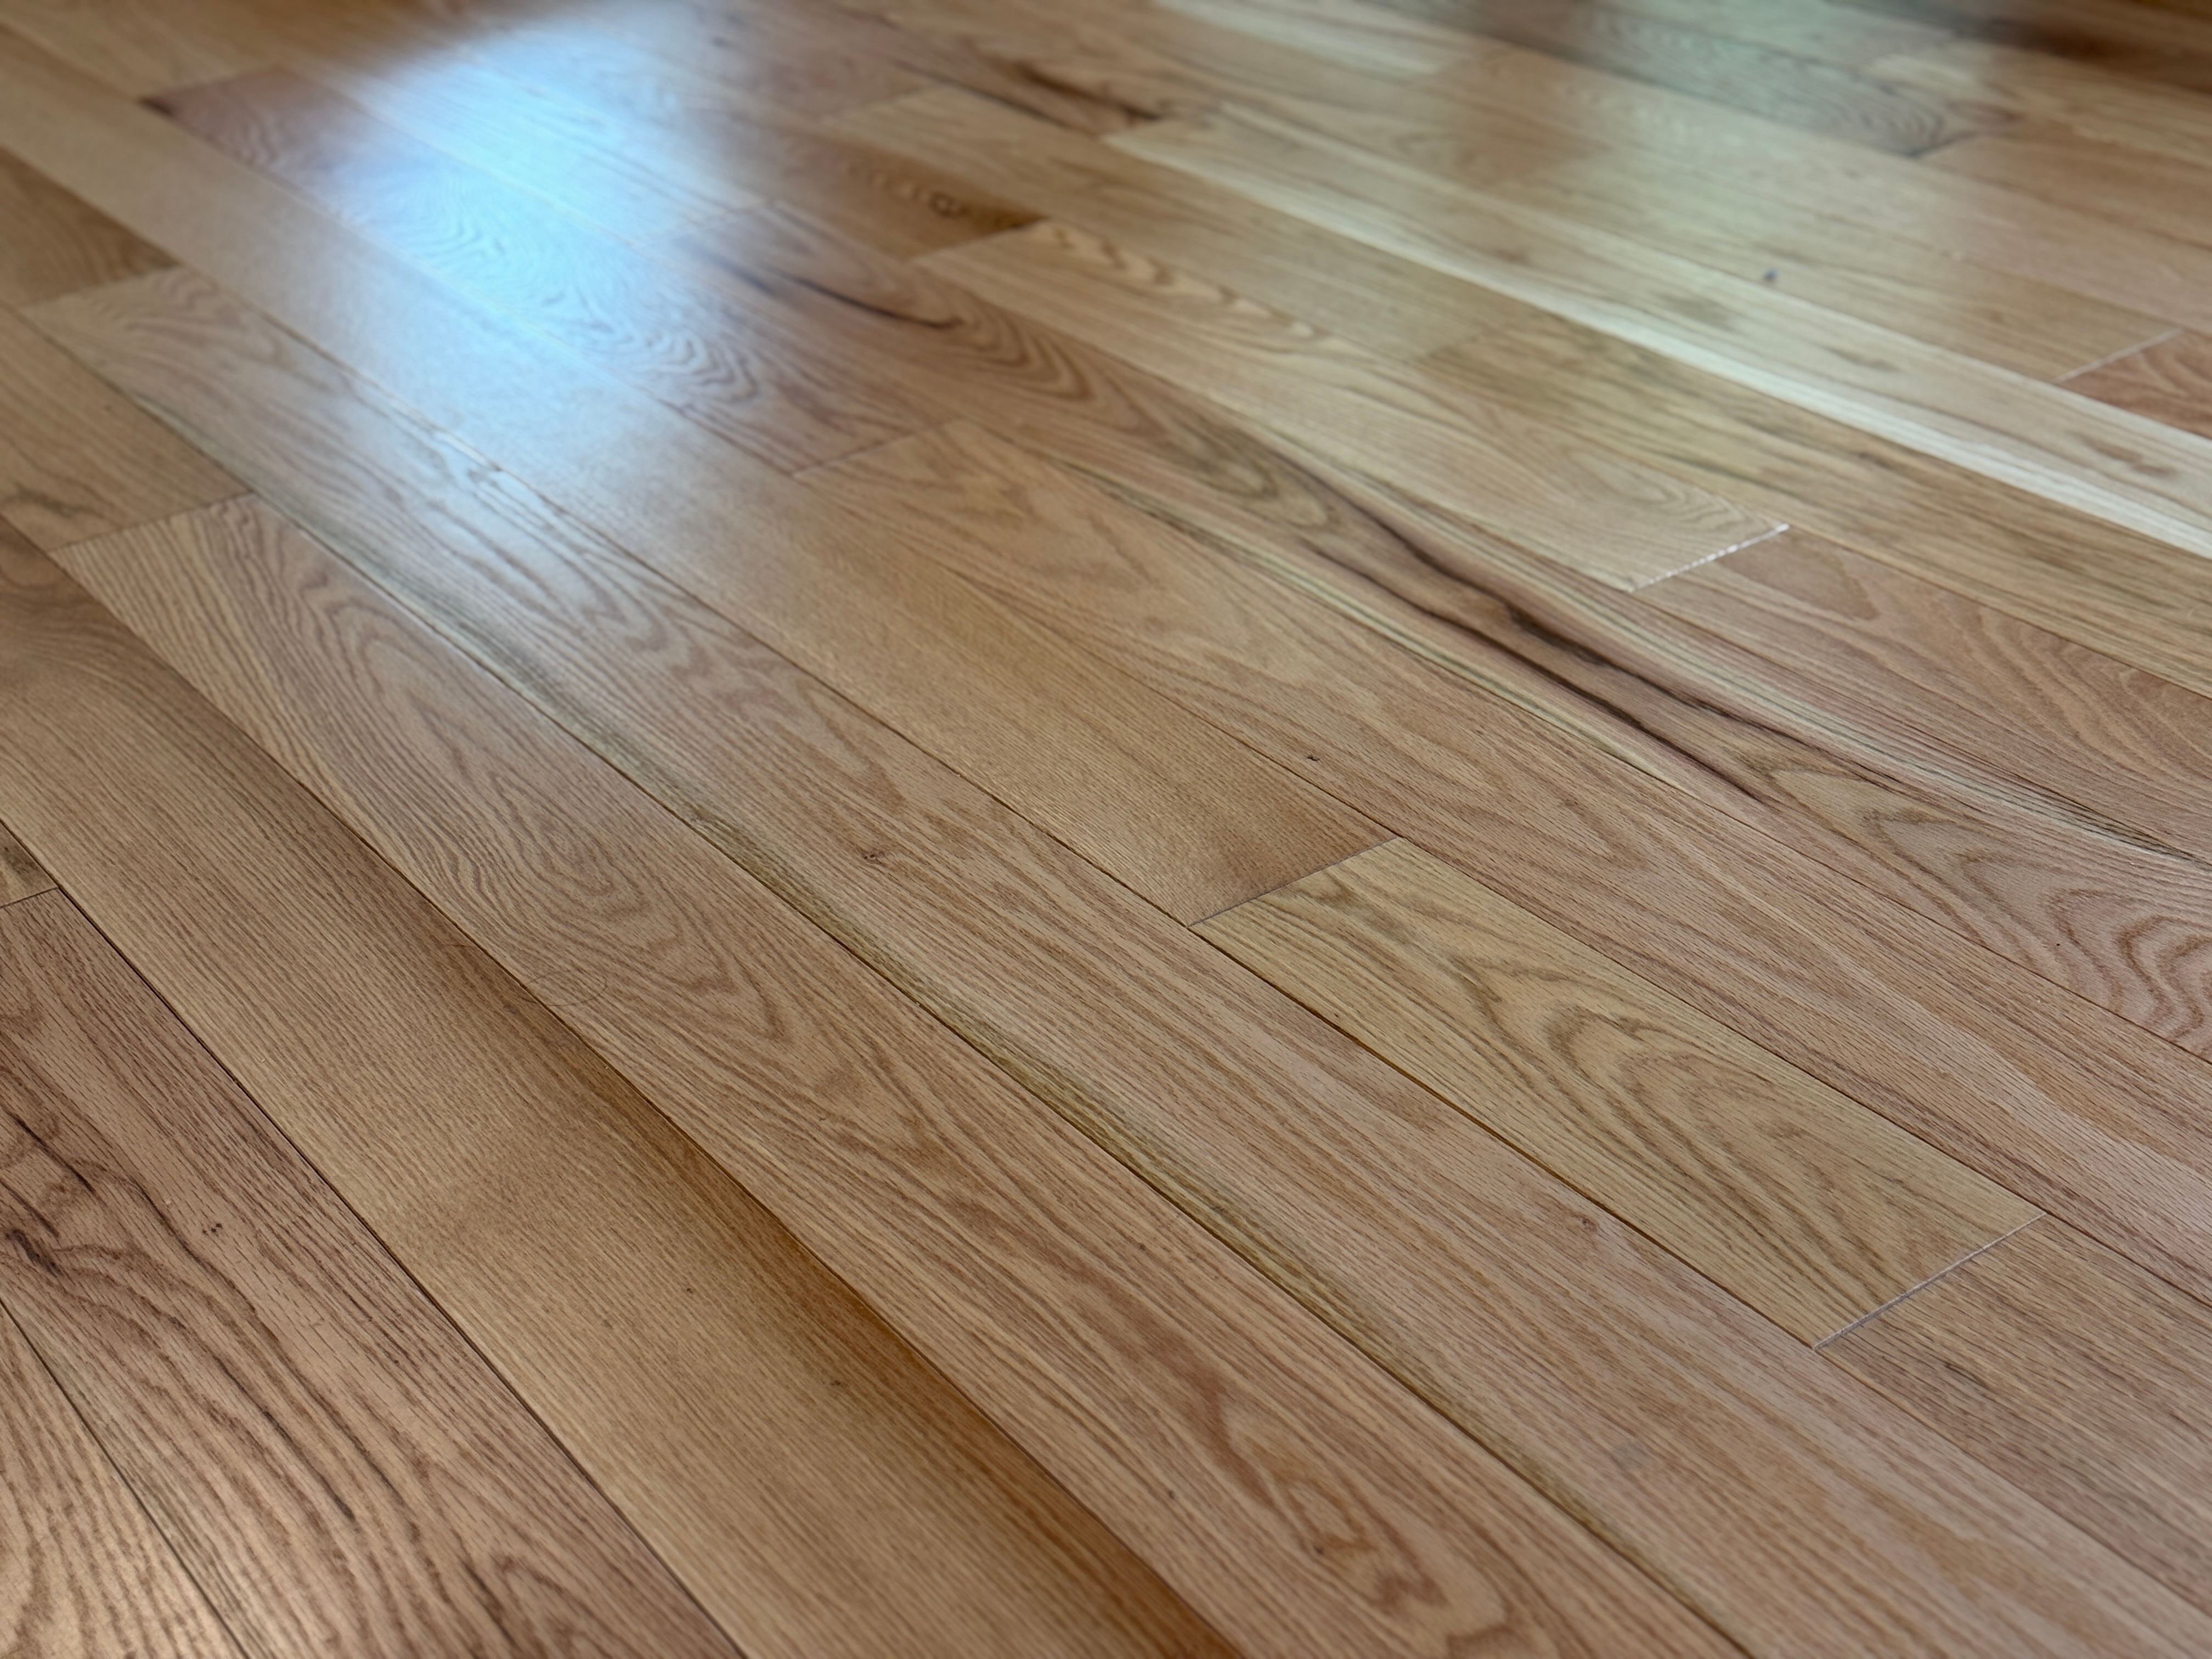
Installing new flooring can dramatically transform the appearance of your home. While it might seem daunting at first, with the right tools and guidance, even beginners can tackle this rewarding project. This step-by-step guide will help you understand the process and give you the confidence to take on your DIY flooring installation.
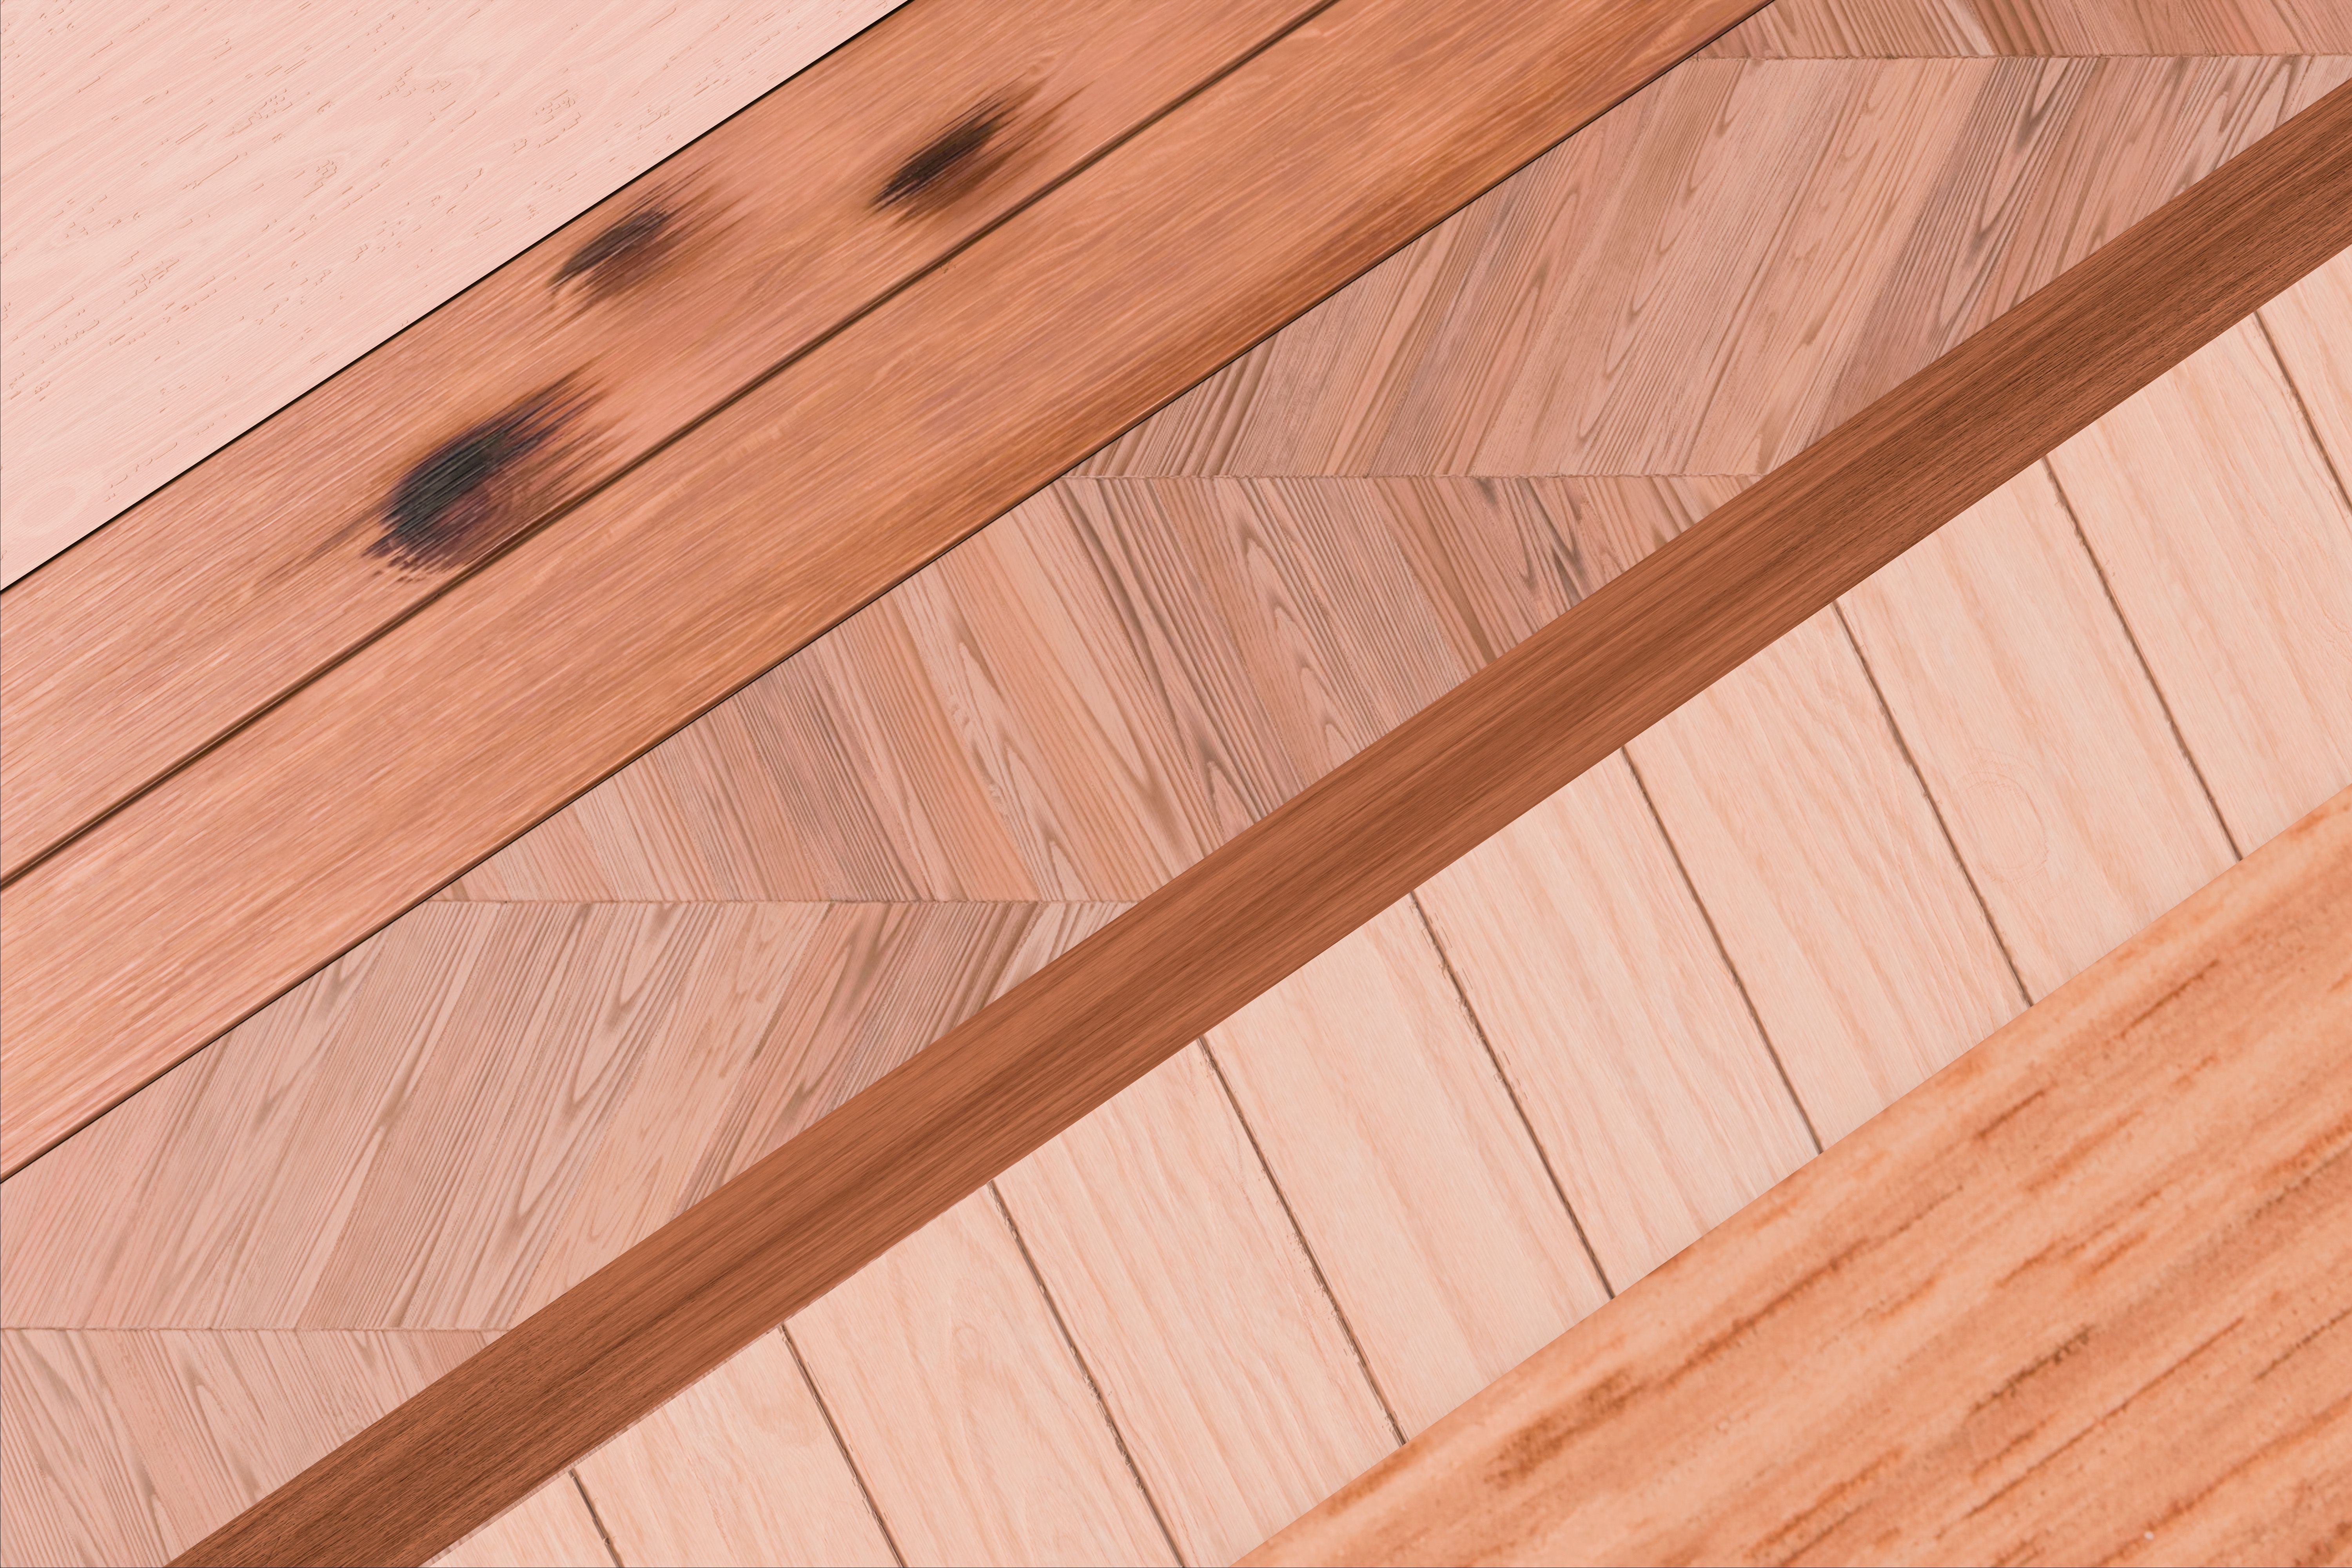
Before diving into the project, it's essential to choose the right type of flooring for your space. Consider factors like the room's humidity, traffic levels, and your personal style preferences. Popular options include hardwood, laminate, vinyl, and tile.
Gathering Your Tools and Materials
Once you've selected your flooring, gather all necessary tools and materials. Here's a list of what you might need:
- Measuring tape
- Utility knife
- Spacers
- Flooring adhesive (if applicable)
- Level
- Saw (for cutting boards to size)
- Knee pads for comfort
Having everything ready before you start will save you time and frustration during the installation process.
Preparing the Subfloor
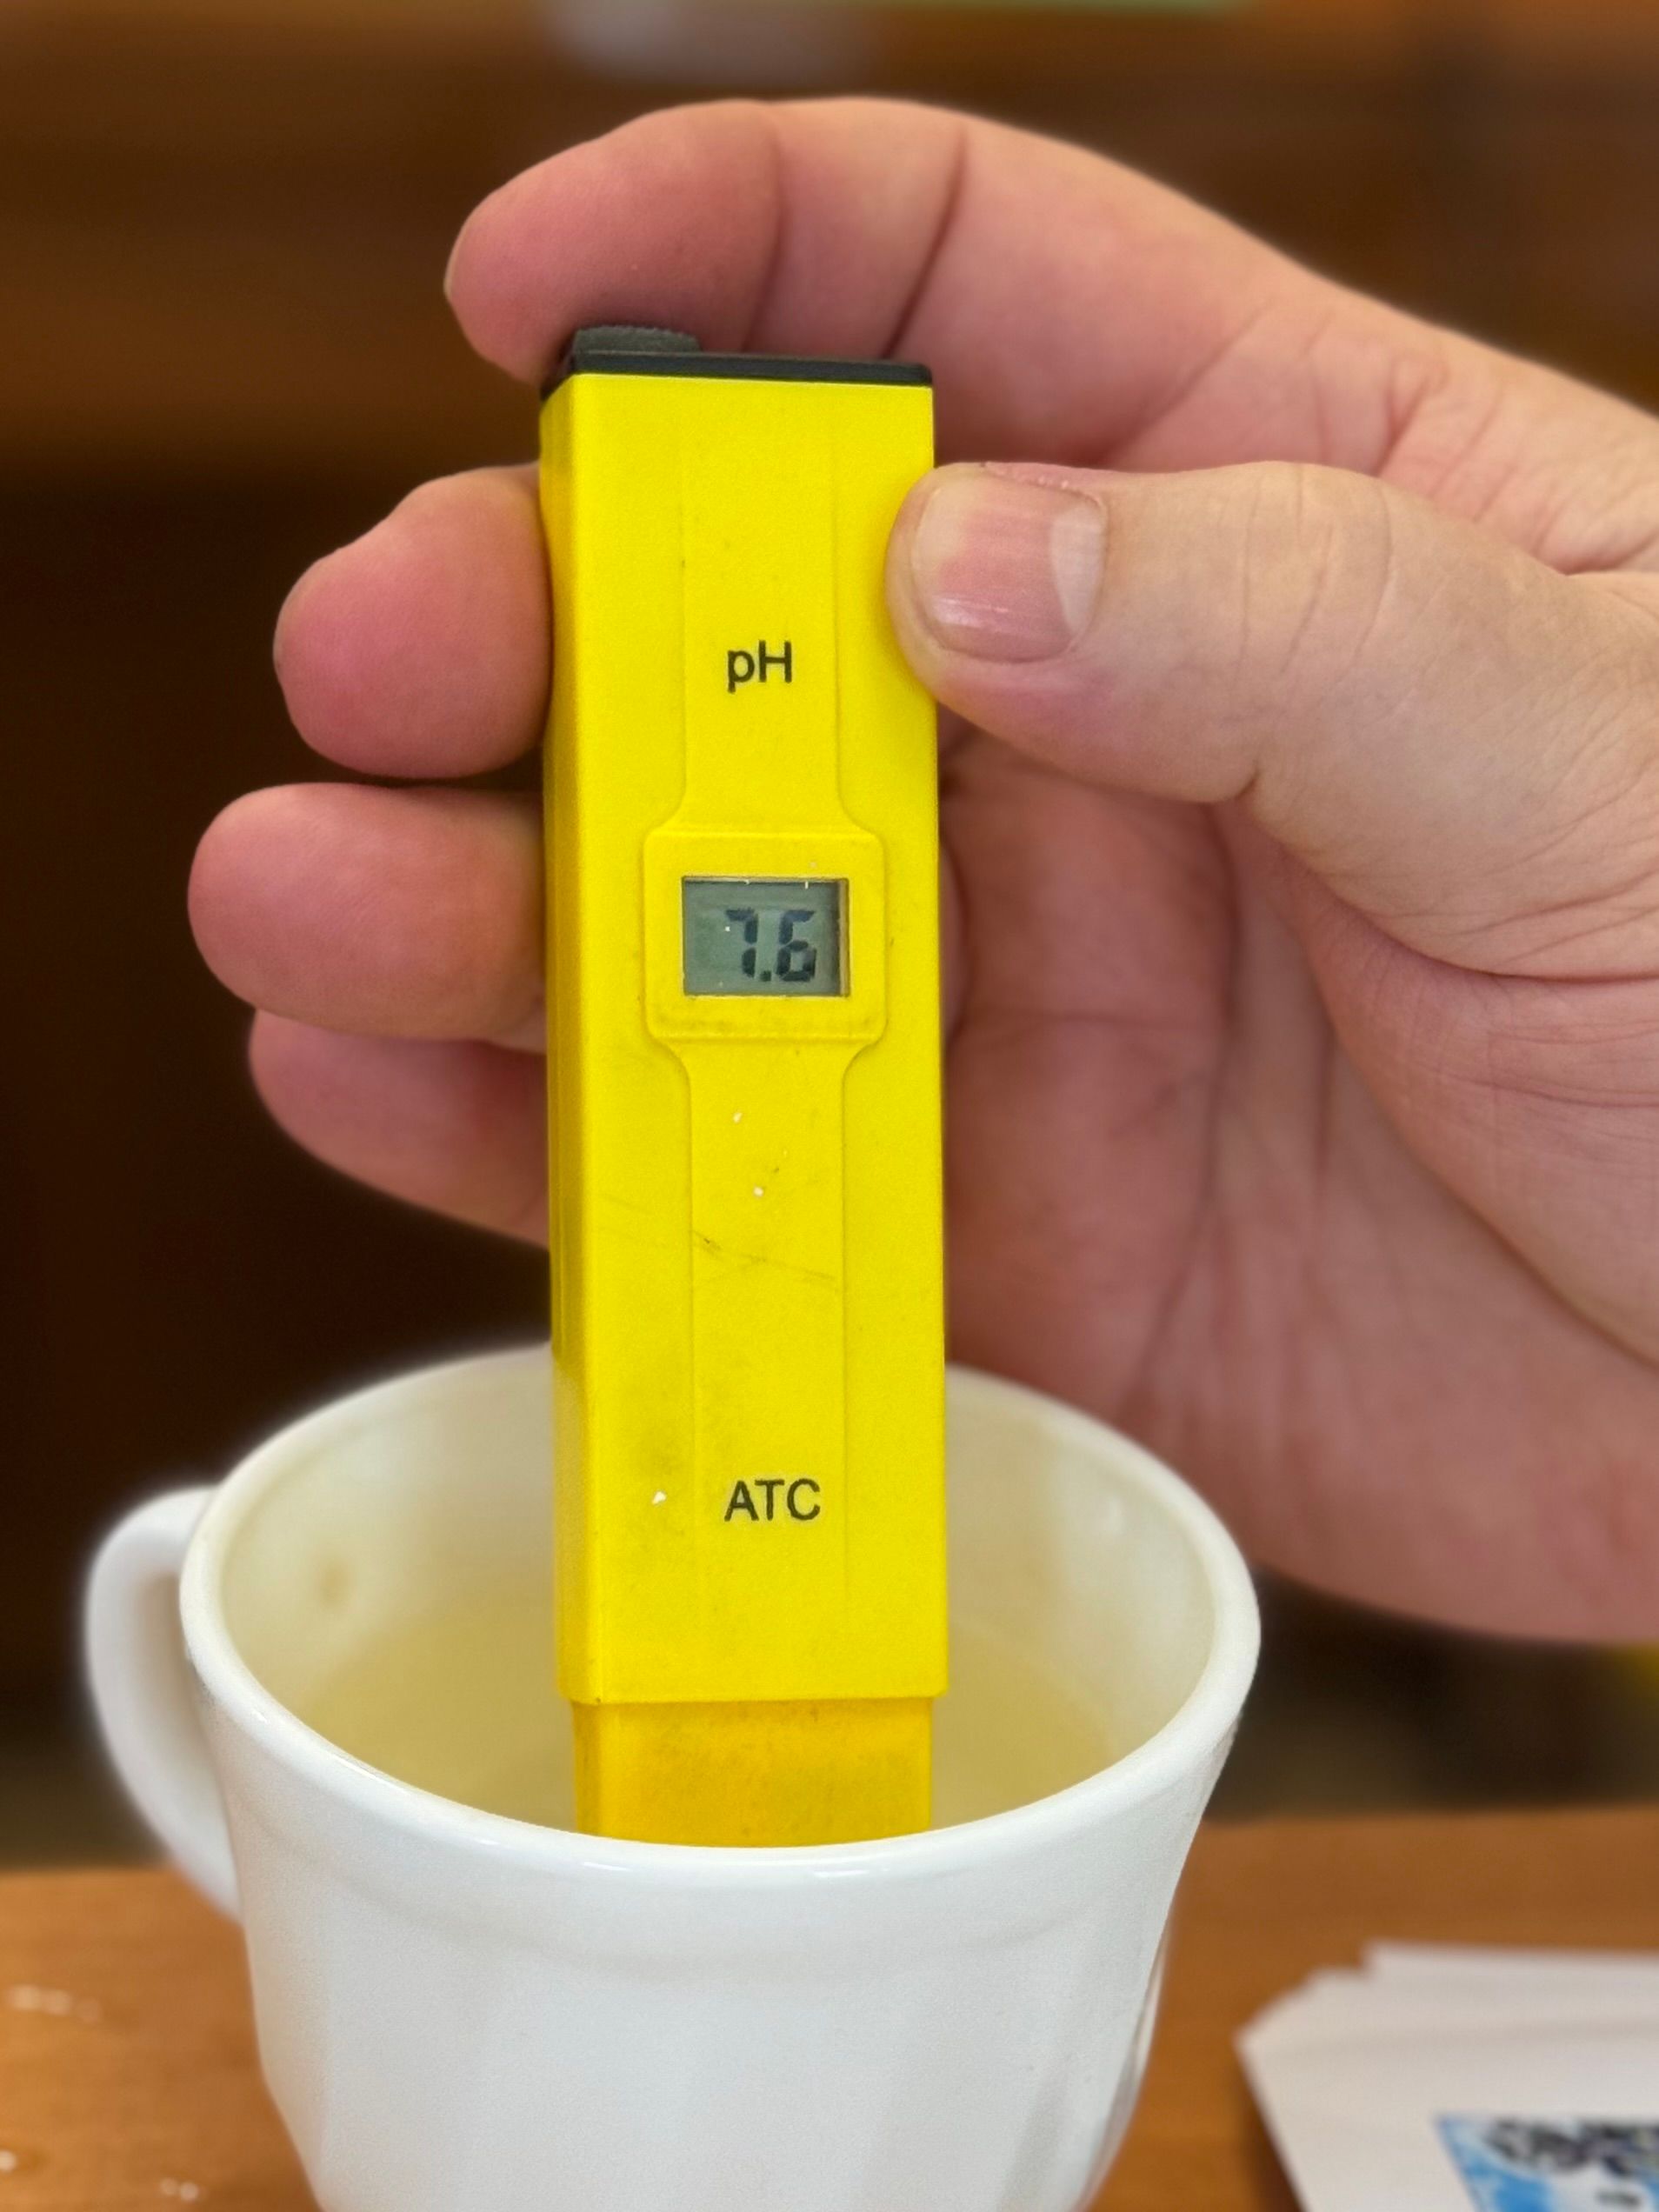
An important step in flooring installation is preparing the subfloor. Ensure that the surface is clean, dry, and level. Any debris or unevenness can affect the final look and performance of your new floor. Sweep or vacuum thoroughly, and patch any holes or cracks with a suitable filler.
Acclimating Your Flooring
If you're installing wood or laminate flooring, acclimate it to the room's temperature and humidity. Leave the unopened boxes in the room for at least 48 hours. This step is crucial to prevent warping or gaps after installation due to expansion or contraction.
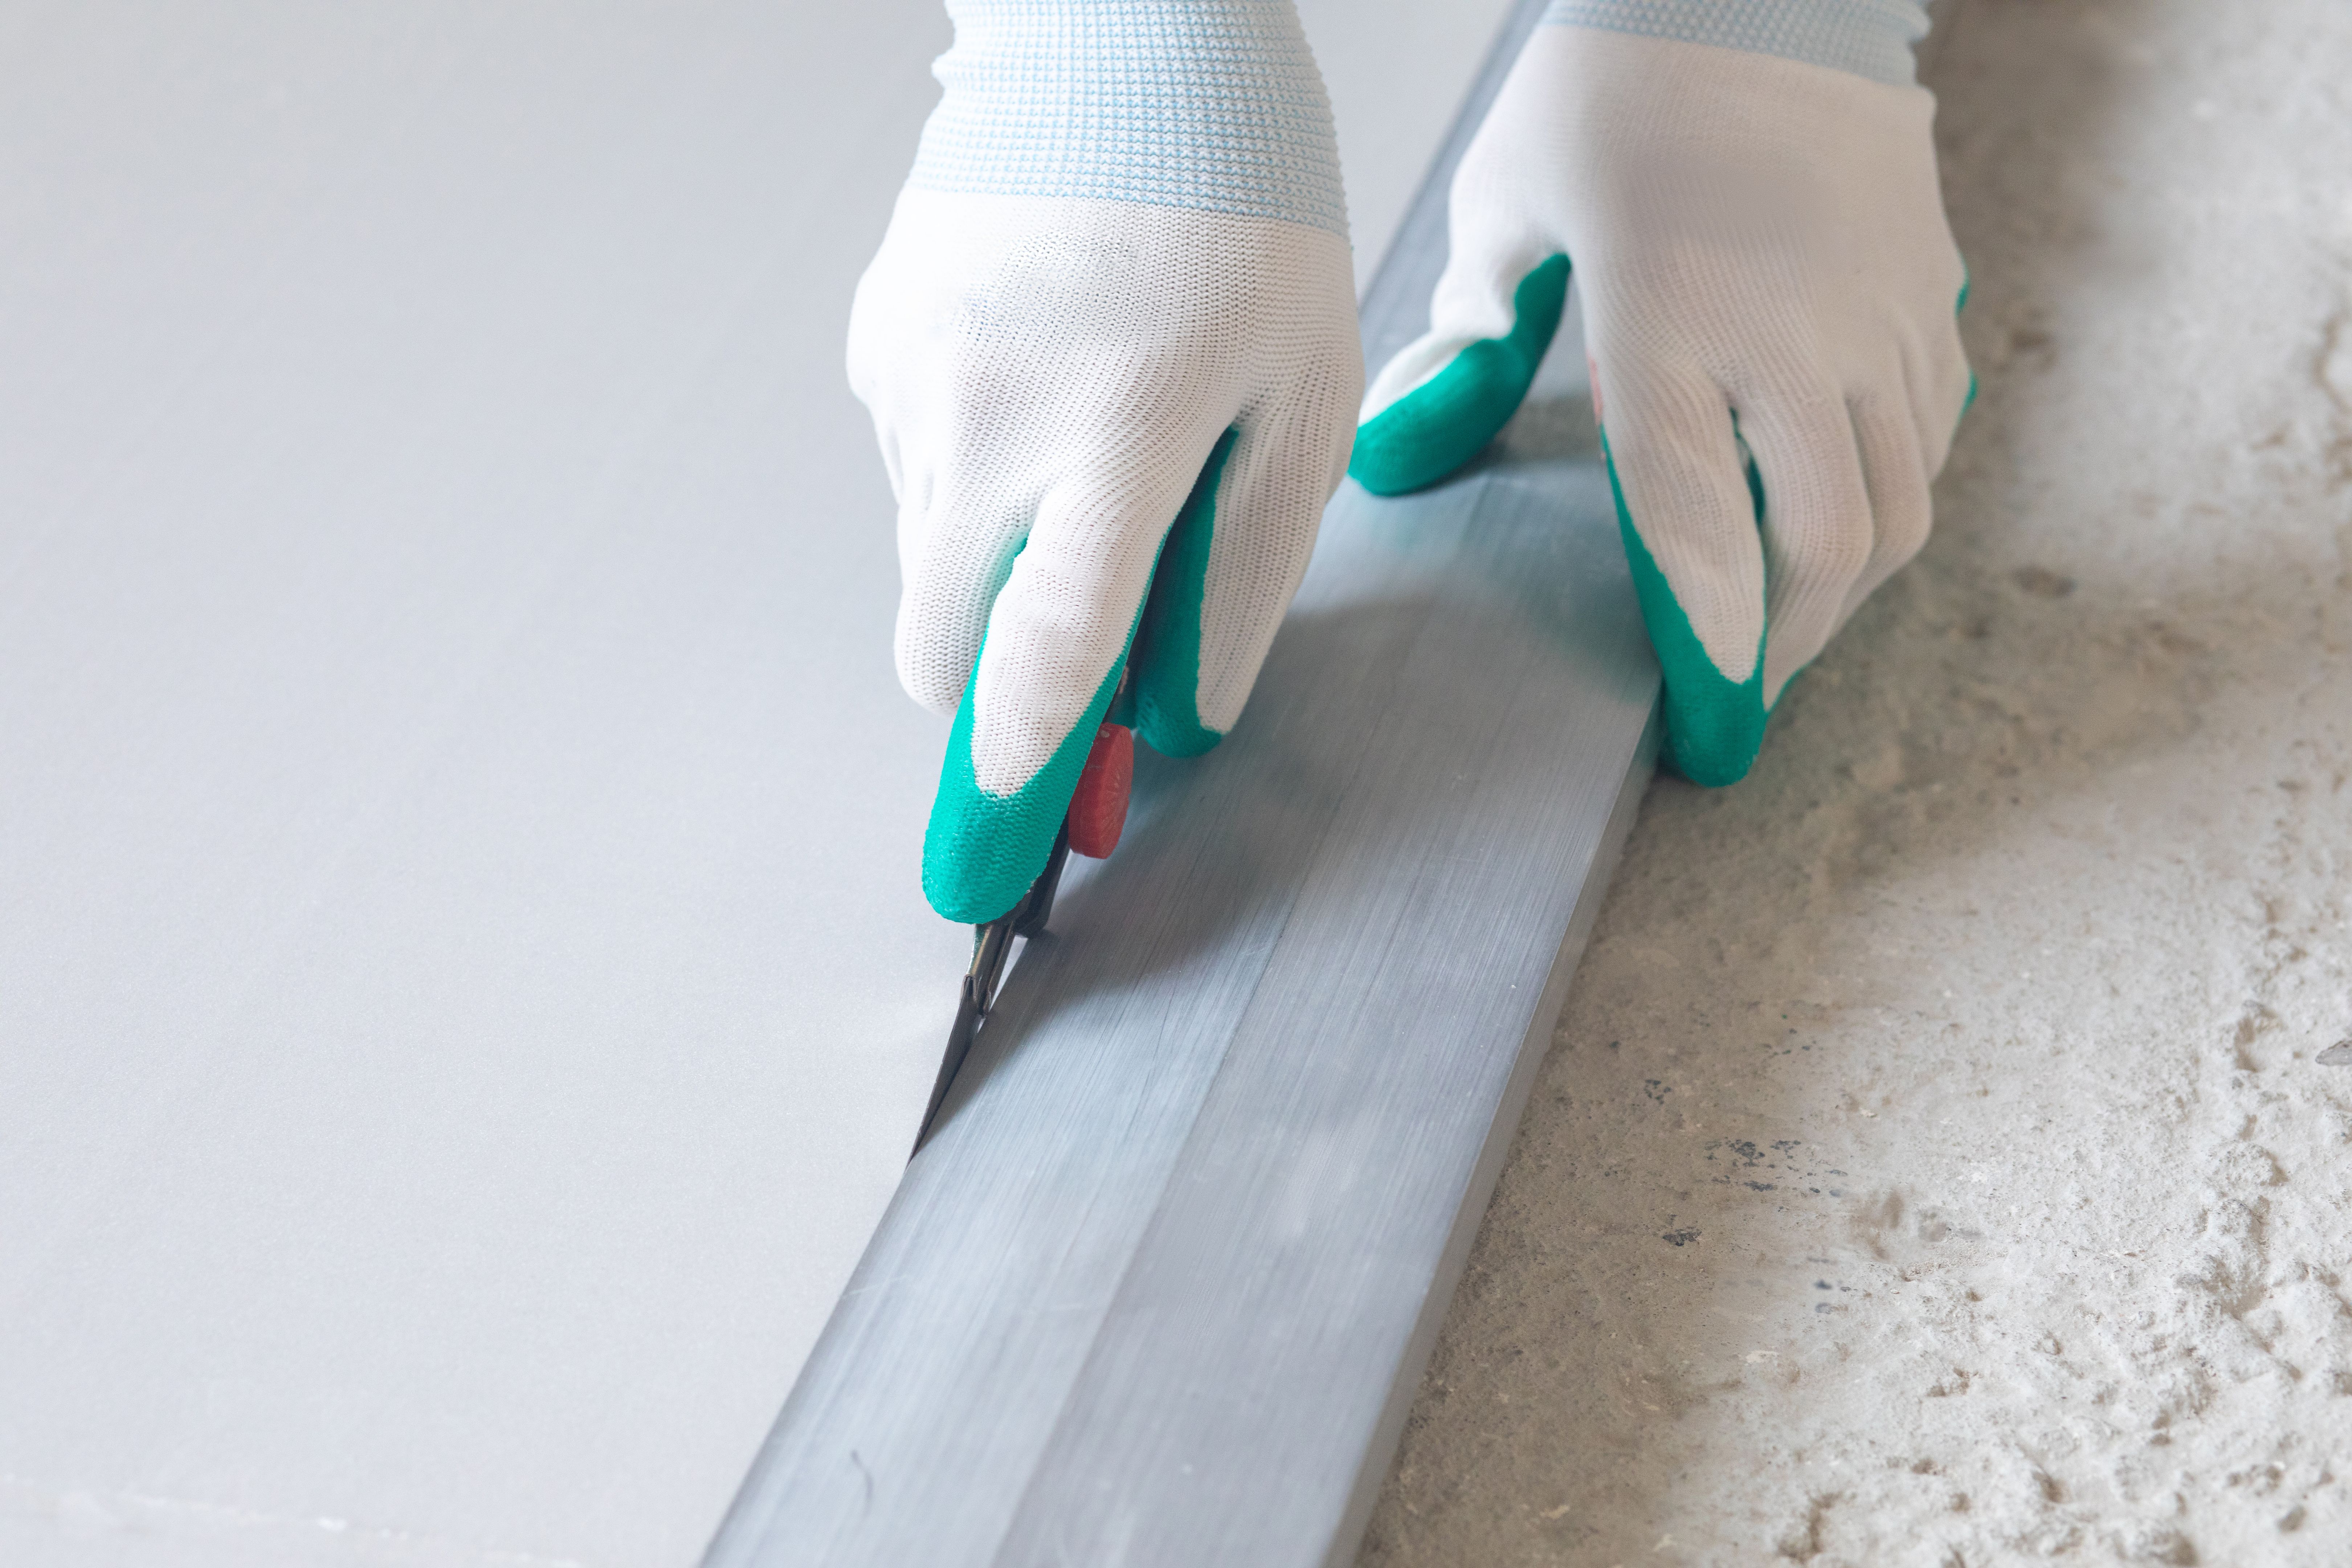
Layout and Cutting
Before you start laying down the flooring, plan your layout. Measure your room and mark guidelines to ensure straight rows. Begin laying from the longest wall and work your way across. If your flooring requires cutting, use a saw to fit pieces perfectly along edges or around obstacles like pipes or vents.
Laying Down the Flooring
Start laying your flooring according to your planned layout. Use spacers to maintain a consistent gap between the flooring and walls for expansion purposes. Depending on the type of flooring, you might need to apply adhesive or click pieces together using a tongue-and-groove system.
Final Touches
Once all the pieces are in place, remove the spacers and install baseboards or moldings to cover expansion gaps. These finishing touches not only provide a polished look but also help secure your new flooring in place.
Lastly, clean up the area, removing any dust or debris left from installation. Enjoy your beautiful new floor and take pride in accomplishing a successful DIY project!